Dog Feeder
Avoid a hungry dog. Smart dog feeder integrated with Home Assistant for mobile/remote/reminders/timed activation.
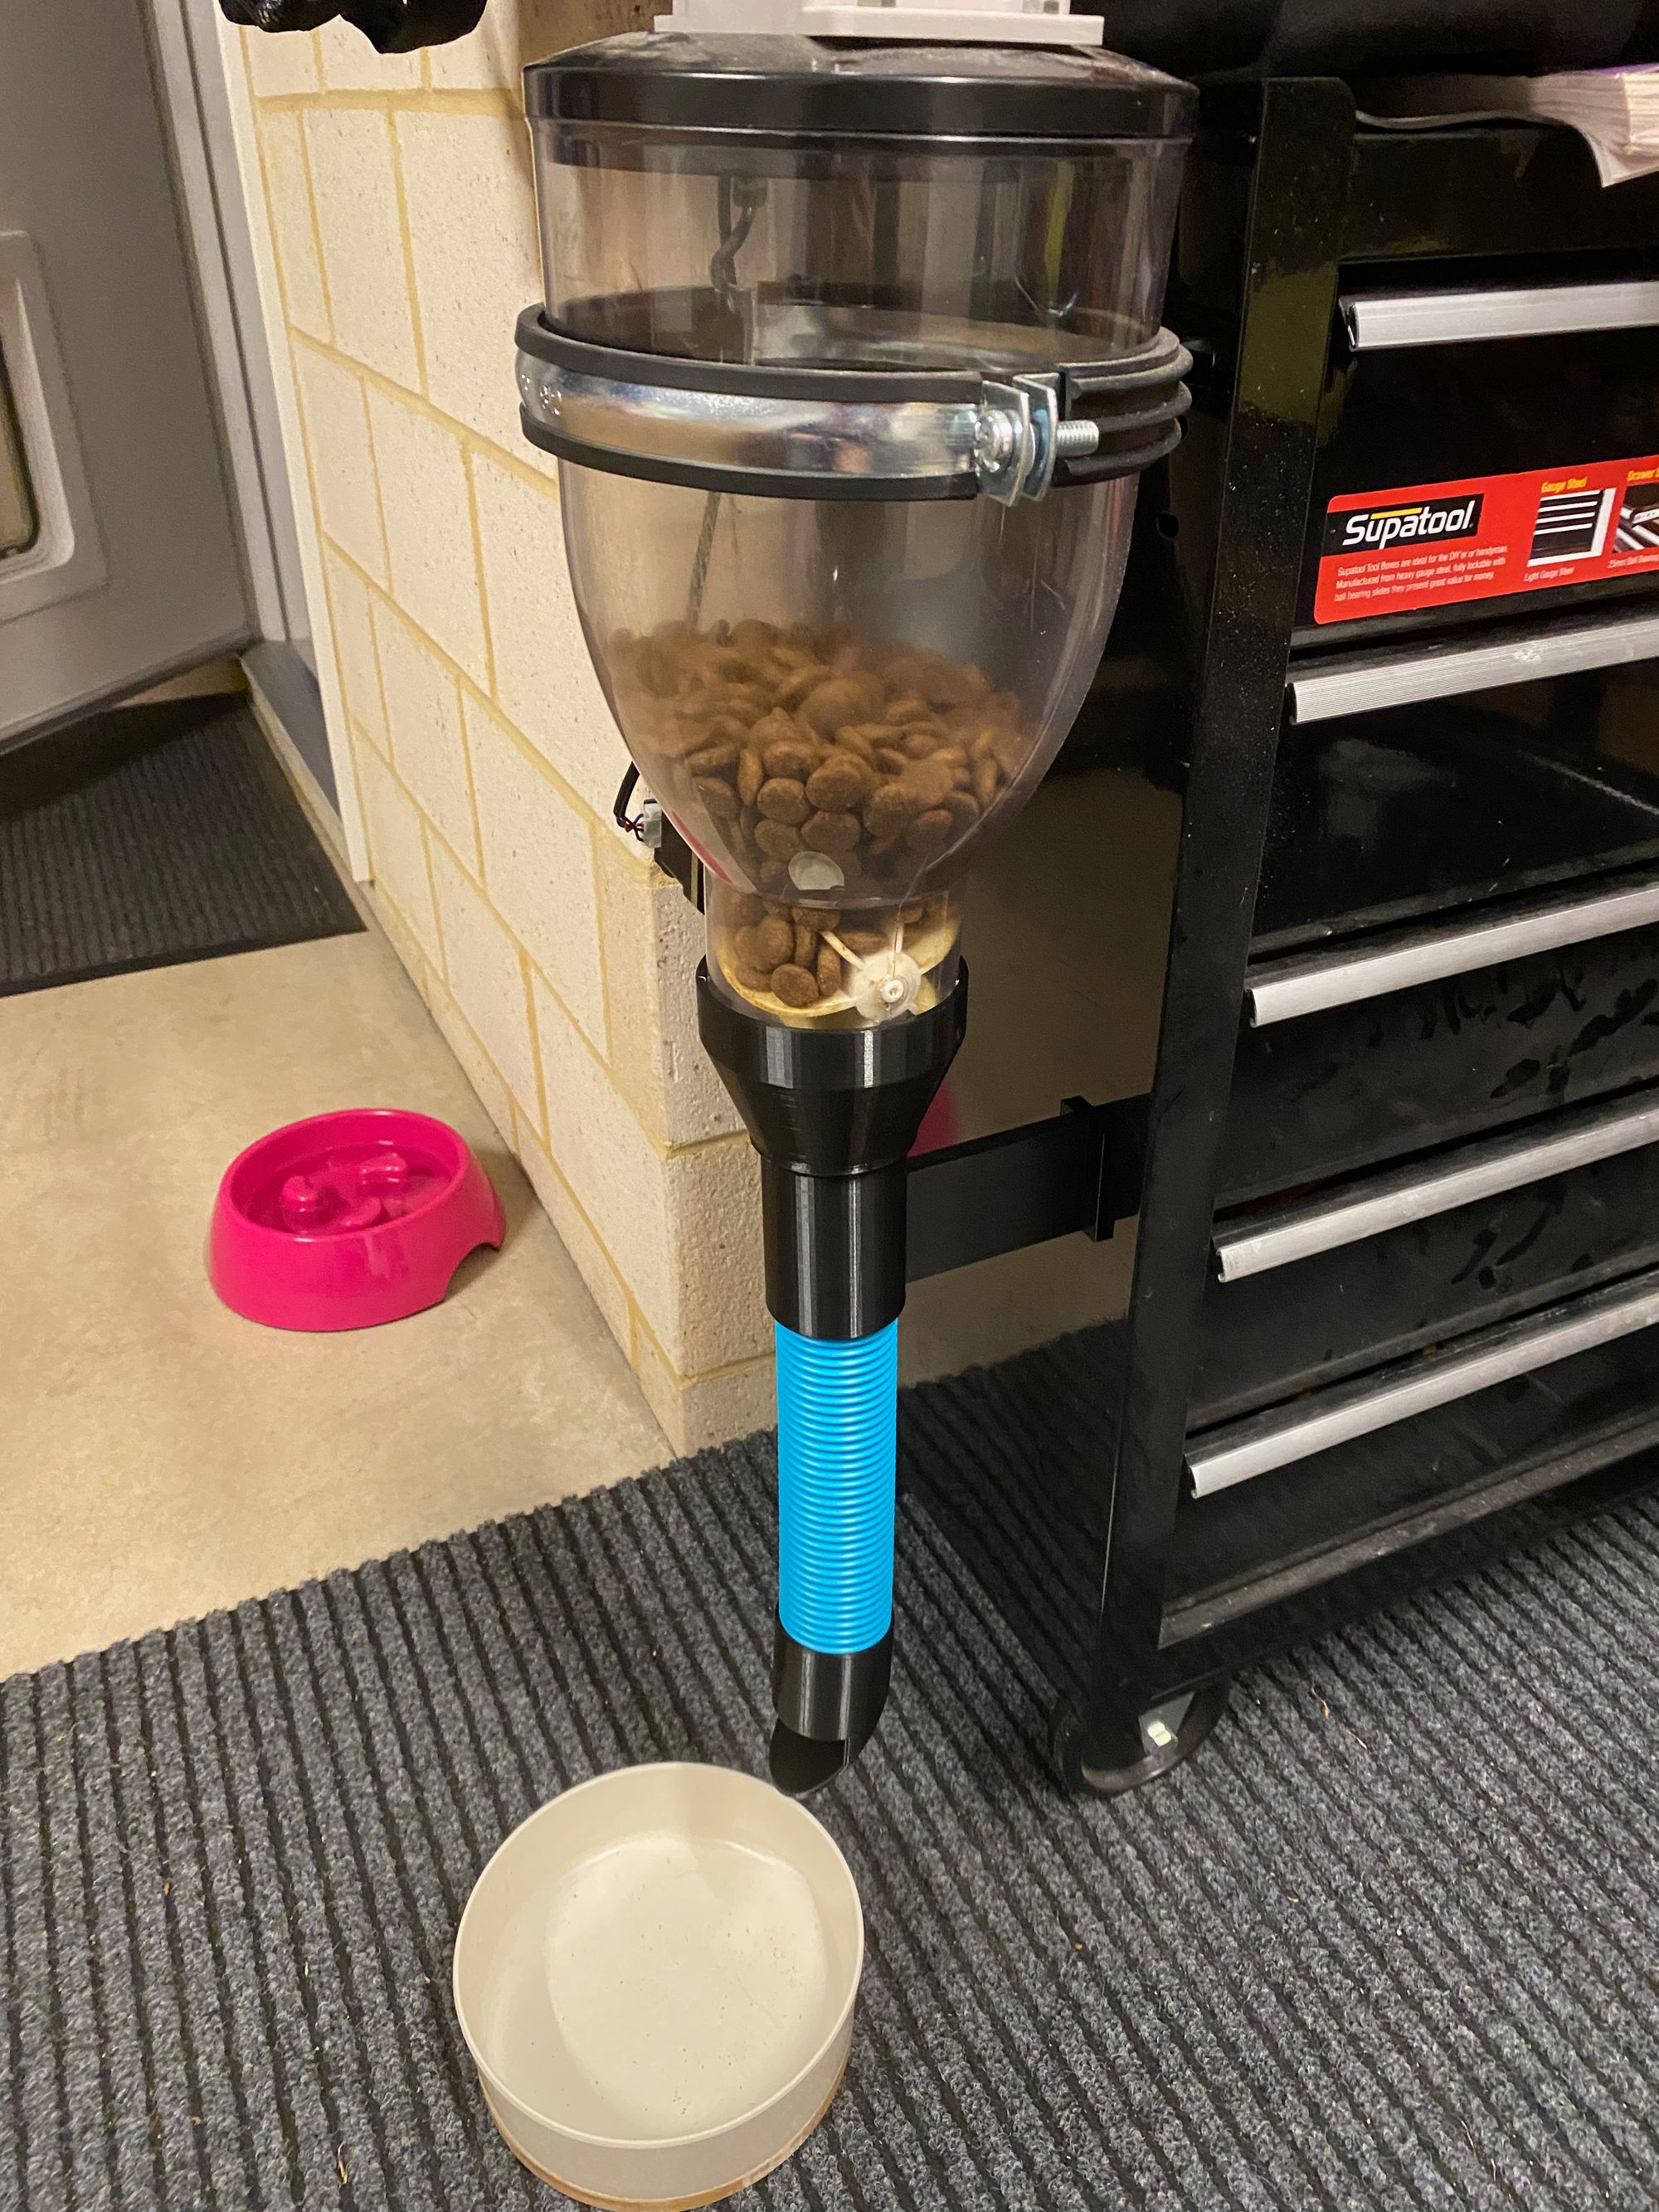
Avoid a hungry dog. Smart dog feeder integrated with Home Assistant for mobile/remote/timed activation.
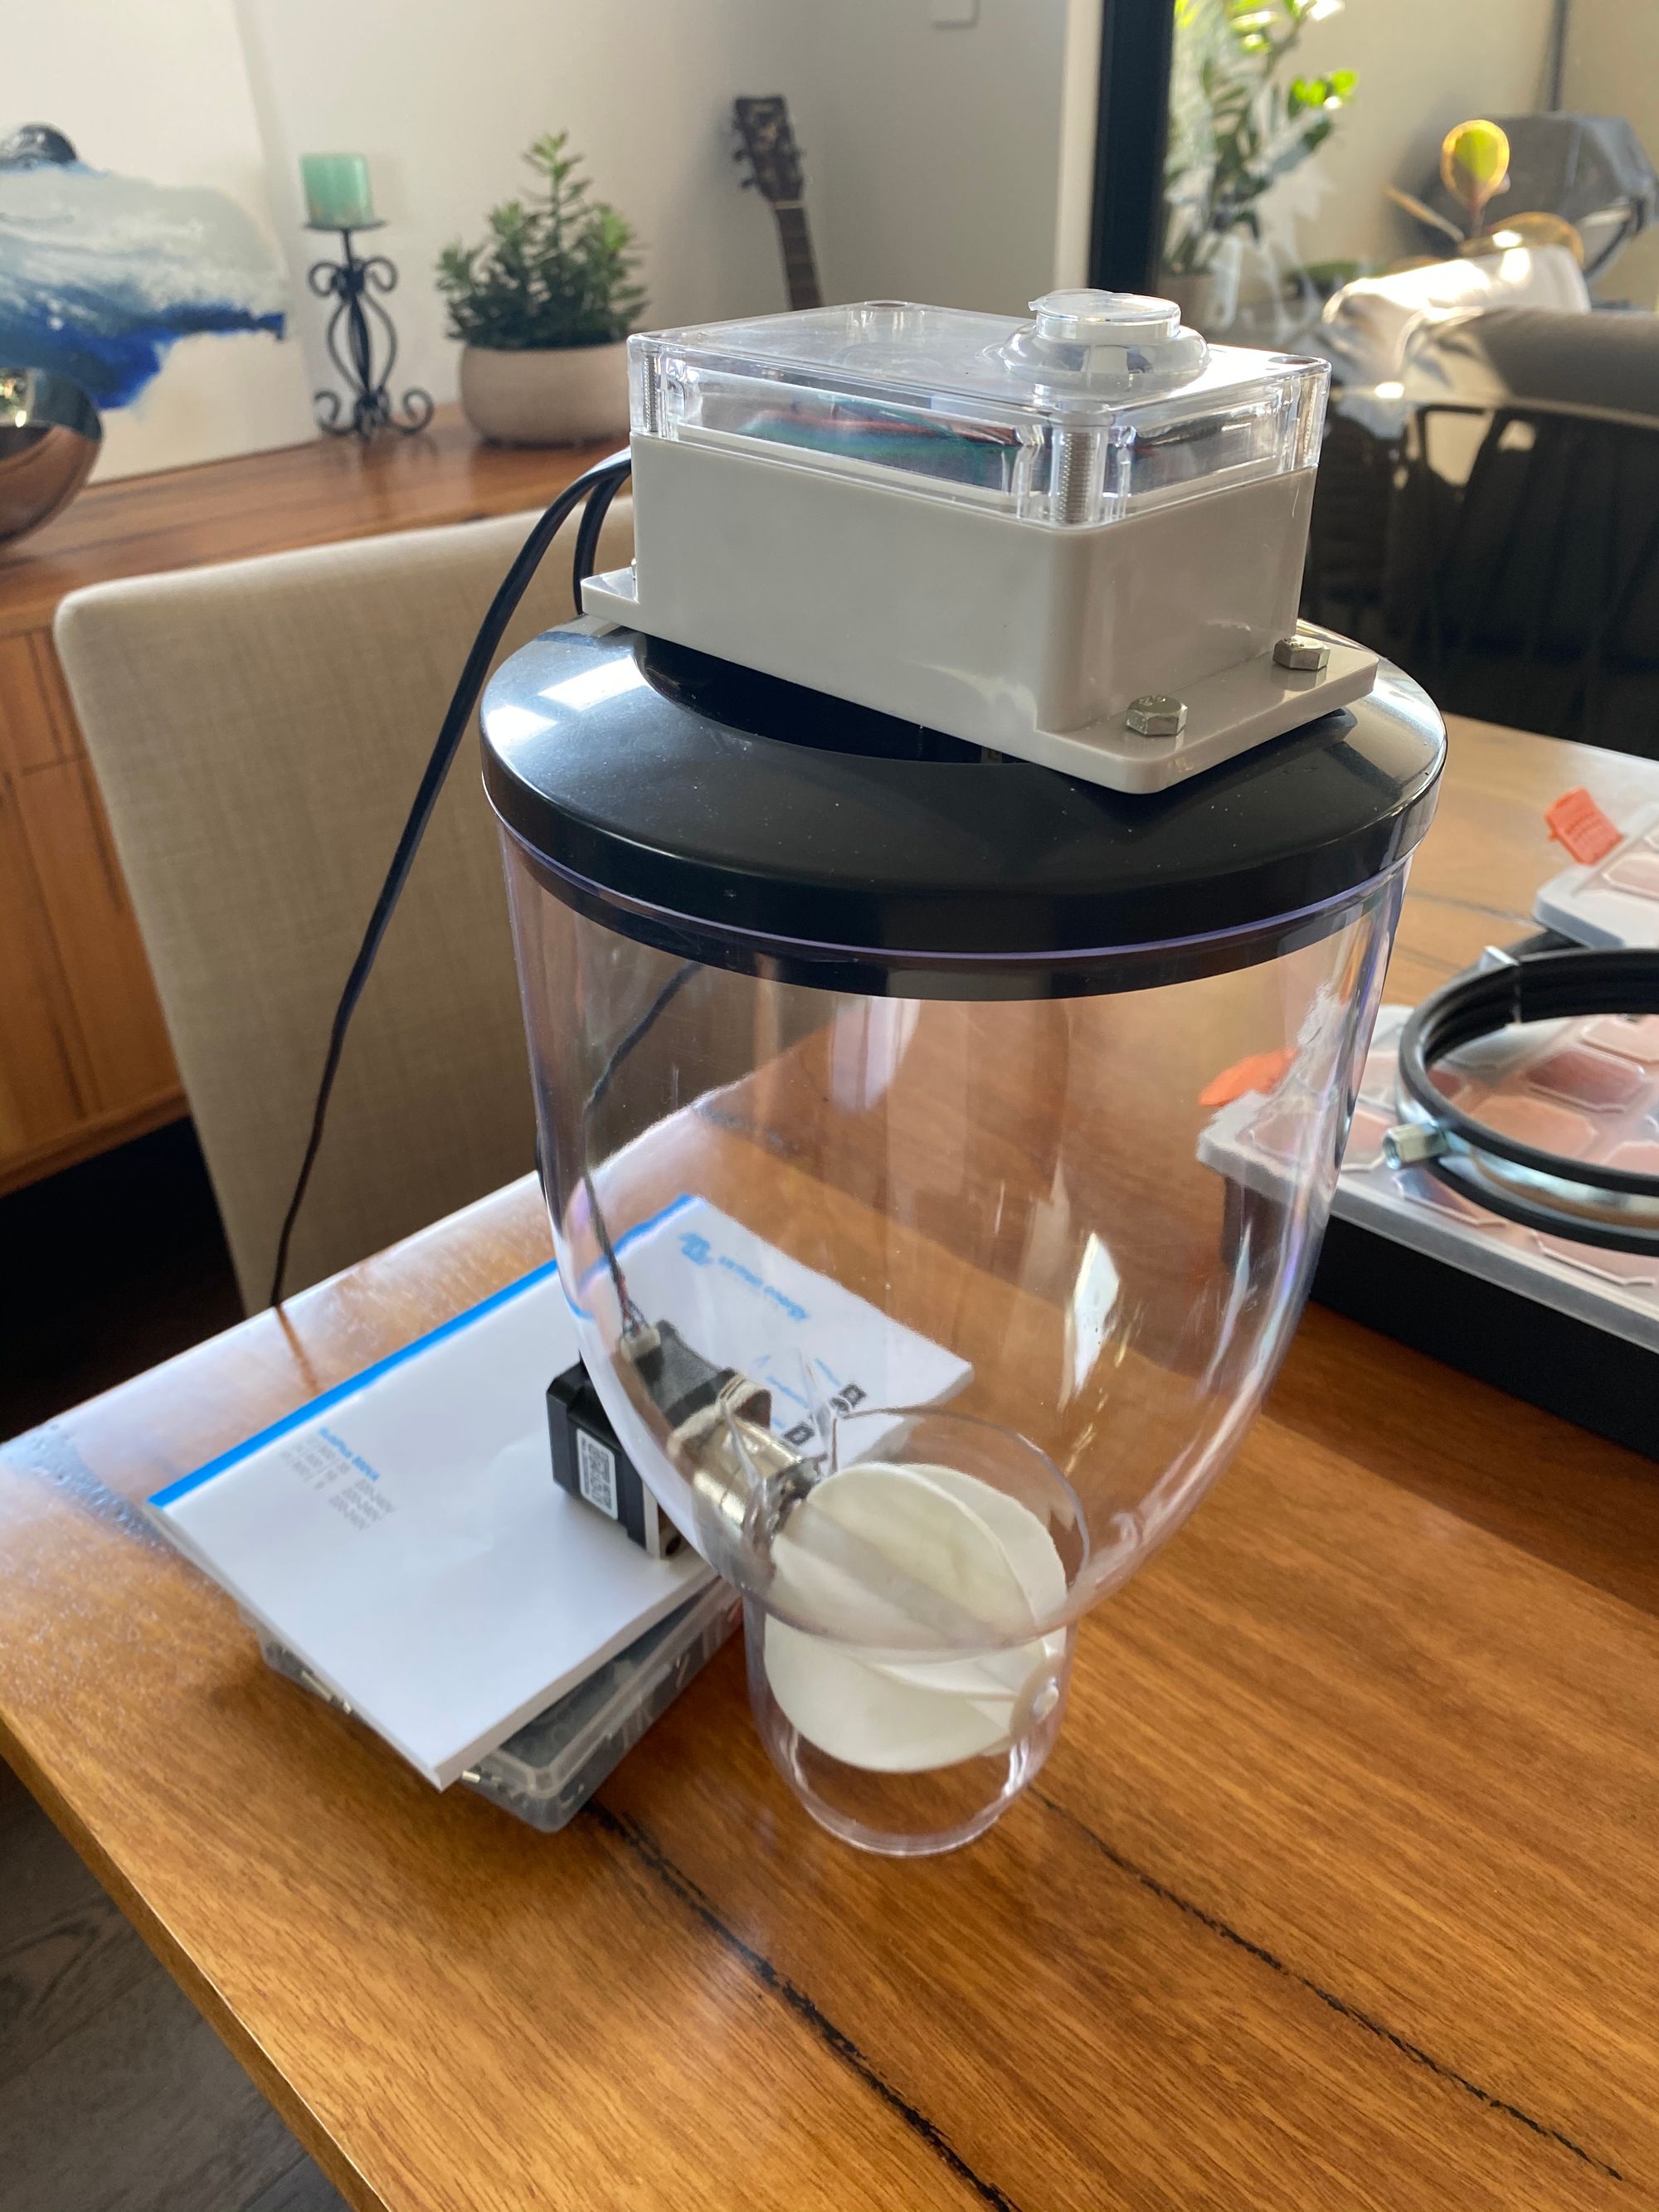
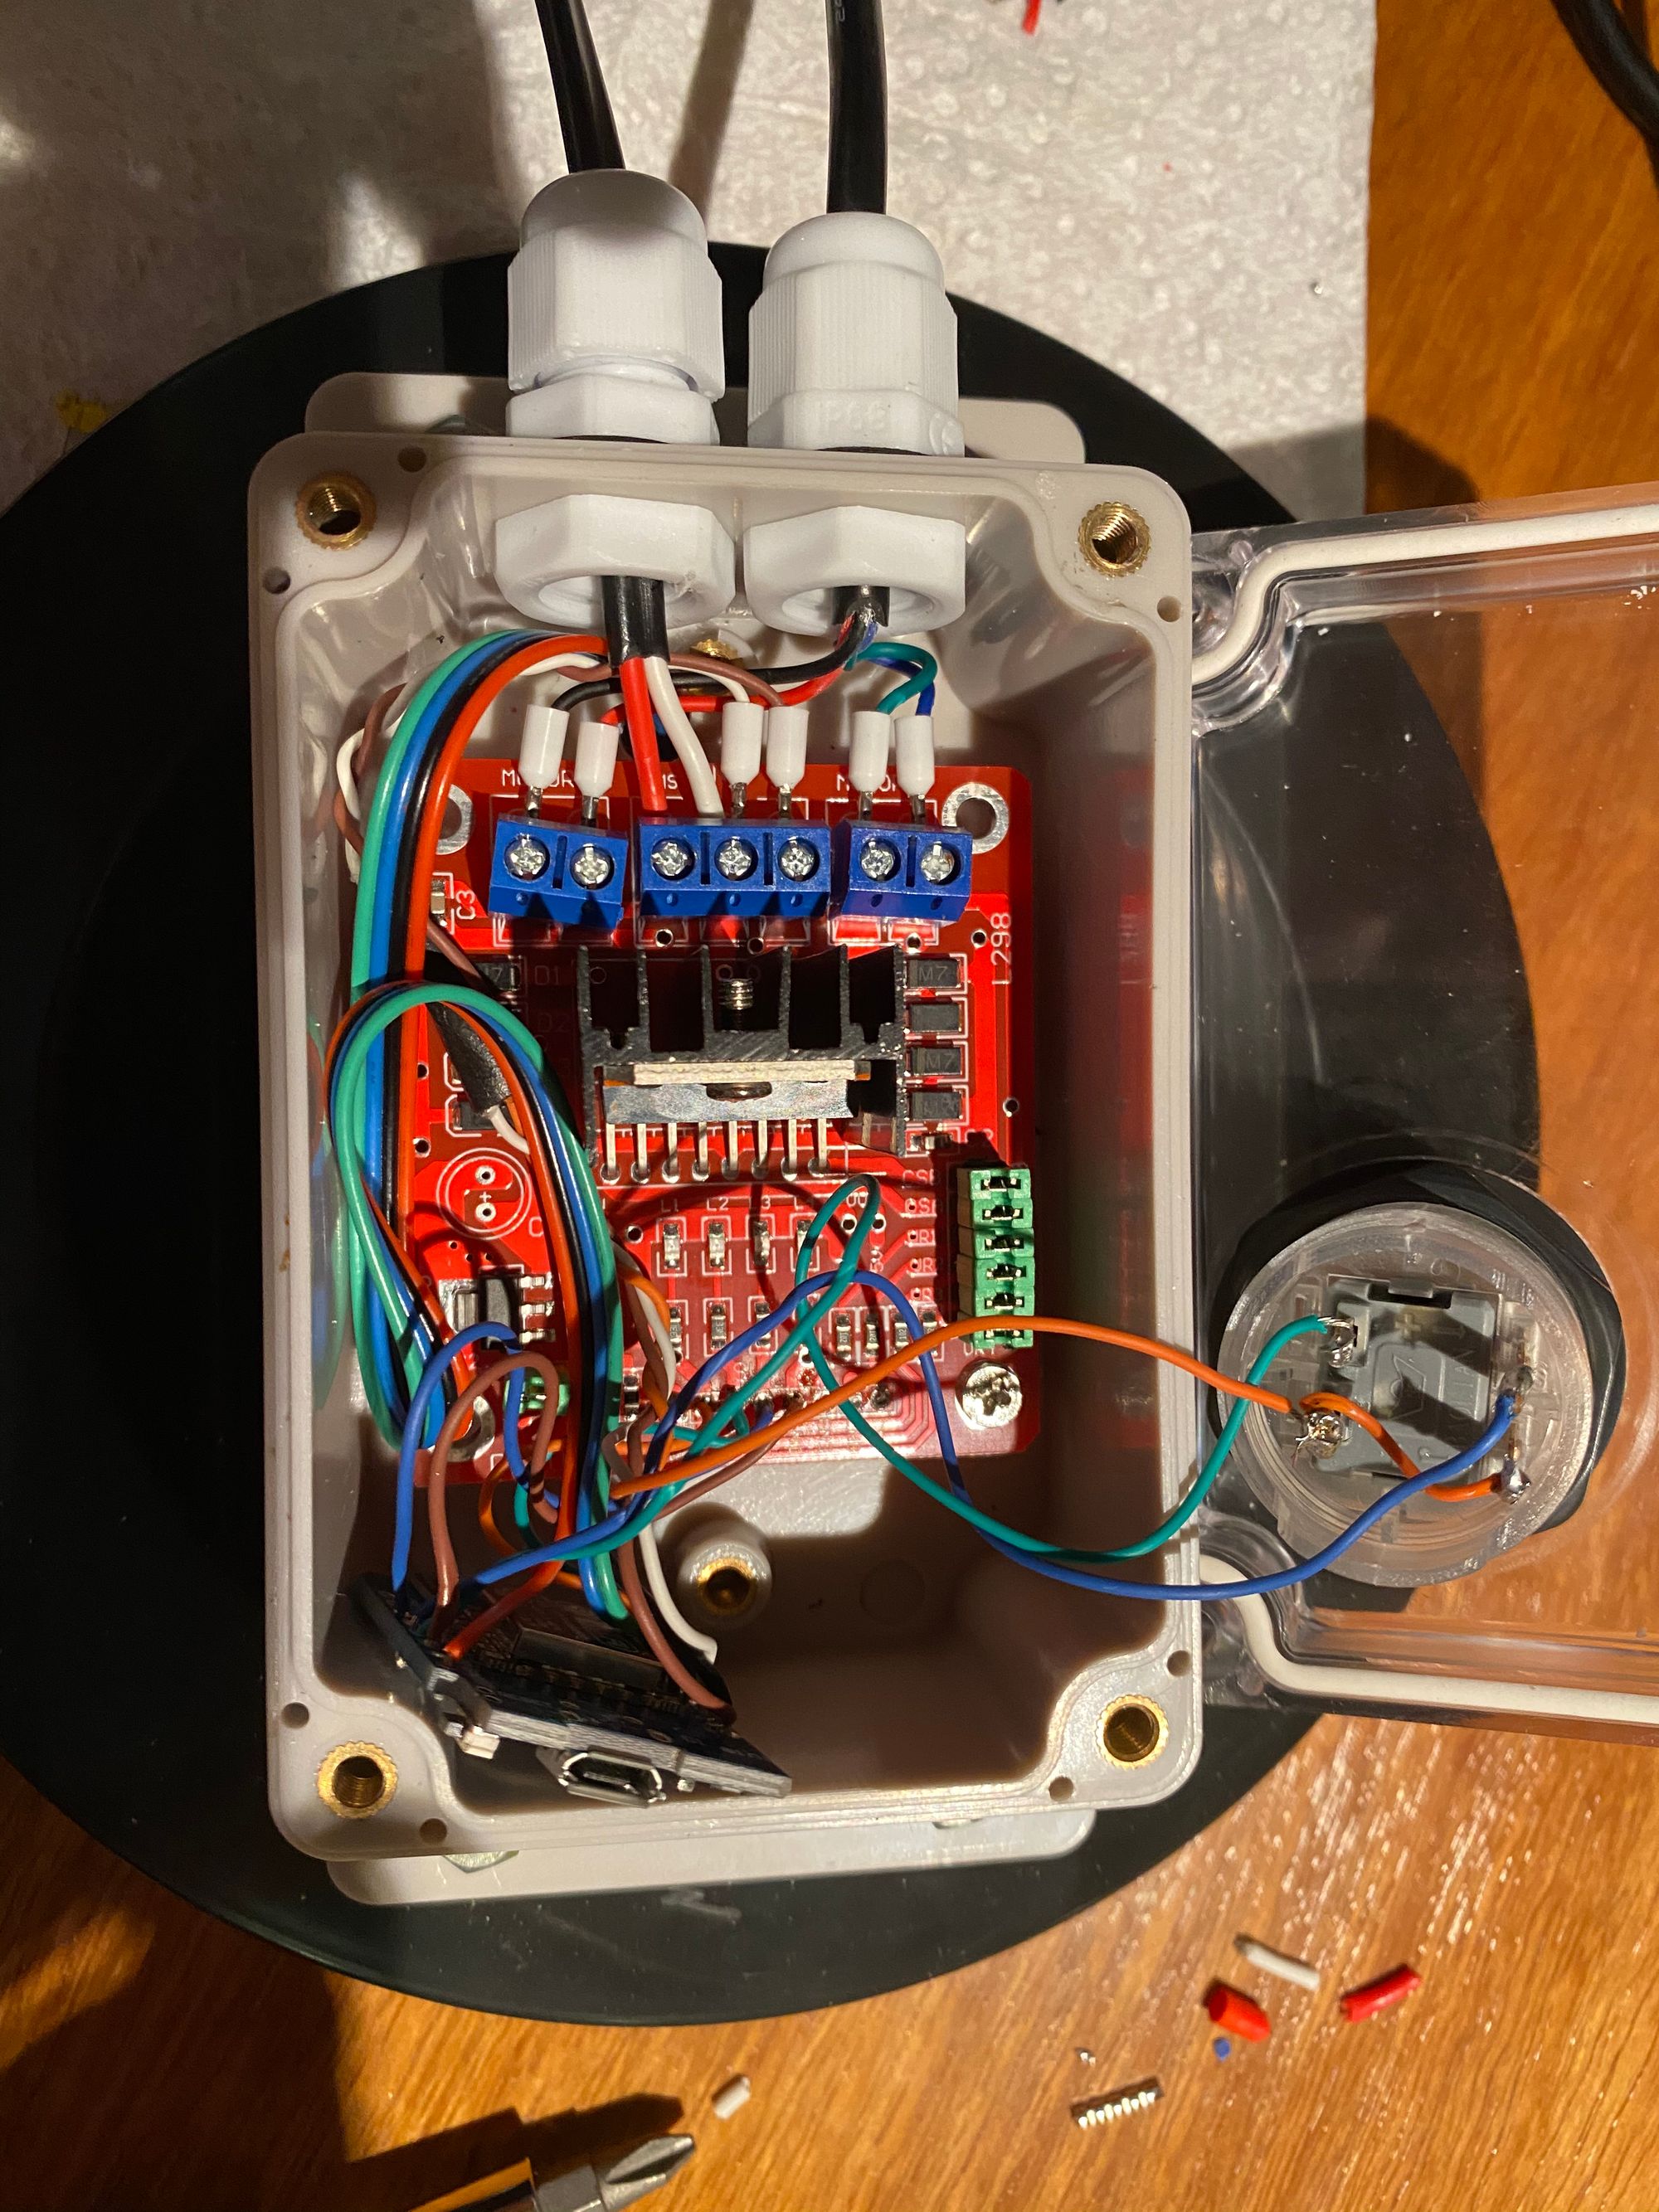
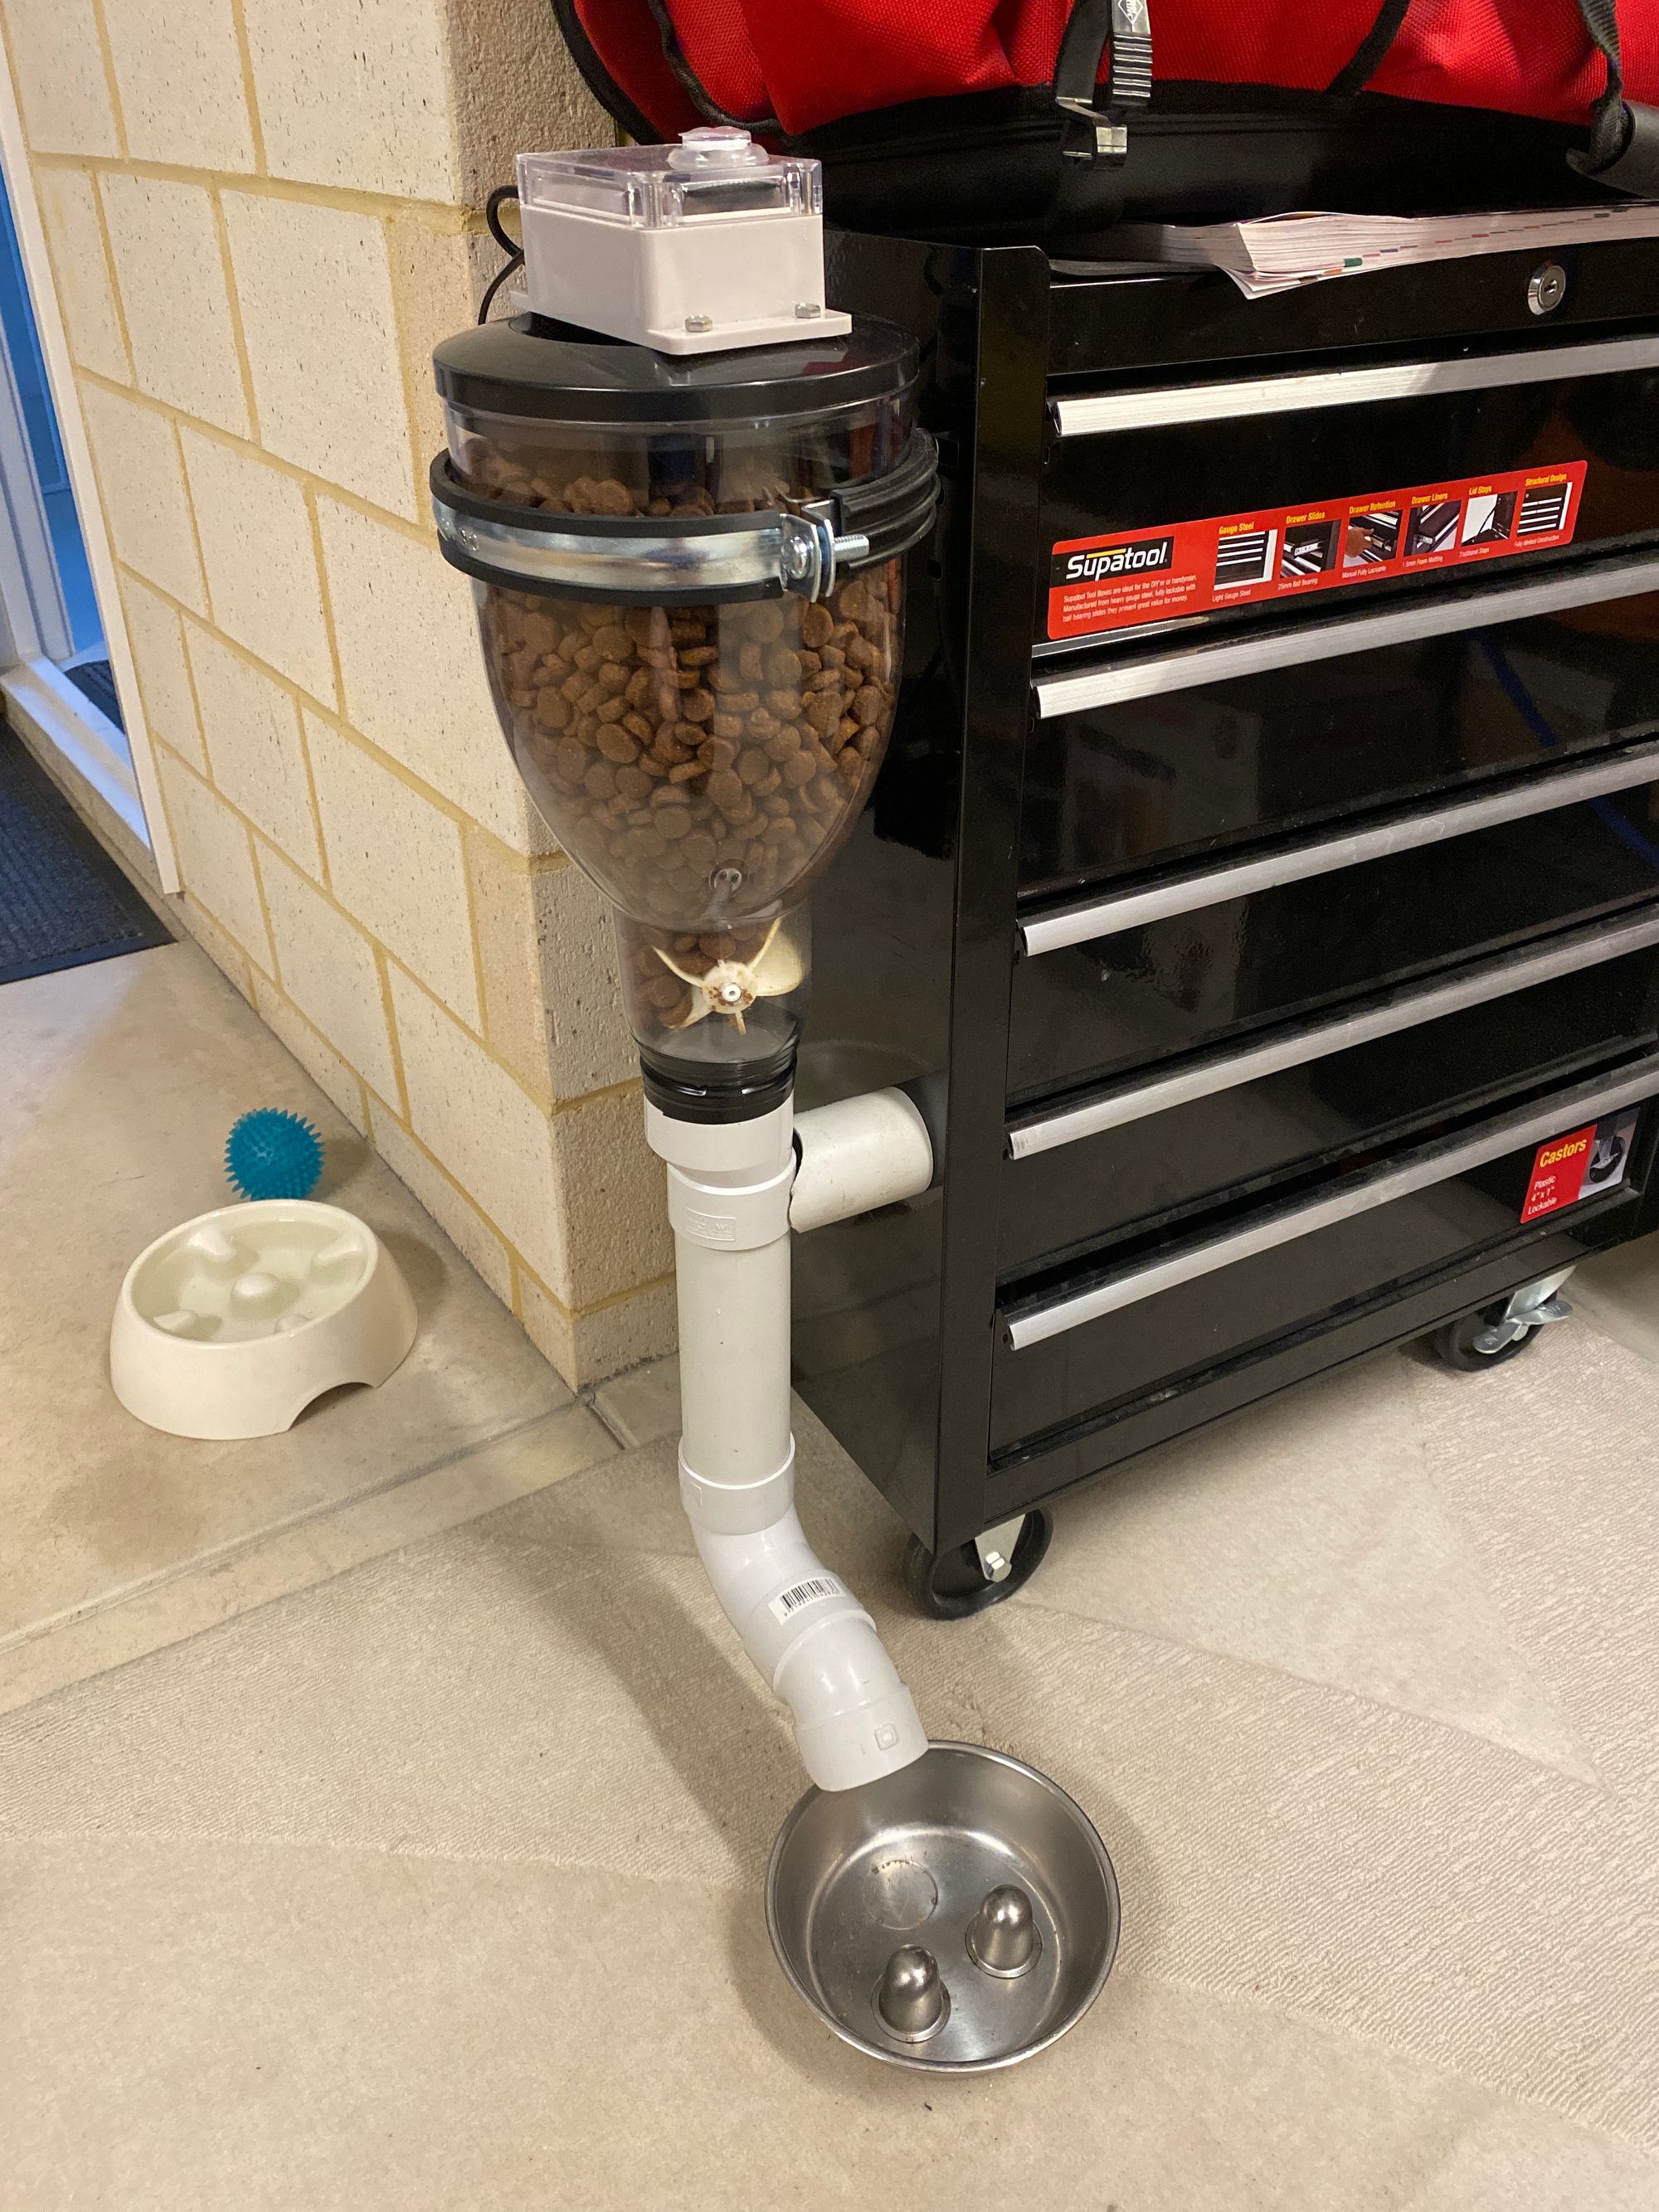
| V2 | V3 | |
|---|---|---|
| Status | Superseded |
Operational |
| Platform | ESP8266 |
RP2040 |
| Budget | $150 | $150 |
| Date Completed | July 2020 | Jul 2023 |
Summary of operation
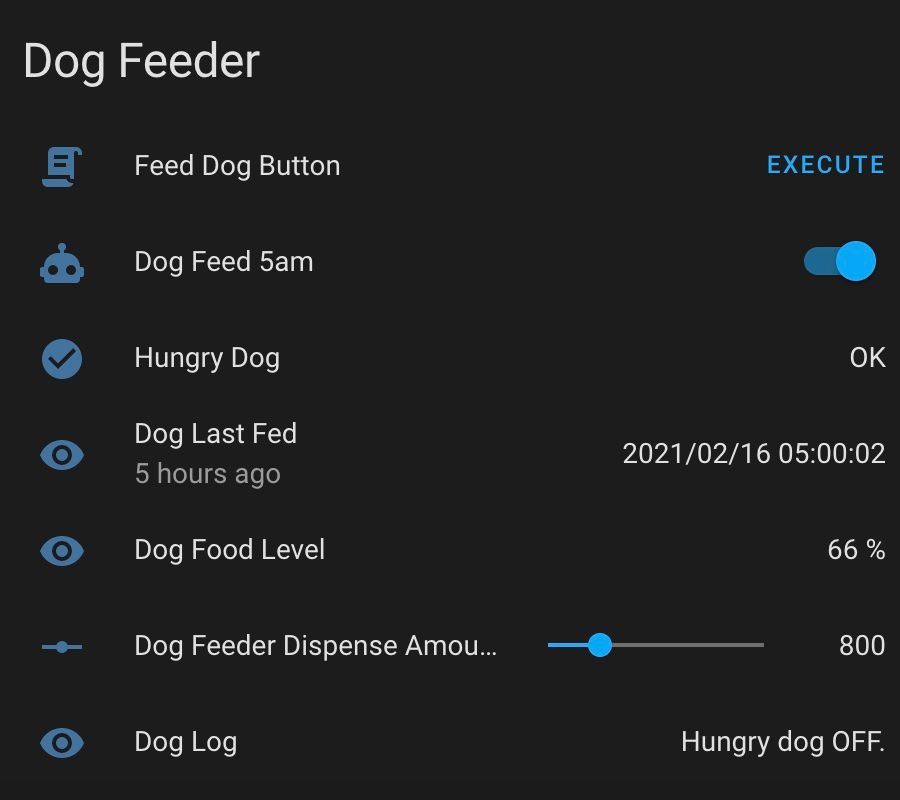
Half an hour before feed time, a Home Assistant automation turns on the "Hungry Dog" light which illuminates the arcade button.
If you want to feed her manually - pressing the arcade button turns off the "Hungry Dog" light when you push it, and the feeder runs. It helps you tell if the dog has already been fed - because she loves to try and trick us!
Remote control via Home Assistant allows us to push the button remotely. For example, if we're late home.
Otherwise another automation runs approx. 1 hour later that tests if the "Hungry Dog" light is still lit. This automation can automatically feed her, or send a “did you forget?” notification.
Laser inside the lid measures the depth of food to give us a push-notification reminder to top it up!
Parts used - version 2
- Cereal dispenser. It was an easy place to start. ($39 on eBay!)
- Bipolar stepper motor with reduction gearbox. Most expensive part! ($70 from Core Electronics). Small but seriously powerful - 18kg.cm of torque.
- "Big Easy Driver" stepper driver module. Honestly a fantastic product which will push 2A current into the stepper motor. ($33 from Core Electronics)
- ESP8266 D1 Mini clone (cheap - eBay)
- Gravity VL53L0X ToF Laser Range Finder. Measures depth of food in the bowl. ($22 from Core Electronics)
- Button - pinball machine style - with an in-built LED light.
- 12V 2A power supply plus a small DC-DC converter to make 5V for the D1 Mini and sensors.
Parts used - version 3
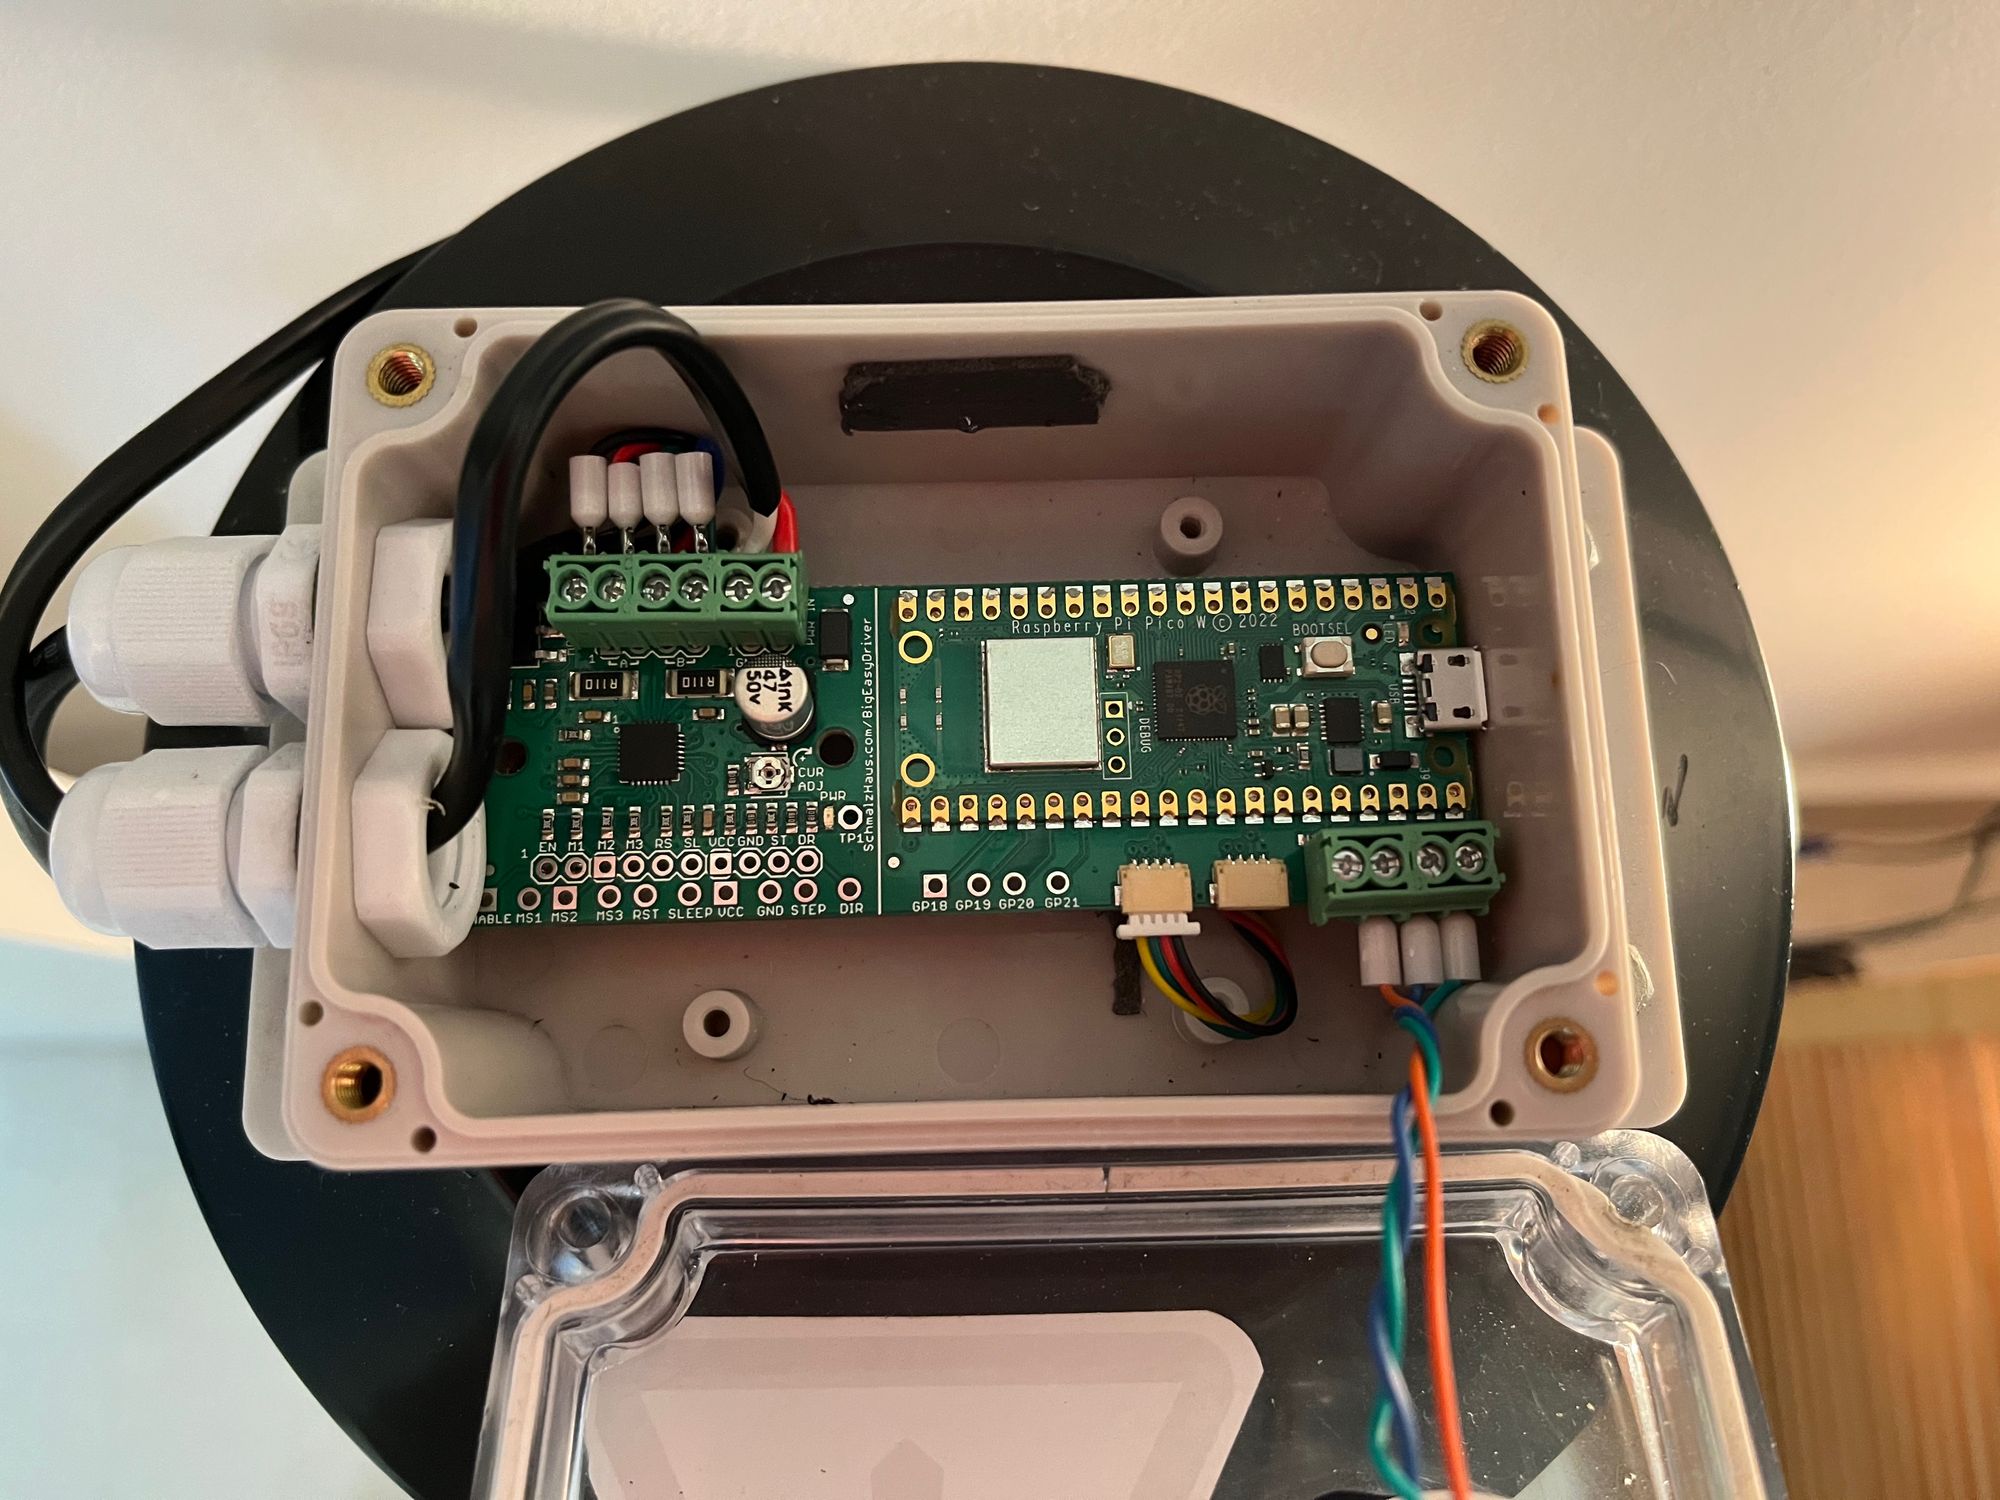
- Same as the above - but I've integrated the "Big Easy Driver" stepper driver module with a RP2040 Pico W on the same PCB with a switchmode power supply, buzzer, and extra inputs/outputs.
Some engineering detail - version 2
The hardware is wired up as follows:
- Pretty straightforward. Connect it all up. Modules make it super easy. Like every ESP8266 project - be weary of pins that go high at startup. You're better to use those for lights than motors! For a reminder see https://randomnerdtutorials.com/esp8266-pinout-reference-gpios/
It's coded up in the Arduino IDE as follows:
- Corresponds with remote devices (including Home Assistant) via MQTT. Nice and easy. Individual topics for all functions including how much food to dispense - allows remote adjustments to your dog's diet 😊
Some engineering detail - version 3
Now Raspberry Pi Pico W-based, all on one neatly assembled PCB - see https://github.com/ell249/PicoFeeder for schematic, board and other source files.
Future improvements
Photos above show an L298M-based motor driver (version 1). That was before I swapped to the Big Easy Driver above (version 2). The Big Easy Driver is the way to go.
