Dog Treat Thrower
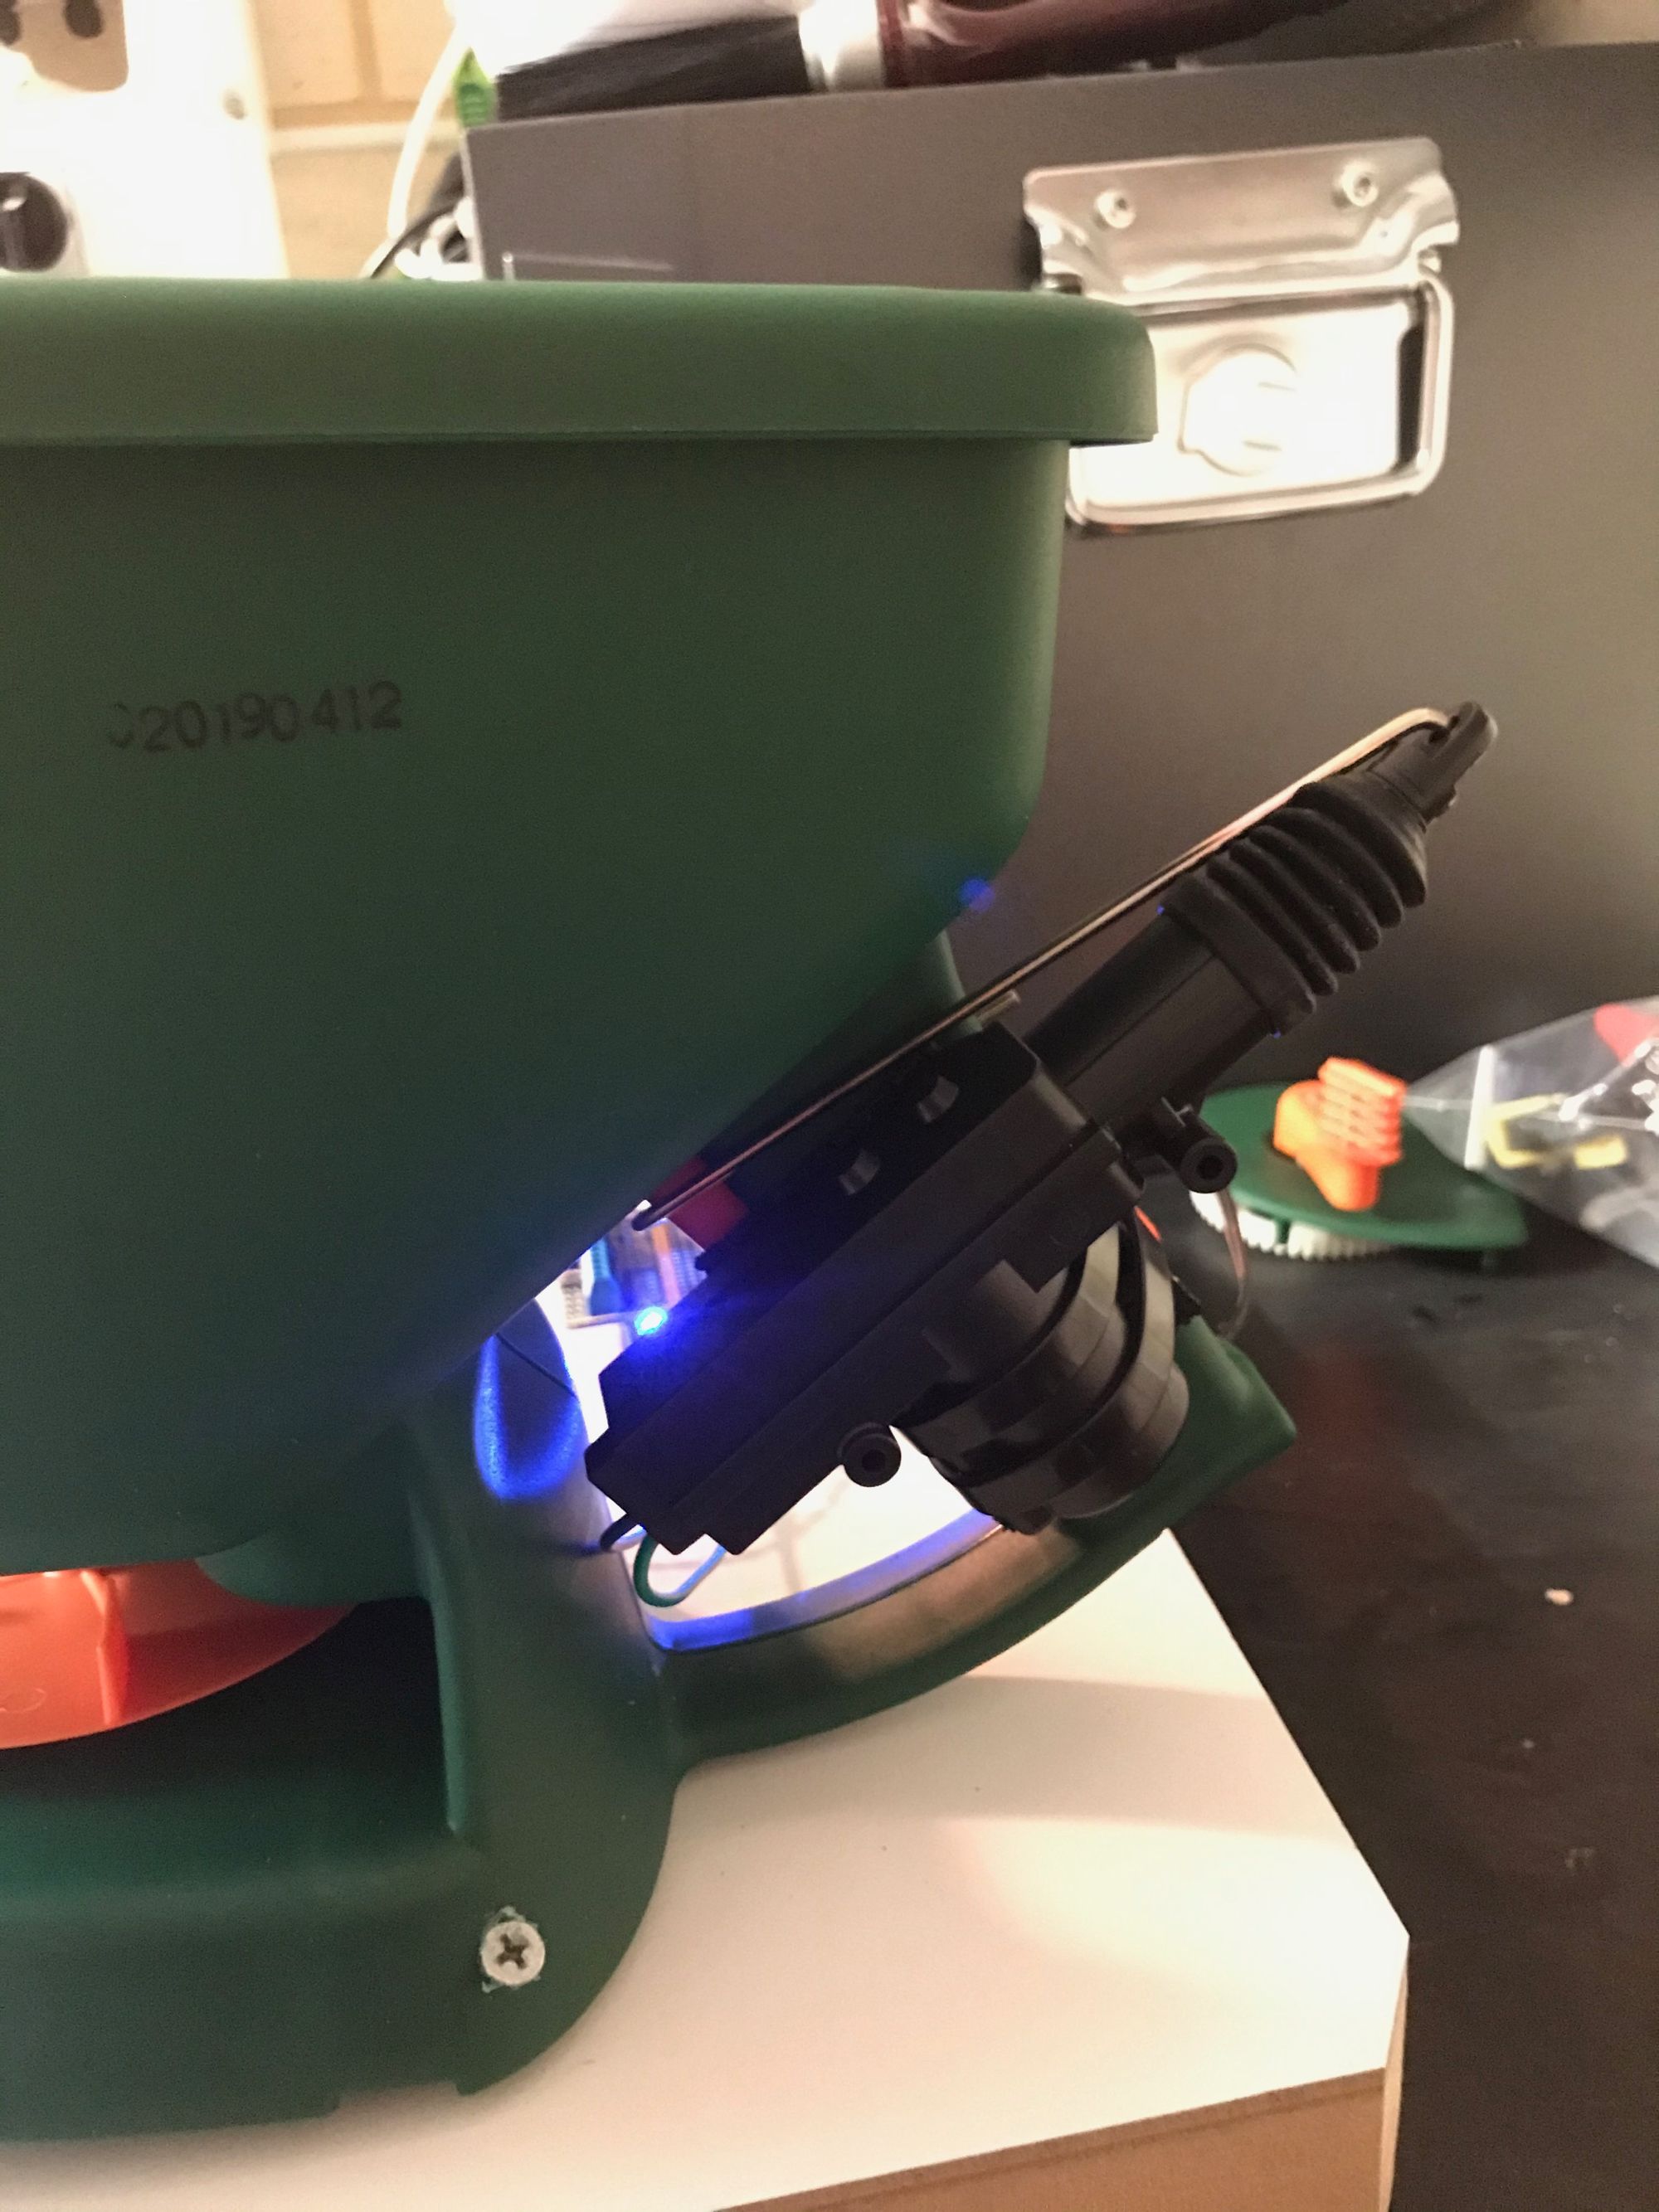
How do you make a cheap dog treat thrower? Motorise a fertiliser spreader! Basically the motor turns the spreader. When the spreader is up to speed, the car door locking solenoid pulls the trigger to release a dog biscuit (or two!)
| Status | Operational |
| Platform | Arduino Uno |
| Budget | $50 |
| Date Completed | September 2019 |
Summary of operation
Basically the motor turns the spreader. When the spreader is up to speed, the car door locking solenoid pulls the trigger to release a dog biscuit (or two!)
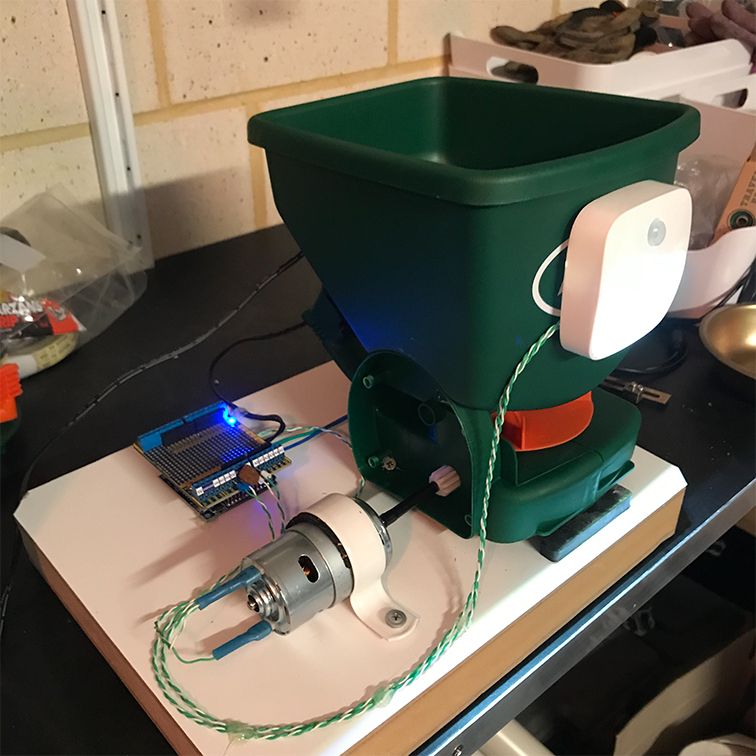
To activate, turn the LED sensor light to "on" or "auto". While the LED sensor light is lit, the system is in operation and throws a treat every x minutes. Therefore when set to auto, it waits for the dog to walk up. The delay of x minutes above also ensures the auto mode doesn't release treats too regularly.
Parts used
- Fertiliser spreader - https://www.bunnings.com.au/saxon-hand-fertiliser-spreader_p3350012
- Arduino Uno - https://core-electronics.com.au/uno-r3.html
- Dual half-bridge motor shield - https://core-electronics.com.au/1a-motor-shield-for-arduino.html
- DC motor - https://core-electronics.com.au/metal-dc-geared-motor-12v-50rpm-50kg-cm.html
- Car door locking solenoid - any generic 2 wire car door solenoid from eBay.
- LED motion sensor light - https://www.bunnings.com.au/arlec-motion-sensor-led-rechargeable-step-light_p0099437
Some engineering detail
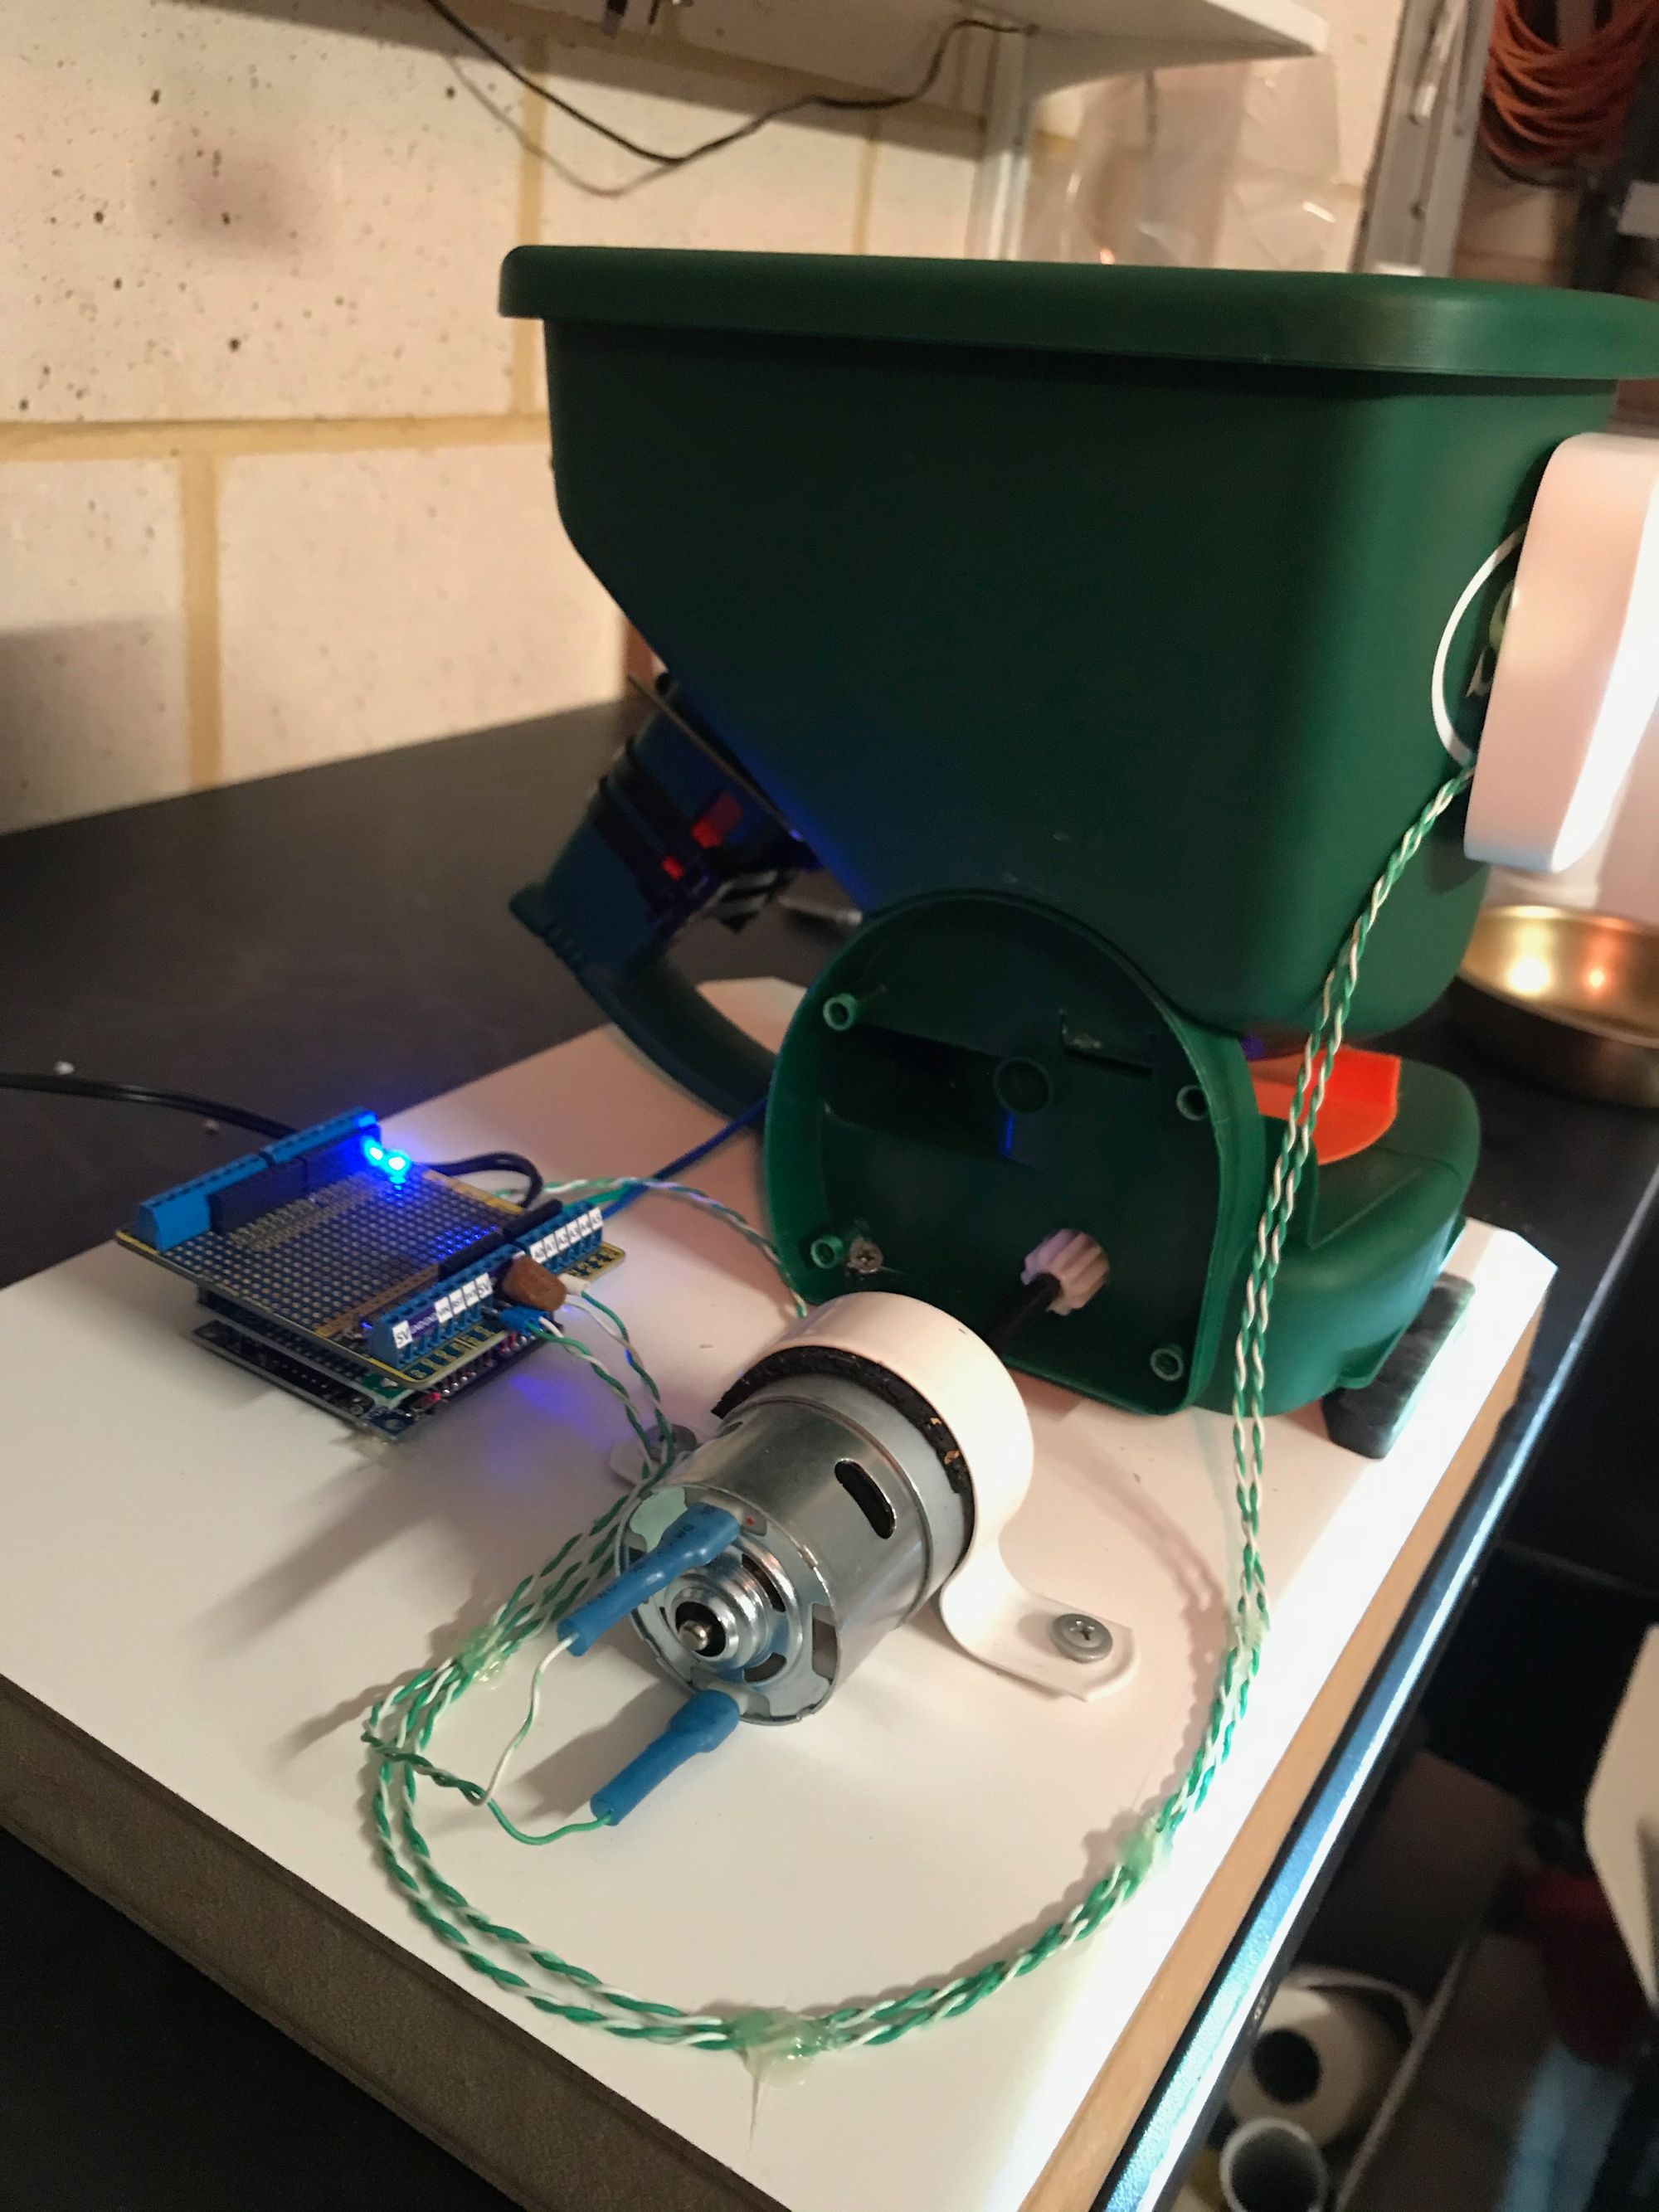
The hardware is wired up as follows:
- Basically the motor and the solenoid only ever need to be driven in the one direction. So rather than use the motor driver as a full H-bridge, it can be split in two and wired as two half-bridges.
- The first half-bridge is used to PWM drive the motor to reduce the speed. The DC motor was capable of driving the spreader to destruction at 100%!
- The second half-bridge drives the central locking solenoid. Using the second half-bridge is handy to avoid any damage to the microcontroller from back-EMFs.
- The LED sensor light did have a 3V battery. It's now wired to receive 3.3V power from the Arduino Uno, with the LED light signal wired back to an Arduino input to read it's status.
It's coded up in the Arduino IDE as follows:
- When it's first switched on it does a 5 second pulse of running the motor, with a 1 second pulse in the middle of the solenoid to pull the trigger on the spreader allowing pellets to drop.
- It then looks at the digital input from the LED sensor light as to when to operate. Therefore allowing the unit to be operated from the "On-Off-Auto" switch on the side of the LED motion sensor light.
- There is a delay running in the code so it ignores the input for x minutes (e.g. 30 min) after last run to avoid having a fat dog.
Future improvements
I would love to add an ESP8266 for WiFi and use Blynk or MQTT to give remote/cloud-based control.