
Electronics Pick & Place Machine
Ok… big project… machine to automatically assemble components onto printed circuit boards.

Ok... big project coming up here...
I was getting sick of assembling printed circuit boards and placing the tiny "surface mount" electronic components by hand with tweezers and a microscope. Some circuit boards could take an hour, particularly if there are lots of similar (but different) components.
The solution? A pick and place machine! It uses a vacuum head to pick components straight of the reel or tray according to their storage location, and places them on the circuit board (in the correct orientation) exactly where they go! Here's an example for inspiration...
Step 1 - the plan
So after watching countless videos online, and reading lots of articles like Our New Desktop Pick and Place Machine I had a decision to make (1) buy a commercial off the shelf machine or (2) build my own.
So normally I'm a big fan of option (1) - buy a commercial machine. I genuinely value my time...which adds up fast. But I also really struggled to find a commercial machine that had a work area large enough for me to assemble items like the Fuzzy Clock. And the machines that did were $10k+. Add onto that $2-5k to get the thing here from overseas.
For option (2) I was familiar with OpenPNP already - a DIY community of people who've constructed these machines. A vast resource of part designs, help and experience.
So - using the shipping charge of the commercial machine as my budget.... I decided to go with option (2) and build my own OpenPNP machine!
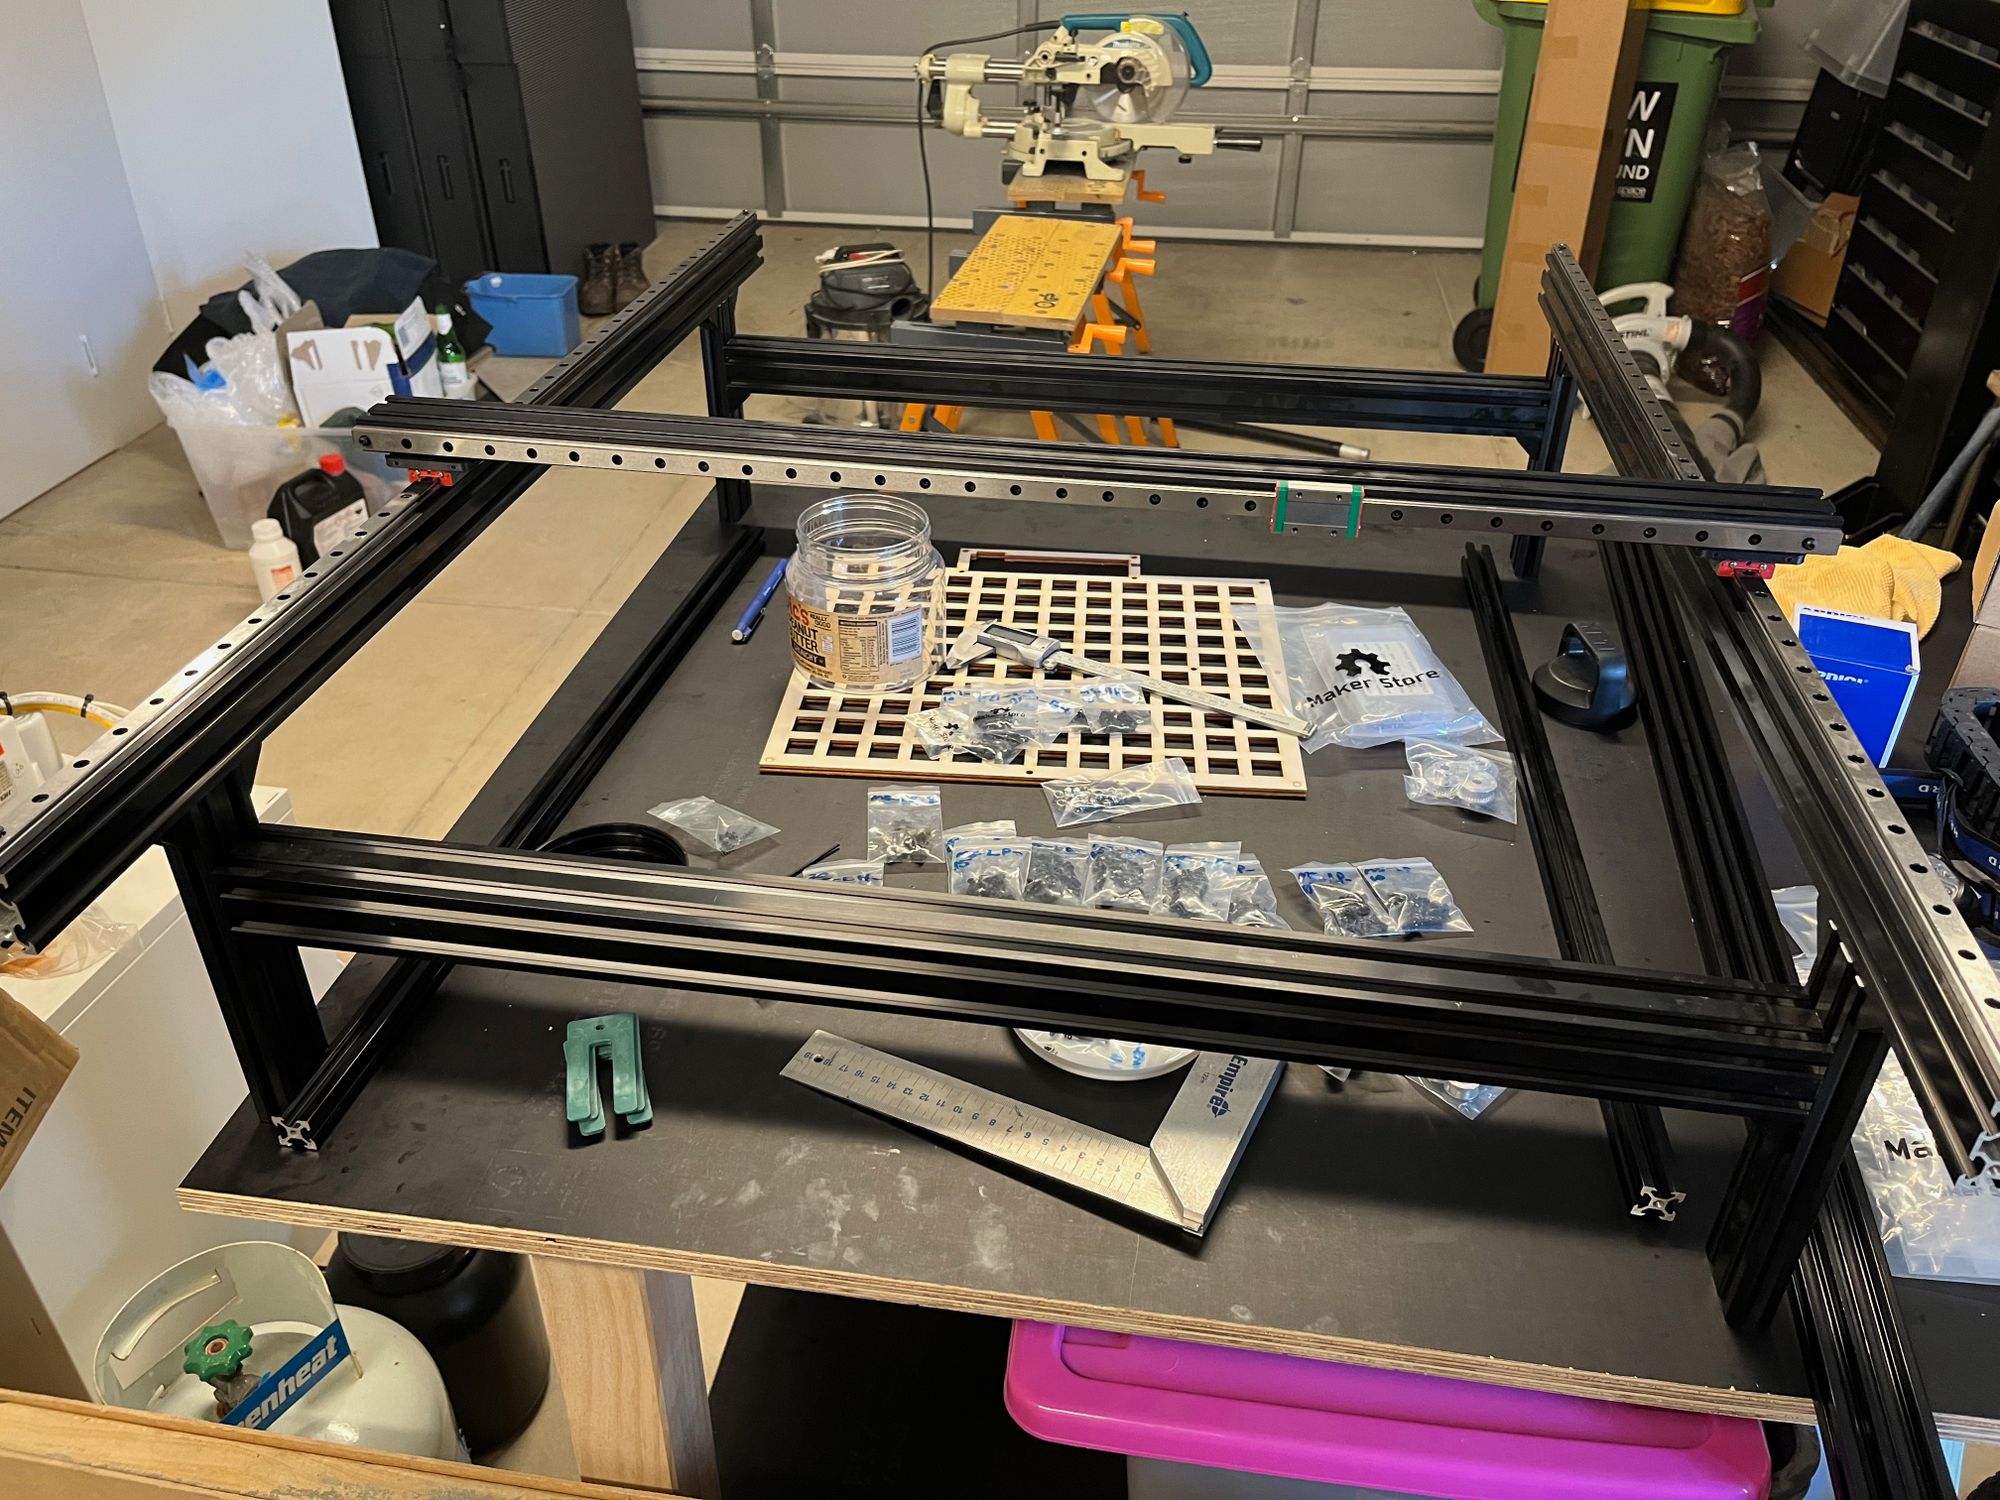
Step 2 - the design
There's a wealth of info in the OpenPNP website, including reference designs of machines. So that was where I started. Augmented only by the challenge of what I could buy locally in Australia...
When it comes to specialised hobbies and electronics - living in Australia can be slightly challenging. With Australia's limited manufacturing industry that uses these sorts of components, it can be hard to find what you need. Secondly parts are expensive to ship here from the USA and Europe - more-so now with COVID.
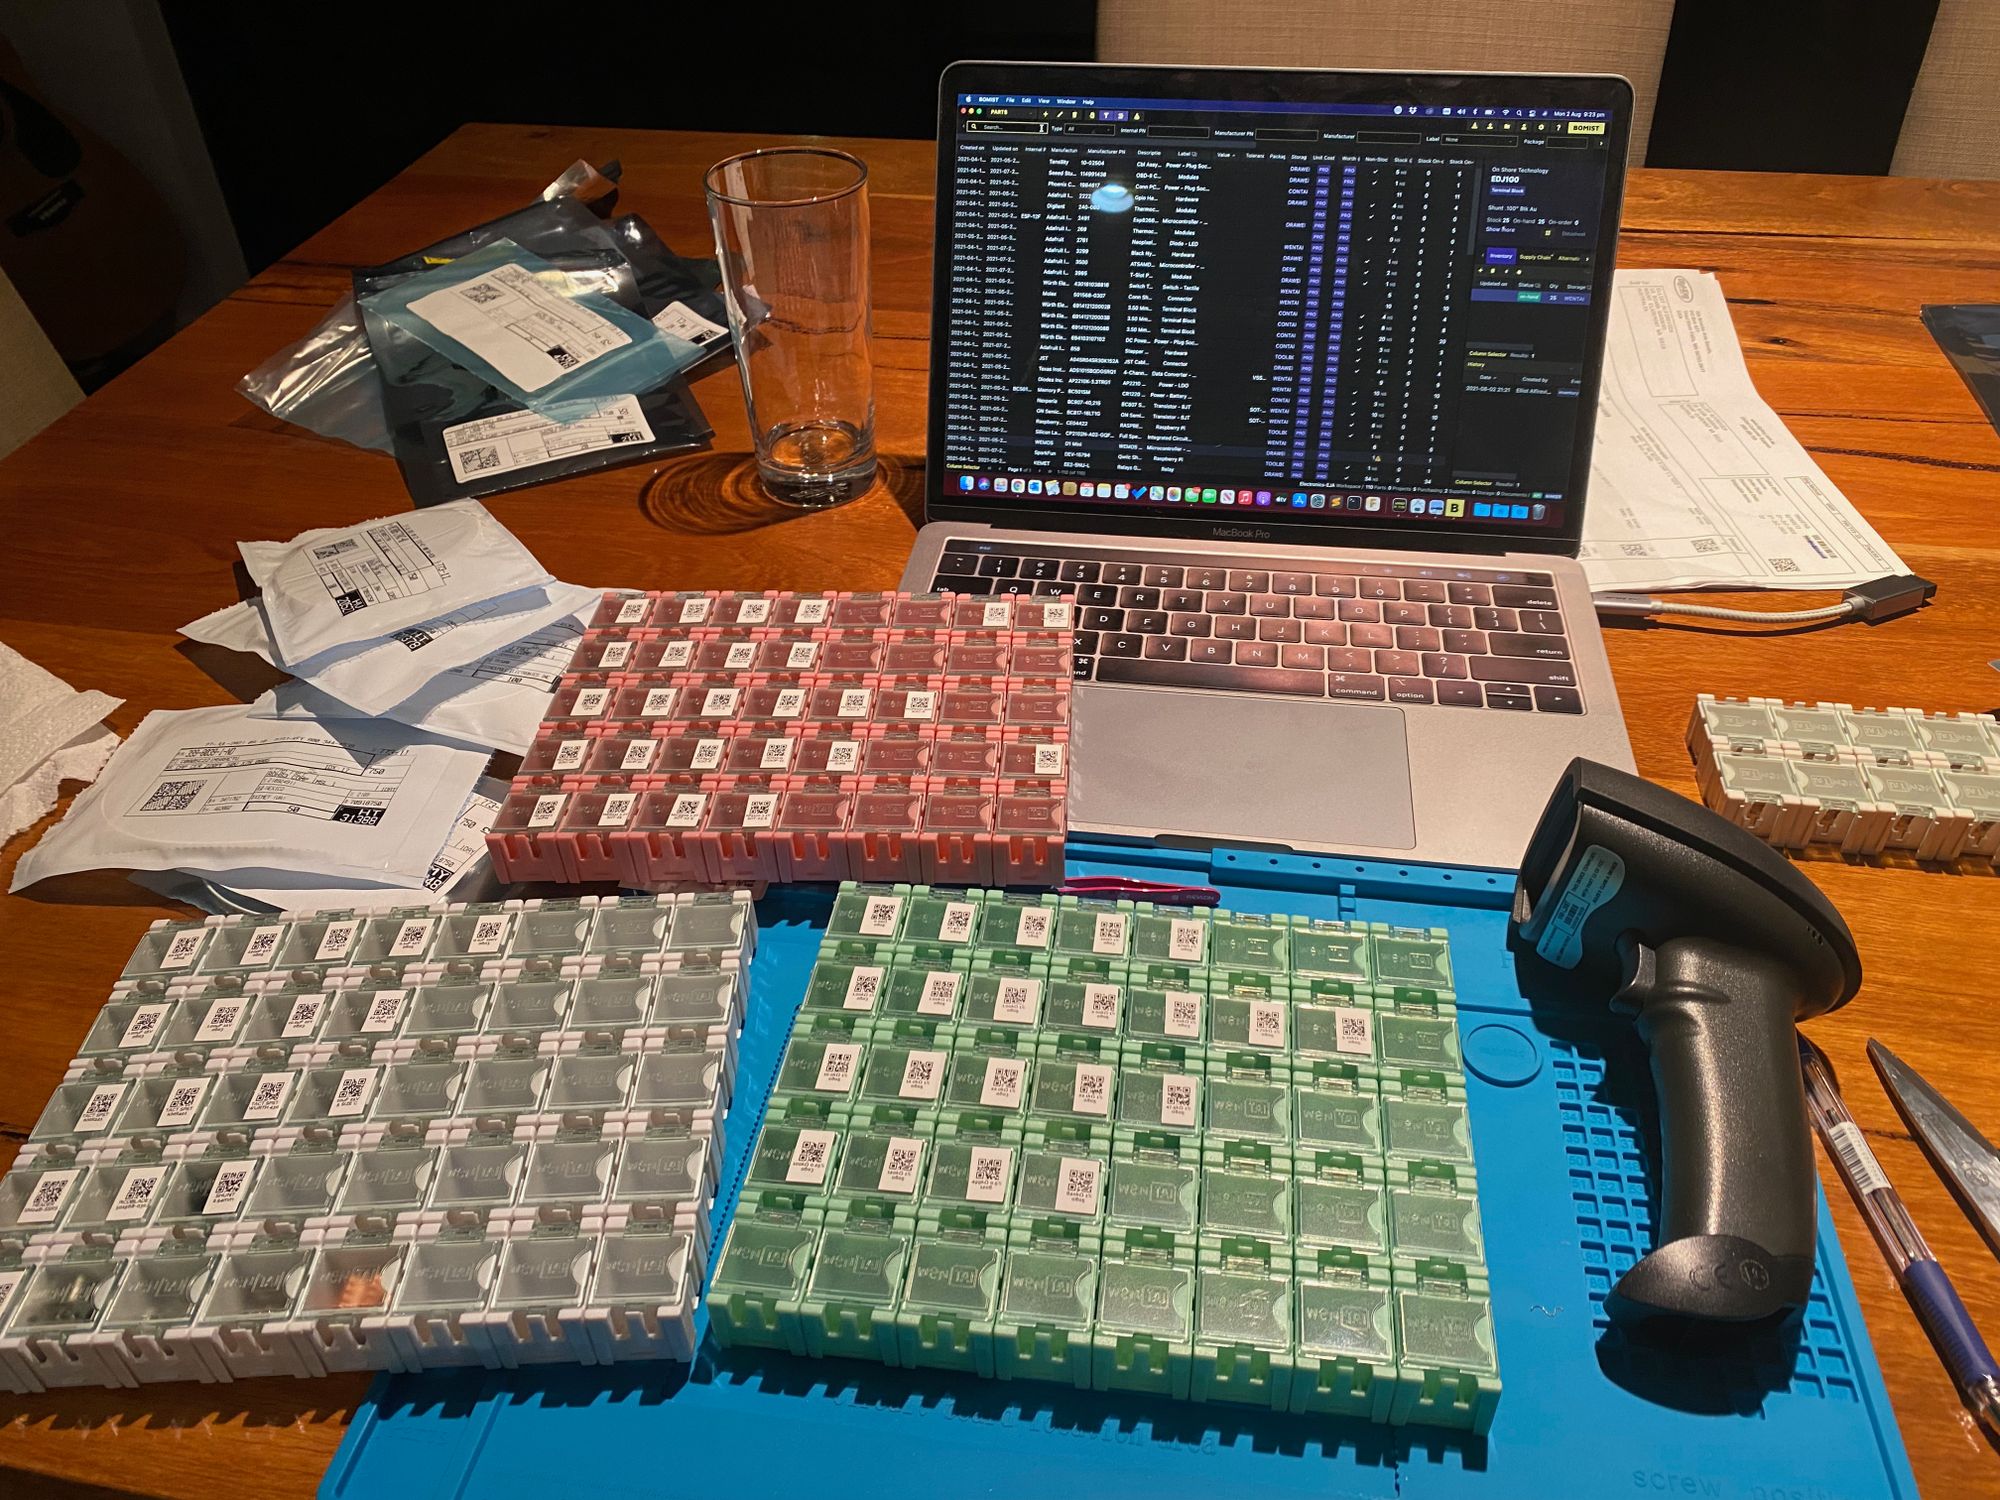
So the winning combination here really is what I could get from my trusted bunch - makerstore.com.au (almost Australia's version of OpenBuilds Parts Store), Core Electronics, Jaycar, Bunnings and the like. Then throw in some overseas suppliers with cheap and fast shipping like Digi-Key and JLCPCB.
There were a few components I had no choice but to pay $$ for shipping because I needed the parts. Those two were Robotdigg for pick & place specific components, and Smoothieboard controller. Hopefully the last time I ever pay USD$100 for shipping an item the size of my hand!
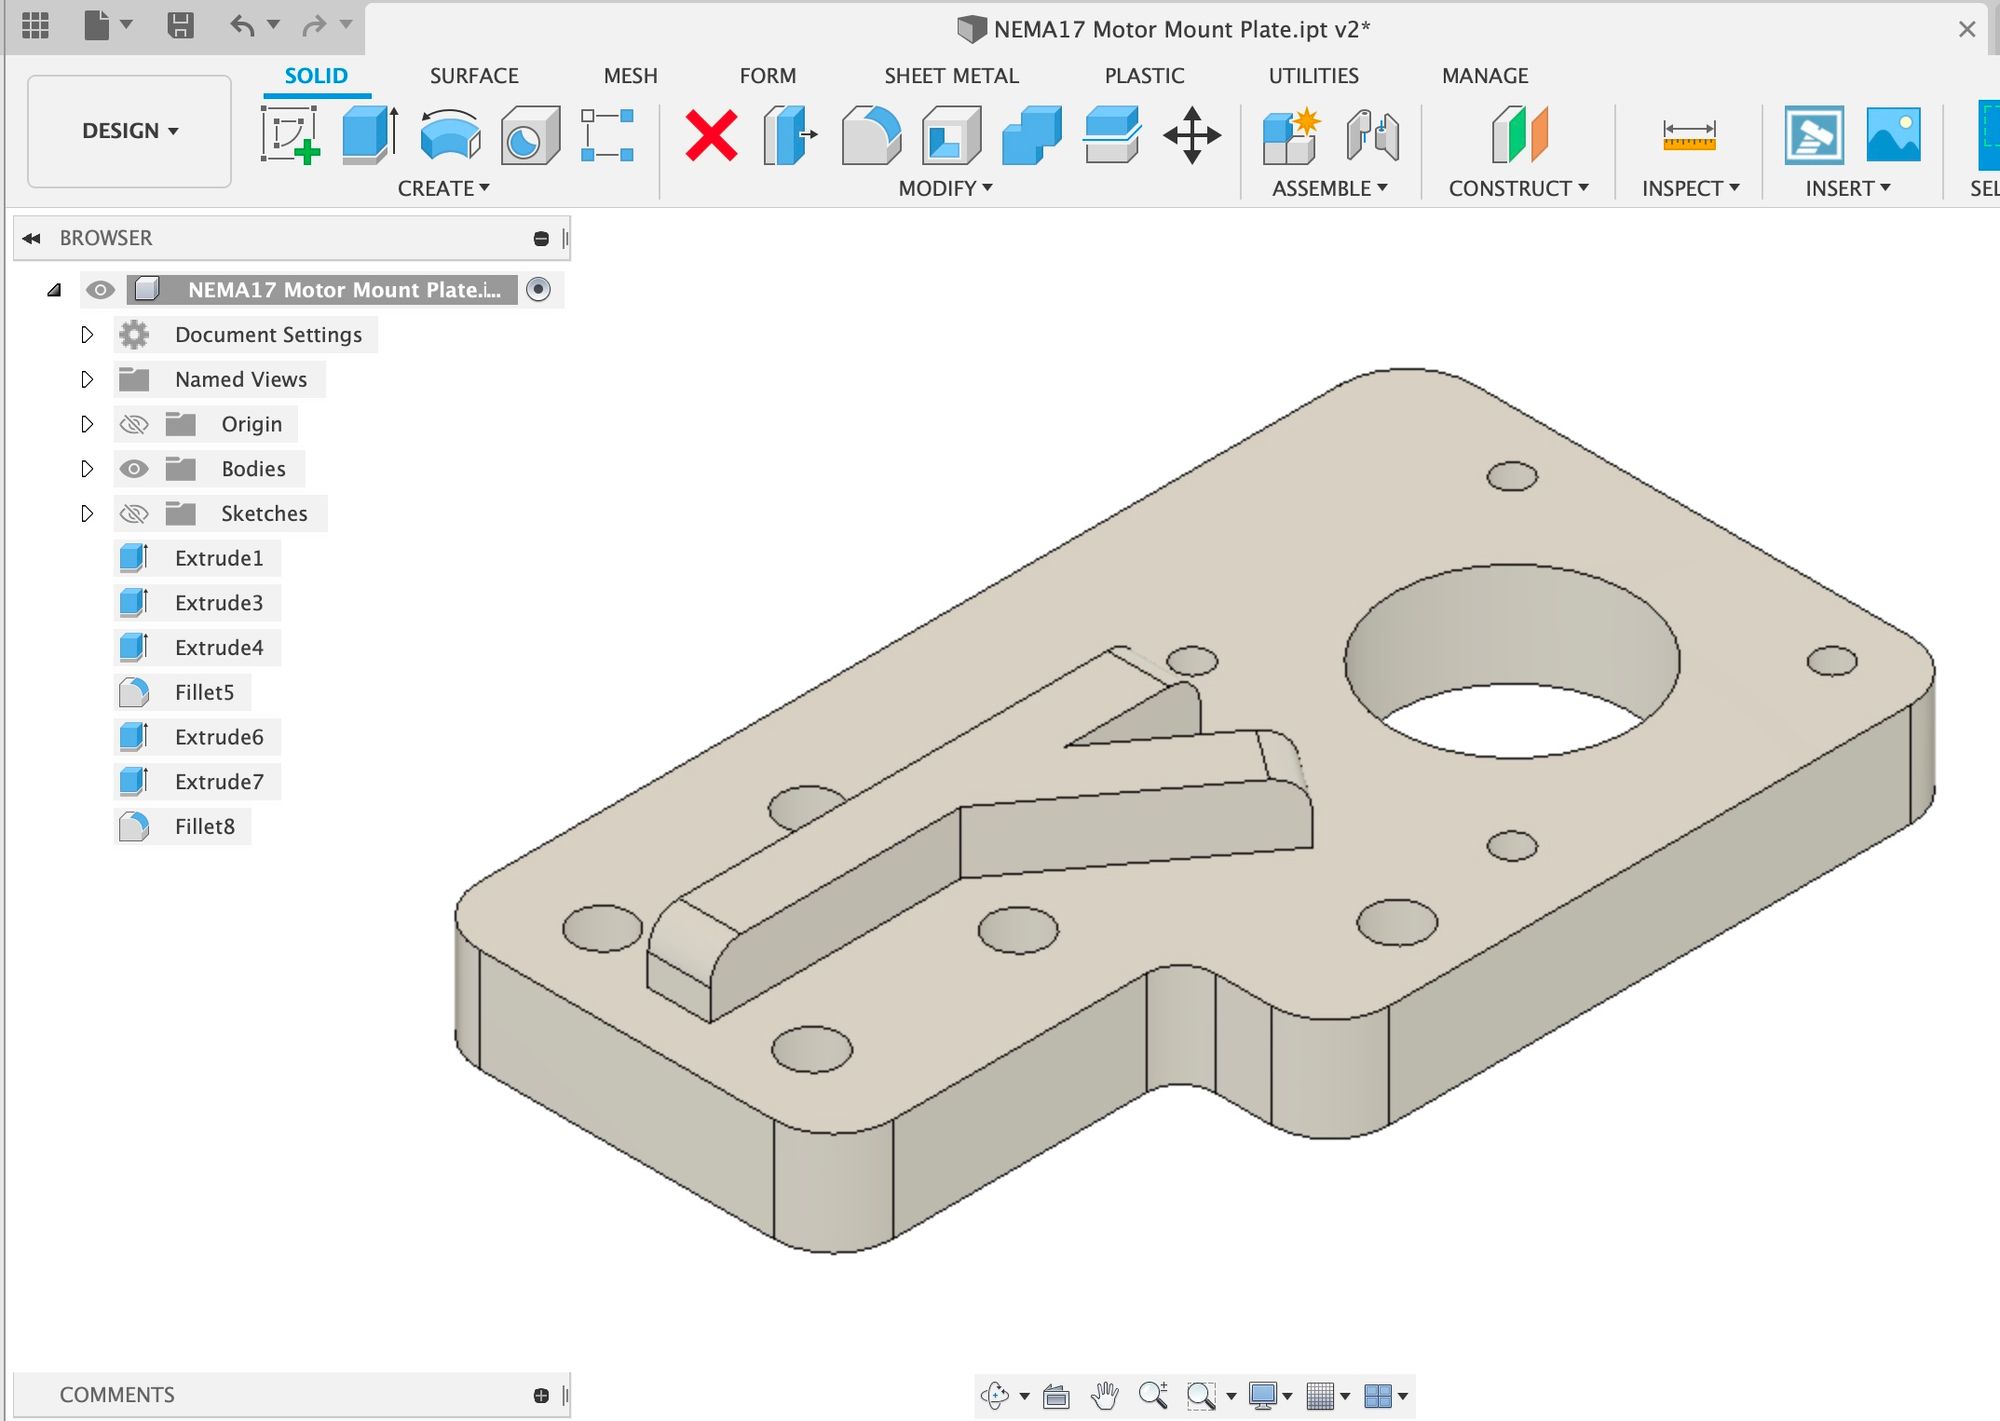
Last requirement is the 3D printer. I'm lucky to have a good 3D printer that's capable of producing components in tough plastics like ASA. So the Flashforge Creator got the job to print many of the parts. The "mirror" feature was really handy to print the left and right side components simultaneously.
Thanks to Betz Technik Industries Ltd for their parametric pick and place design and Anthony Webb's DIY Pick and Place which I've chosen to be the basis for my machine design. Well done for publishing and sharing your models and files - I intend to do the same.

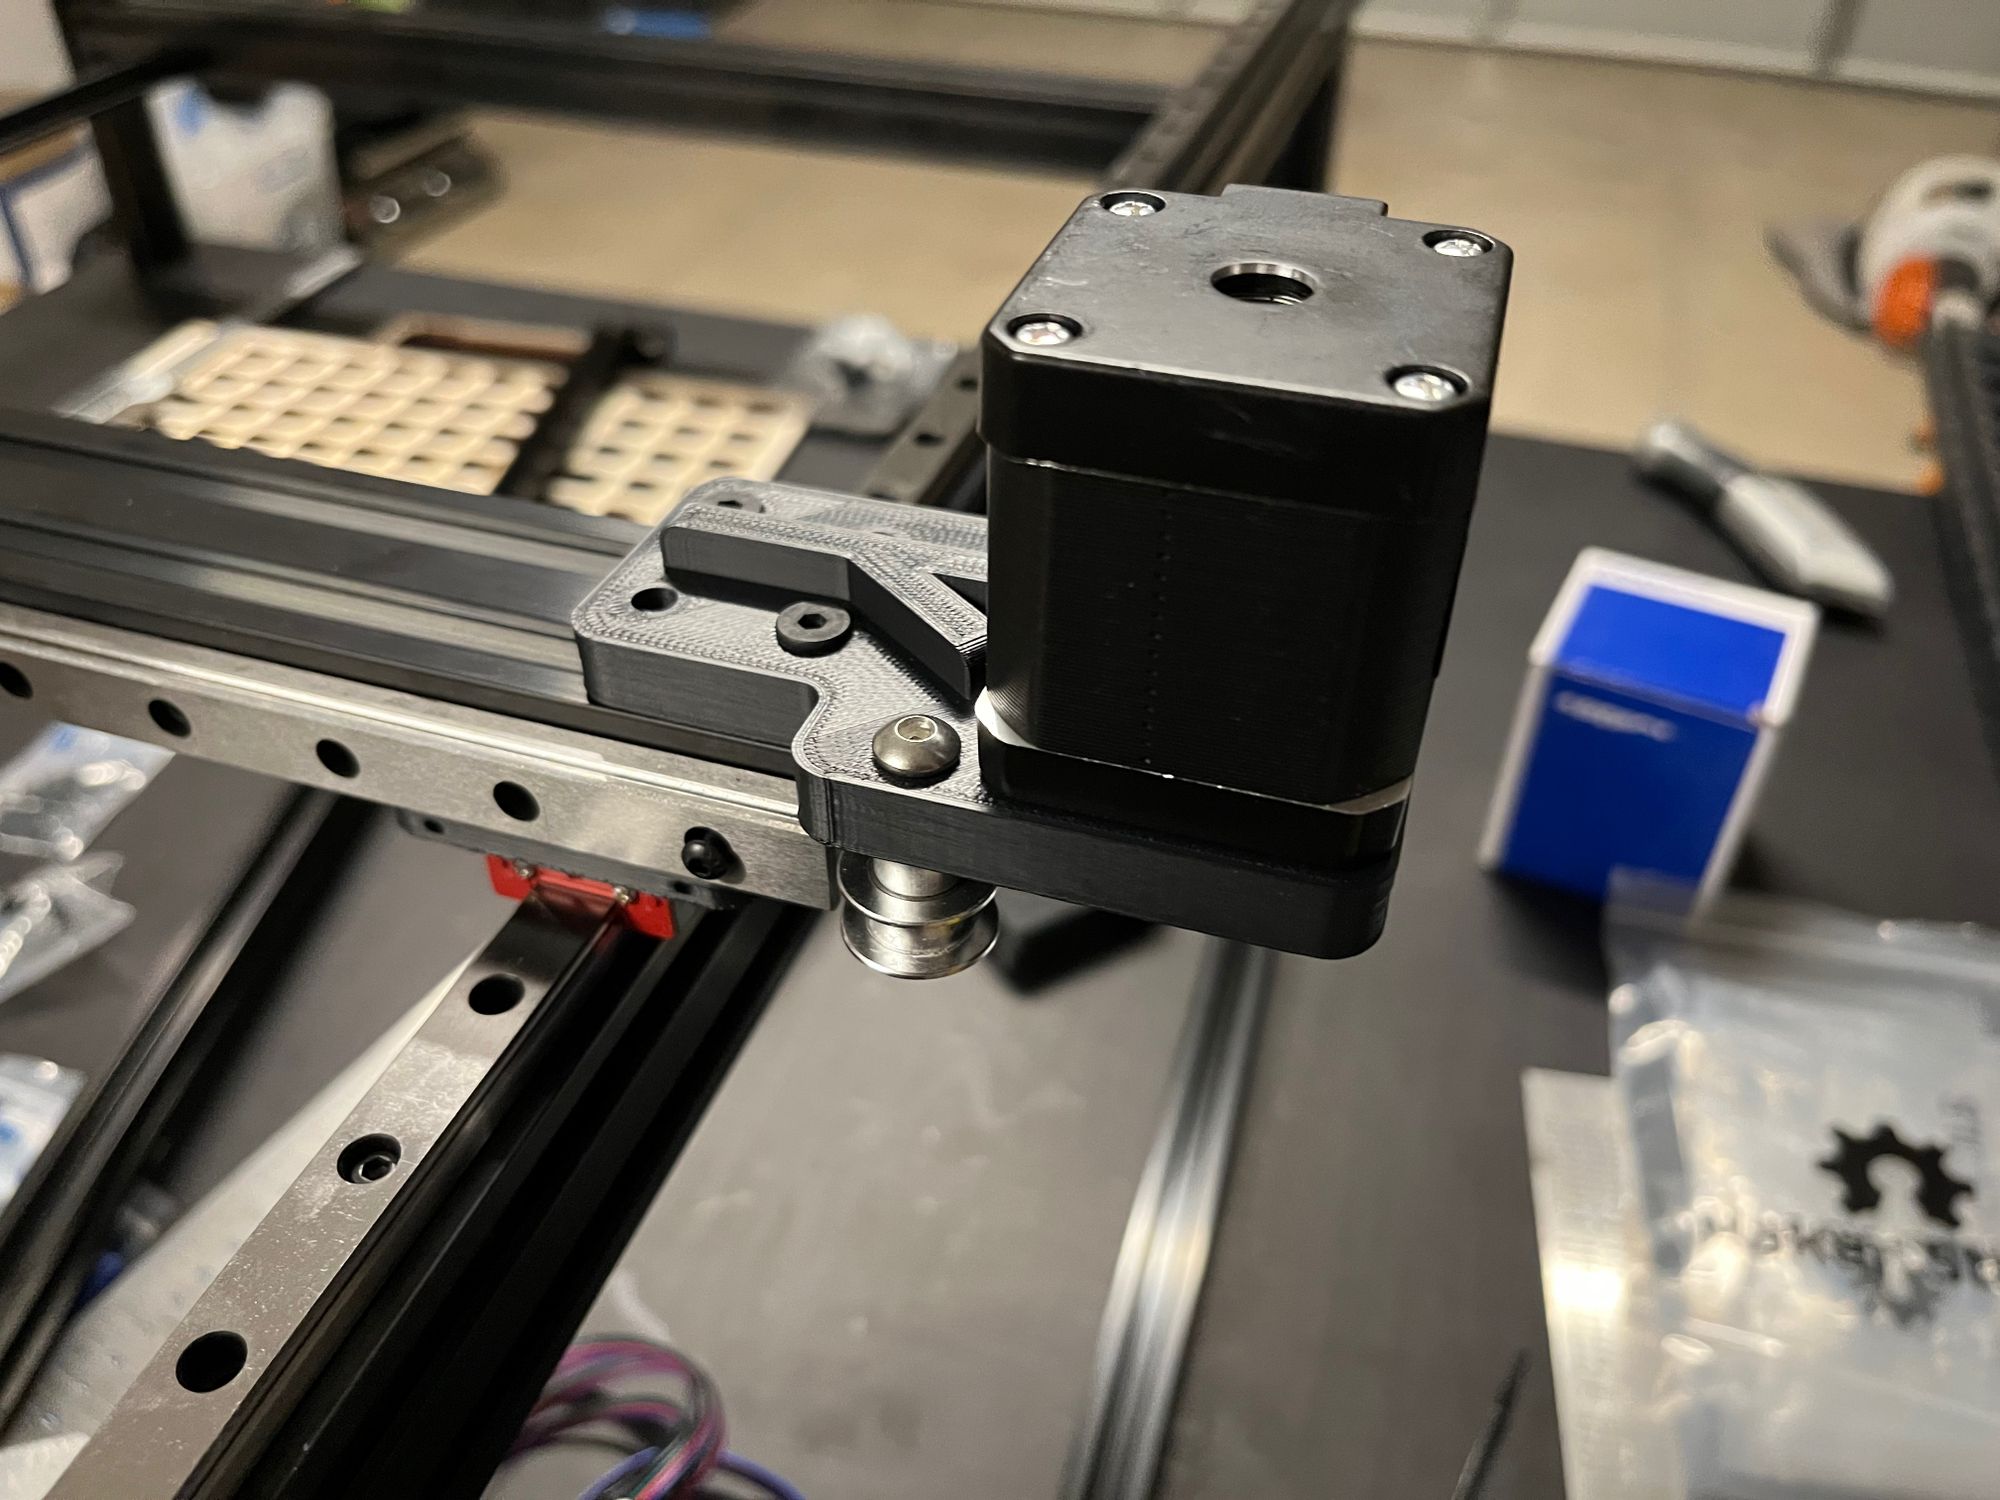
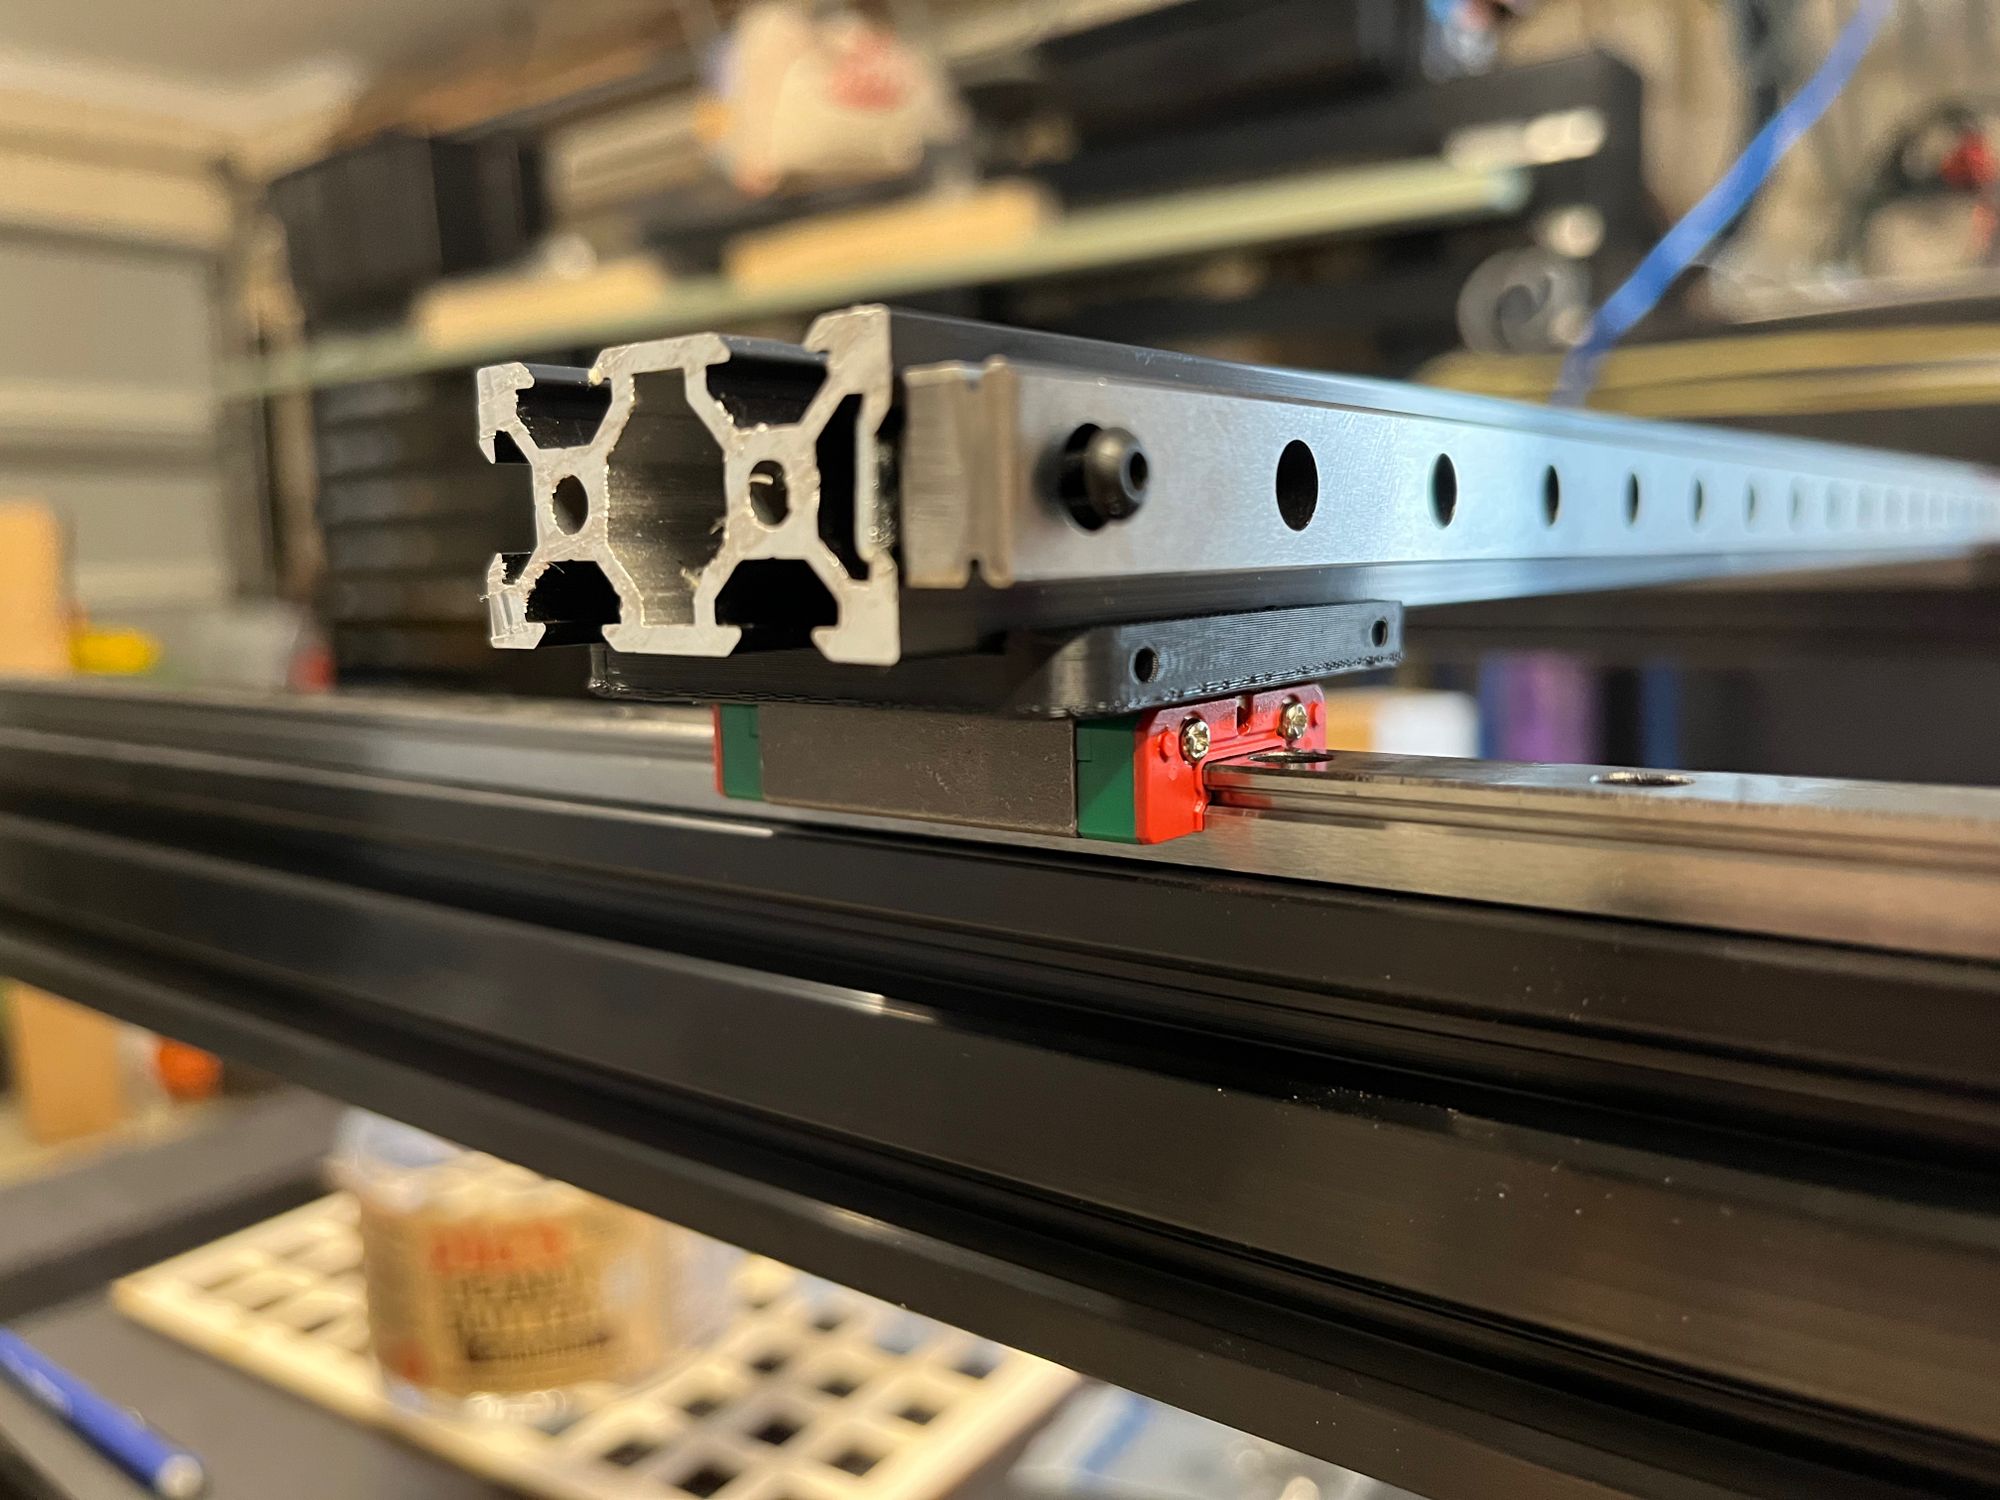
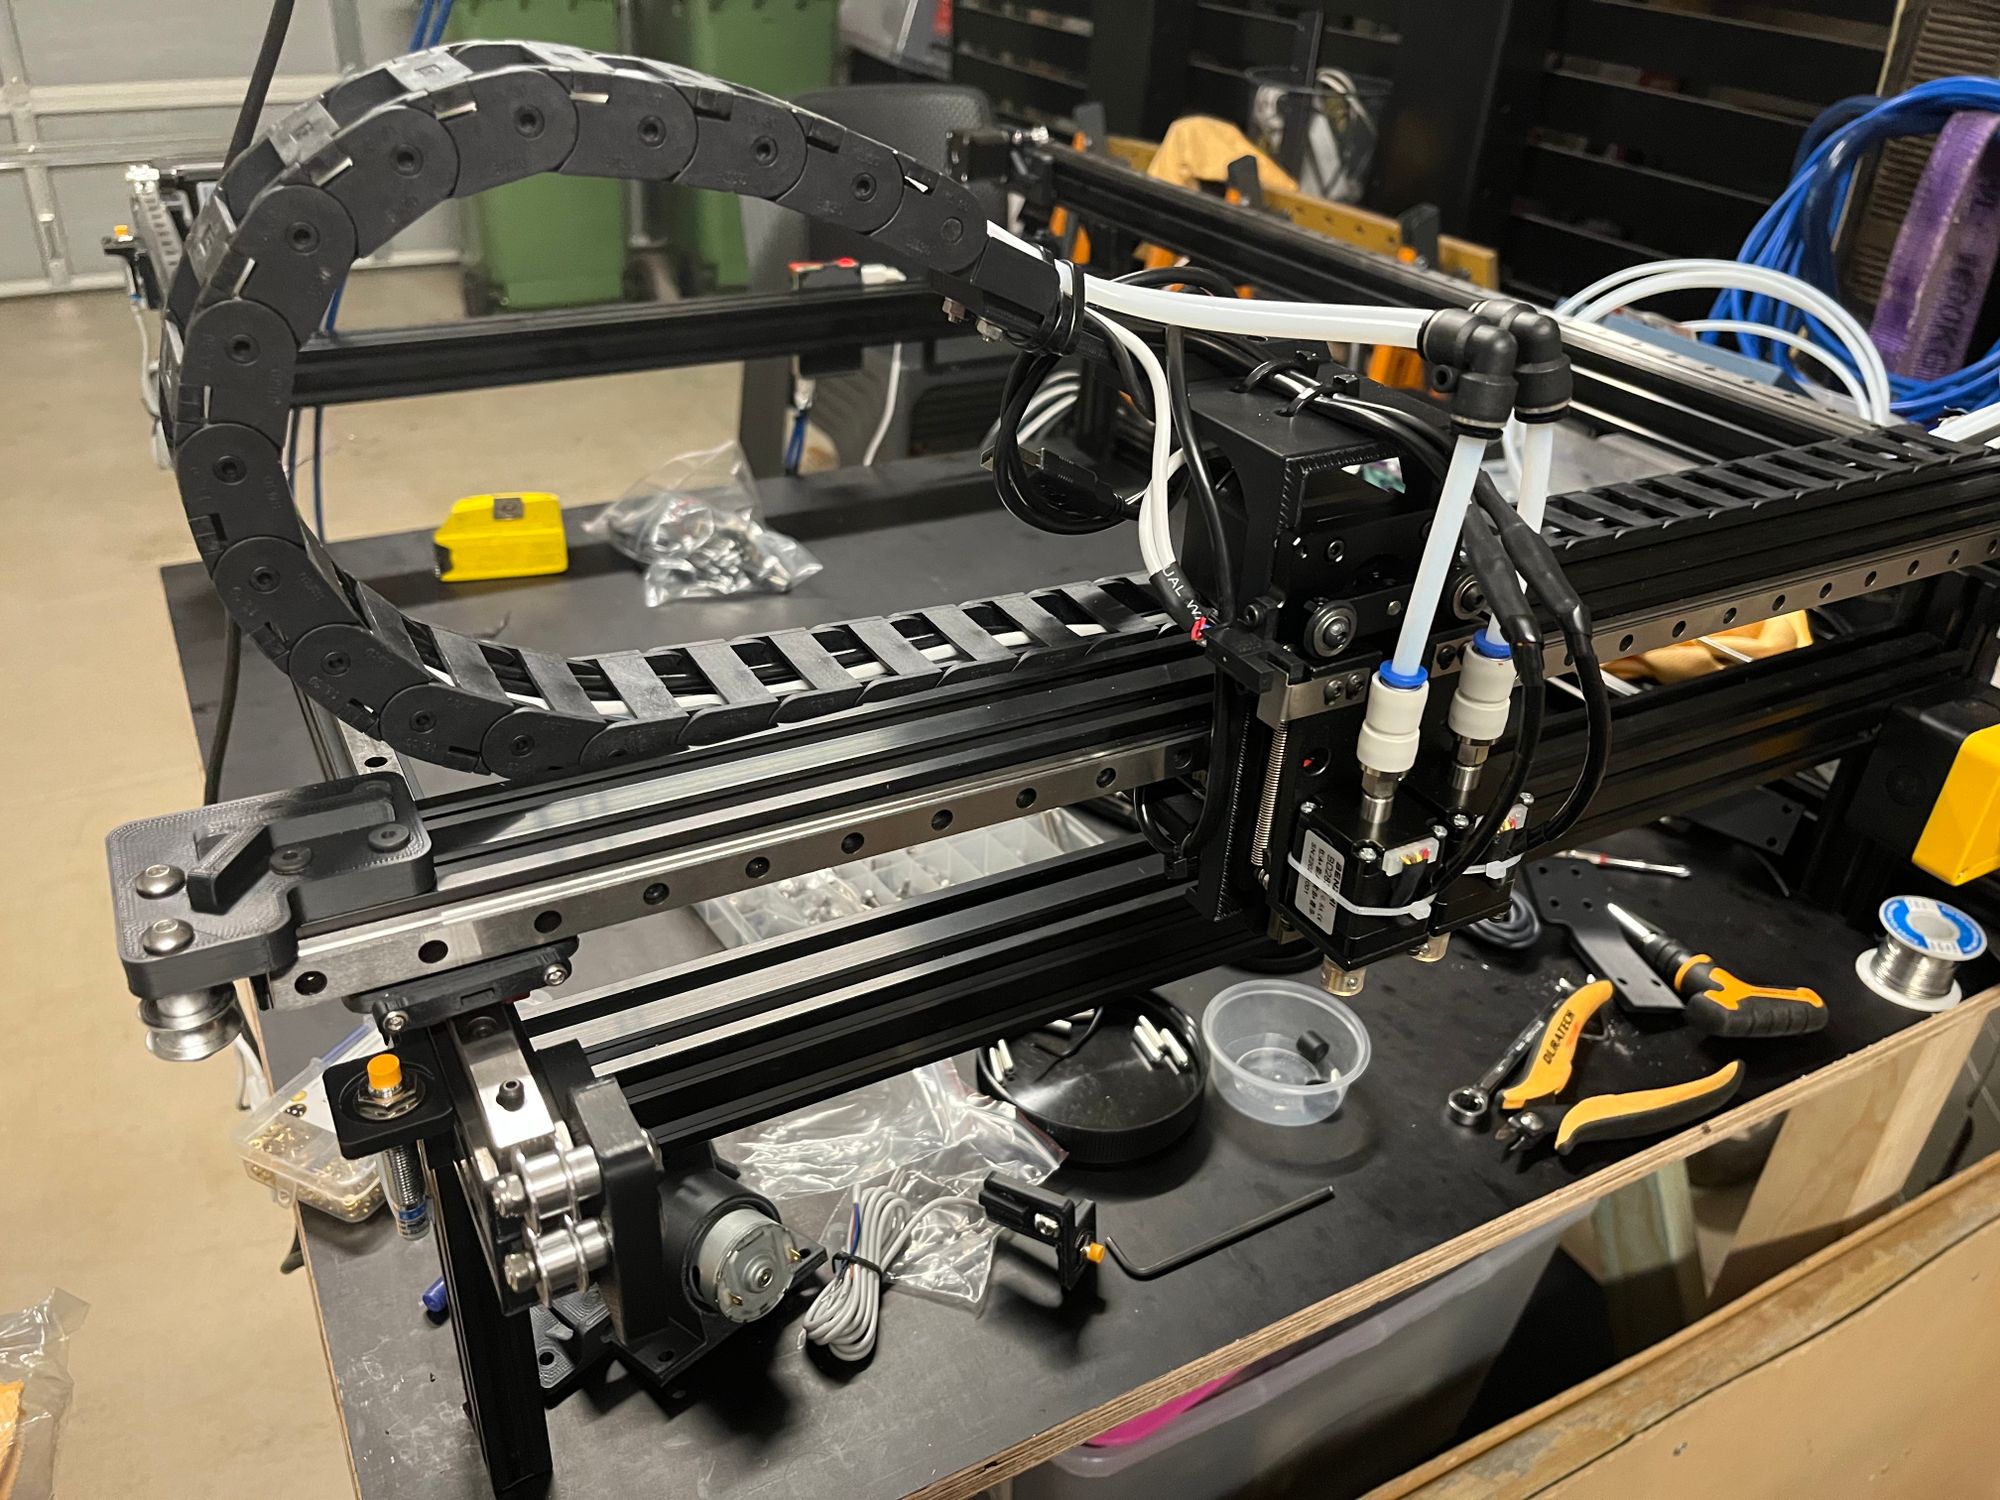
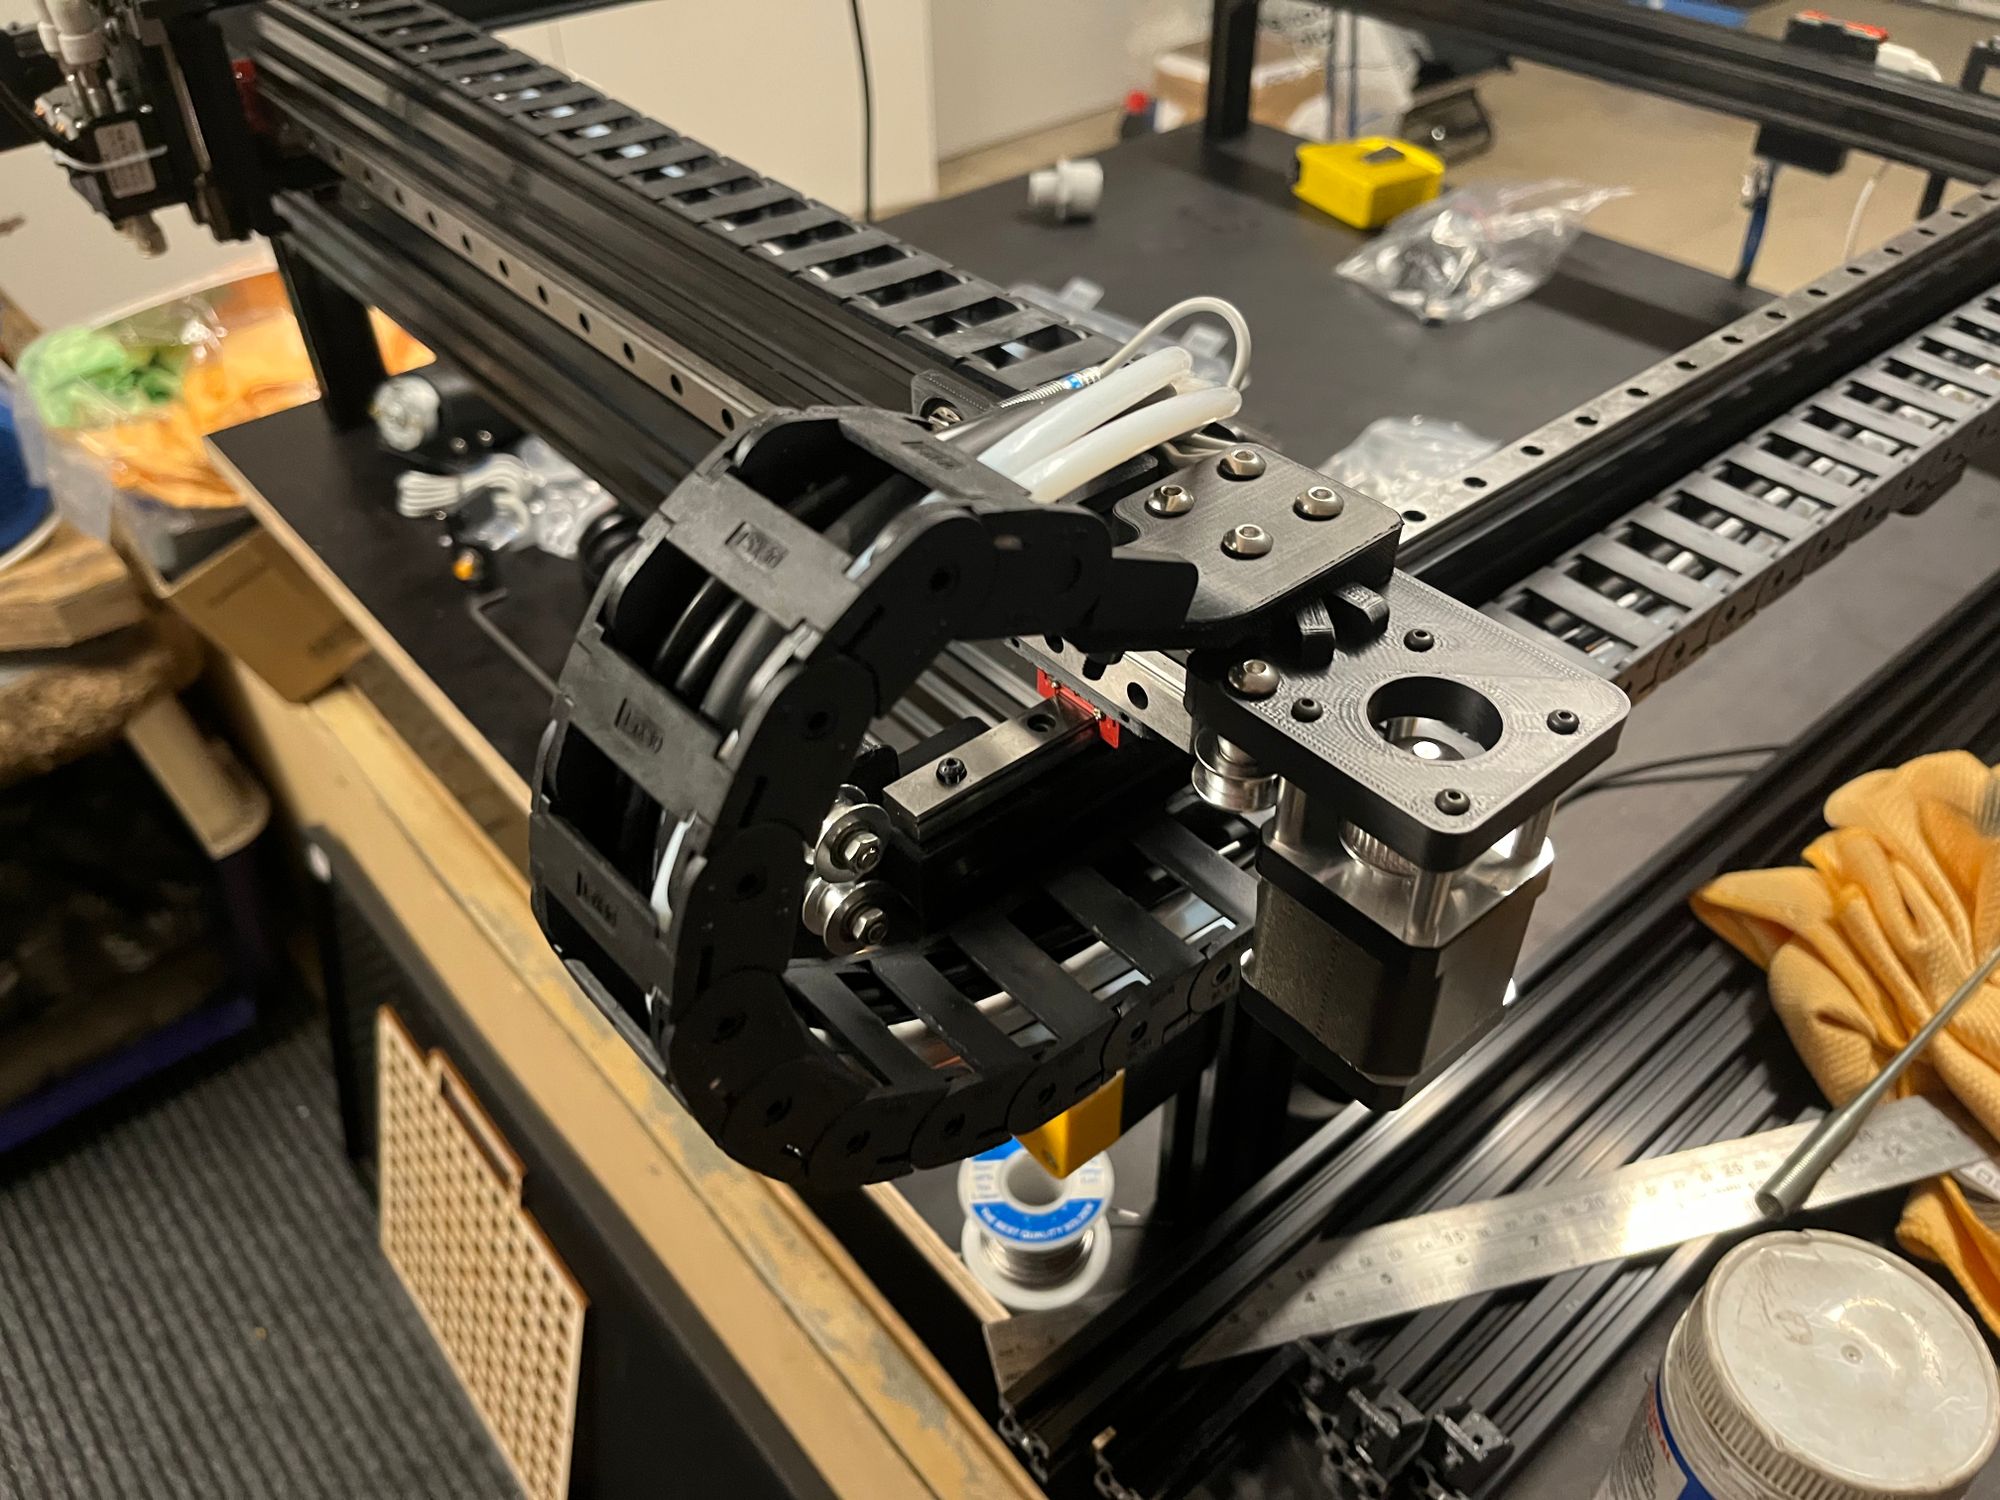
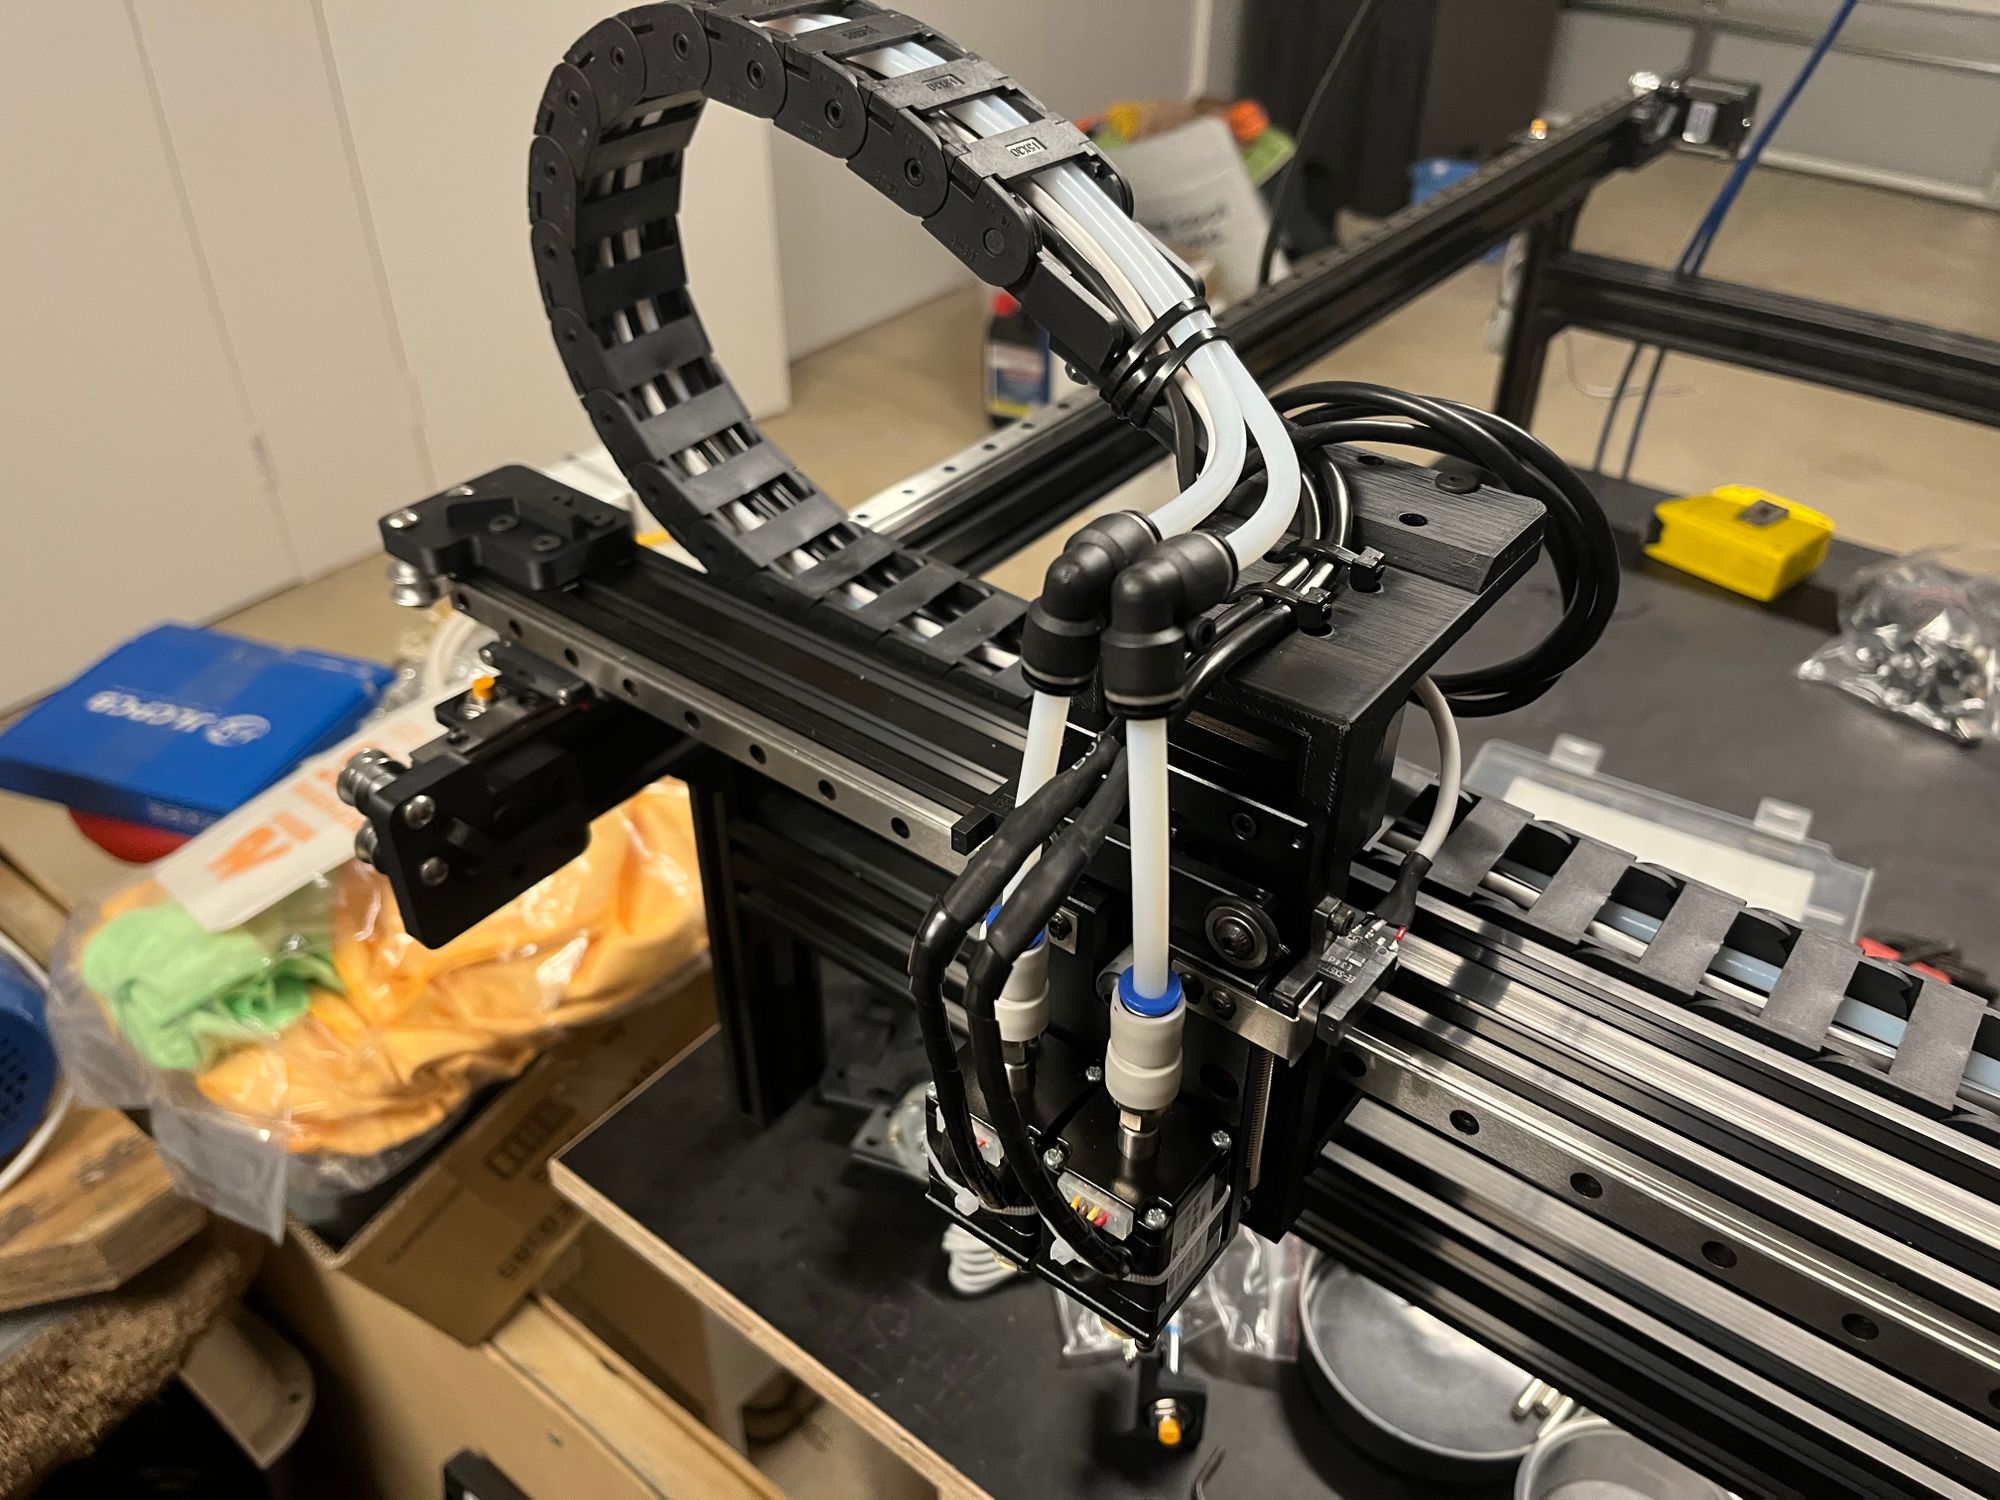
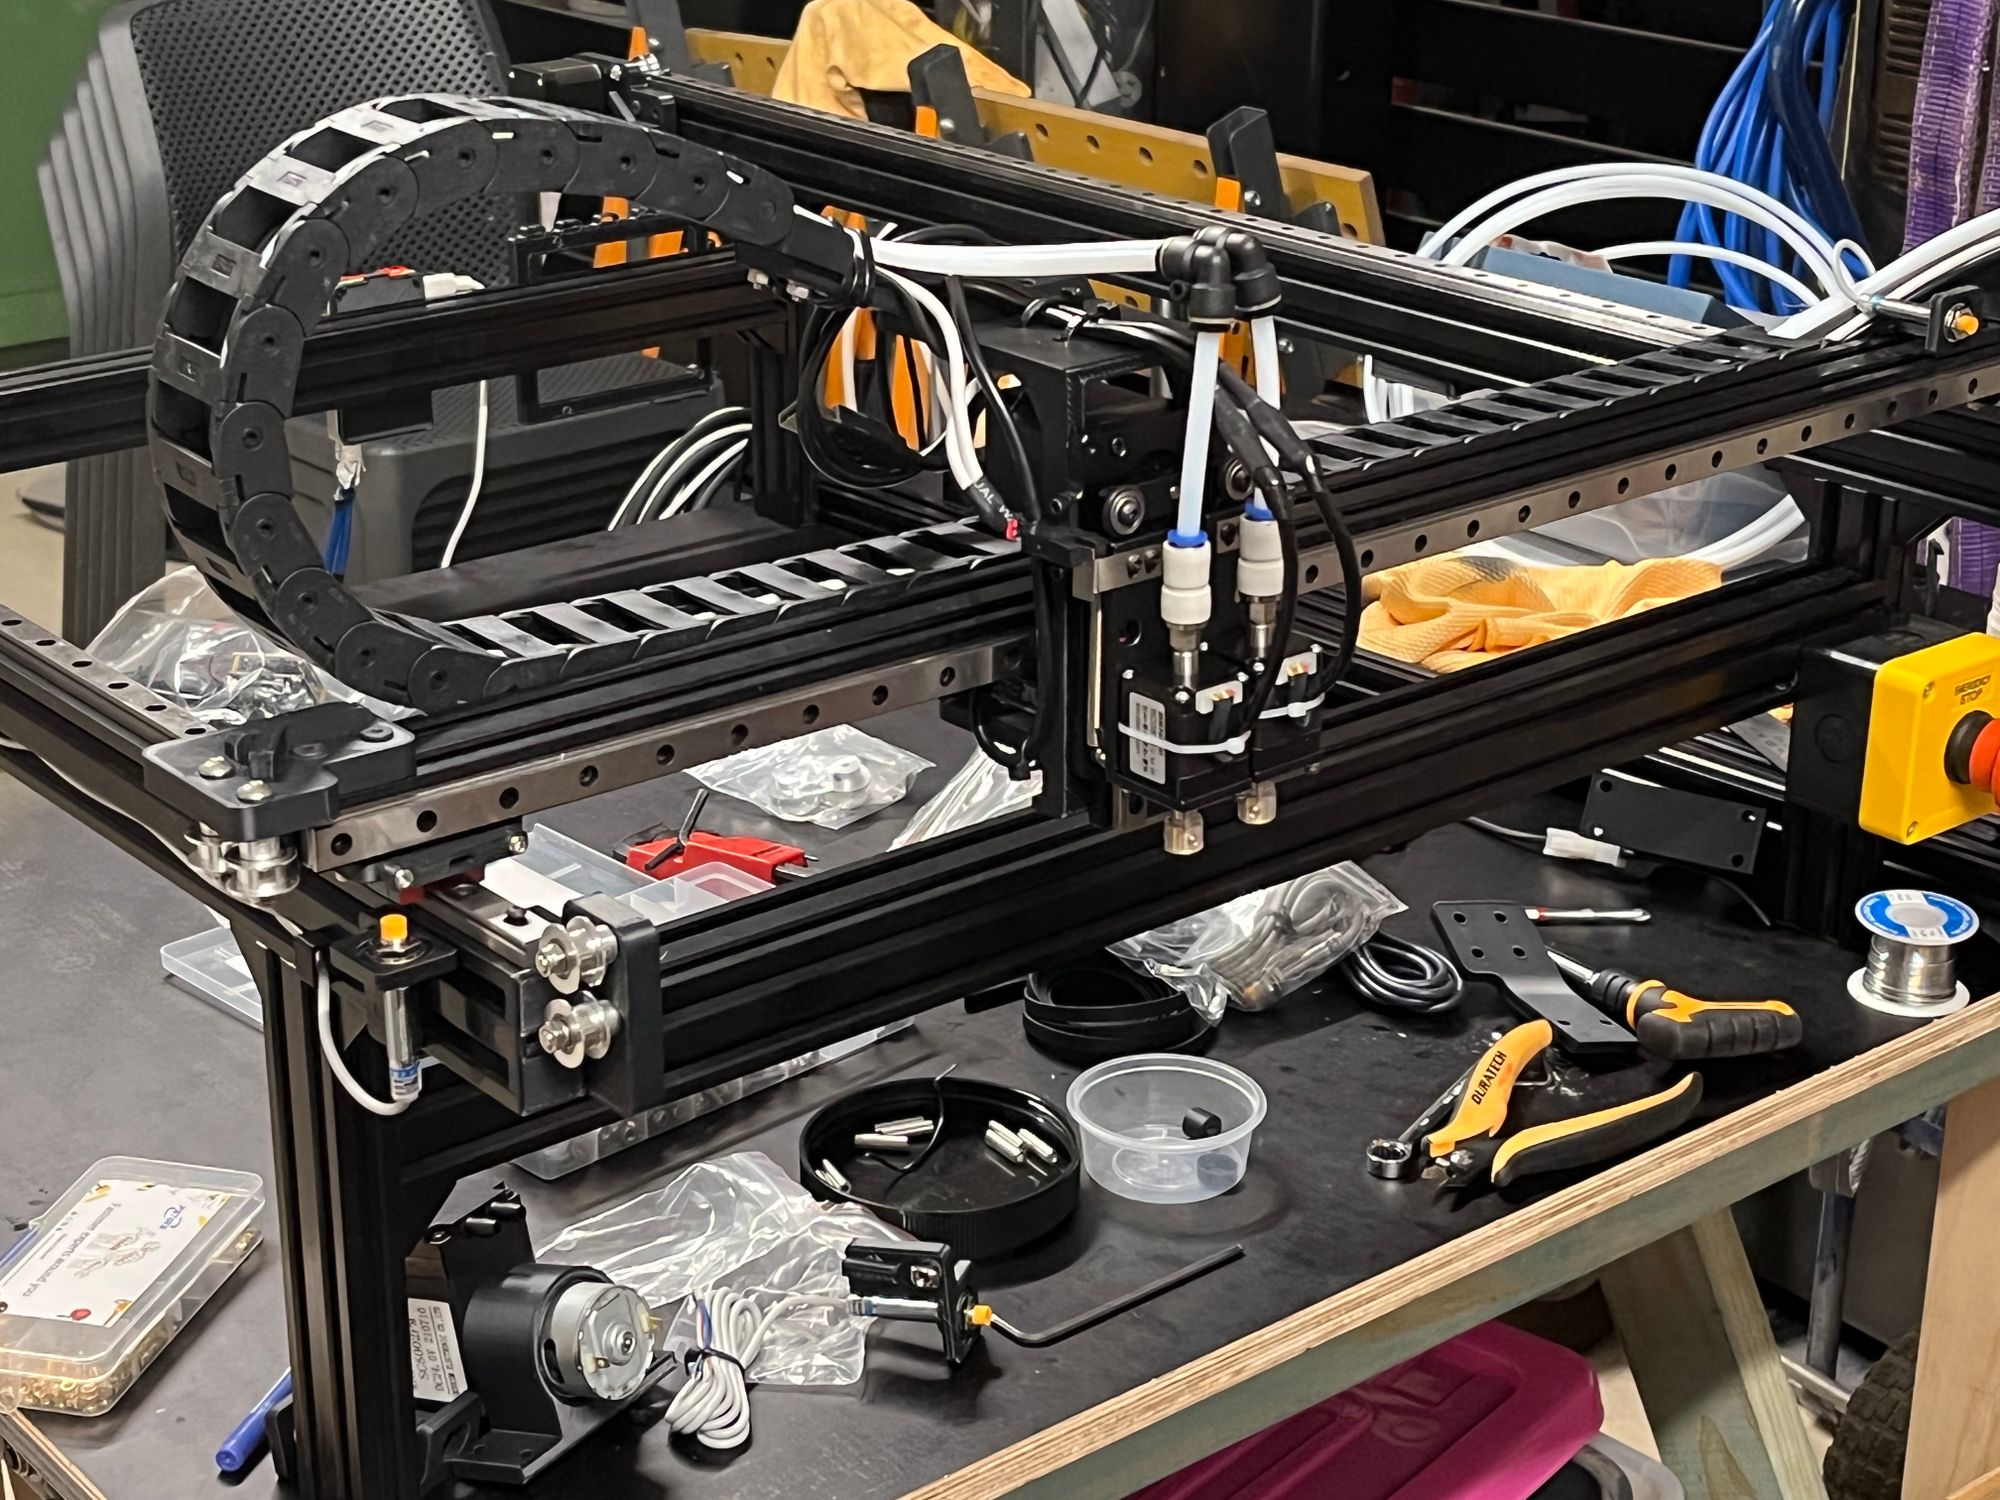
Step 3 - the assembly
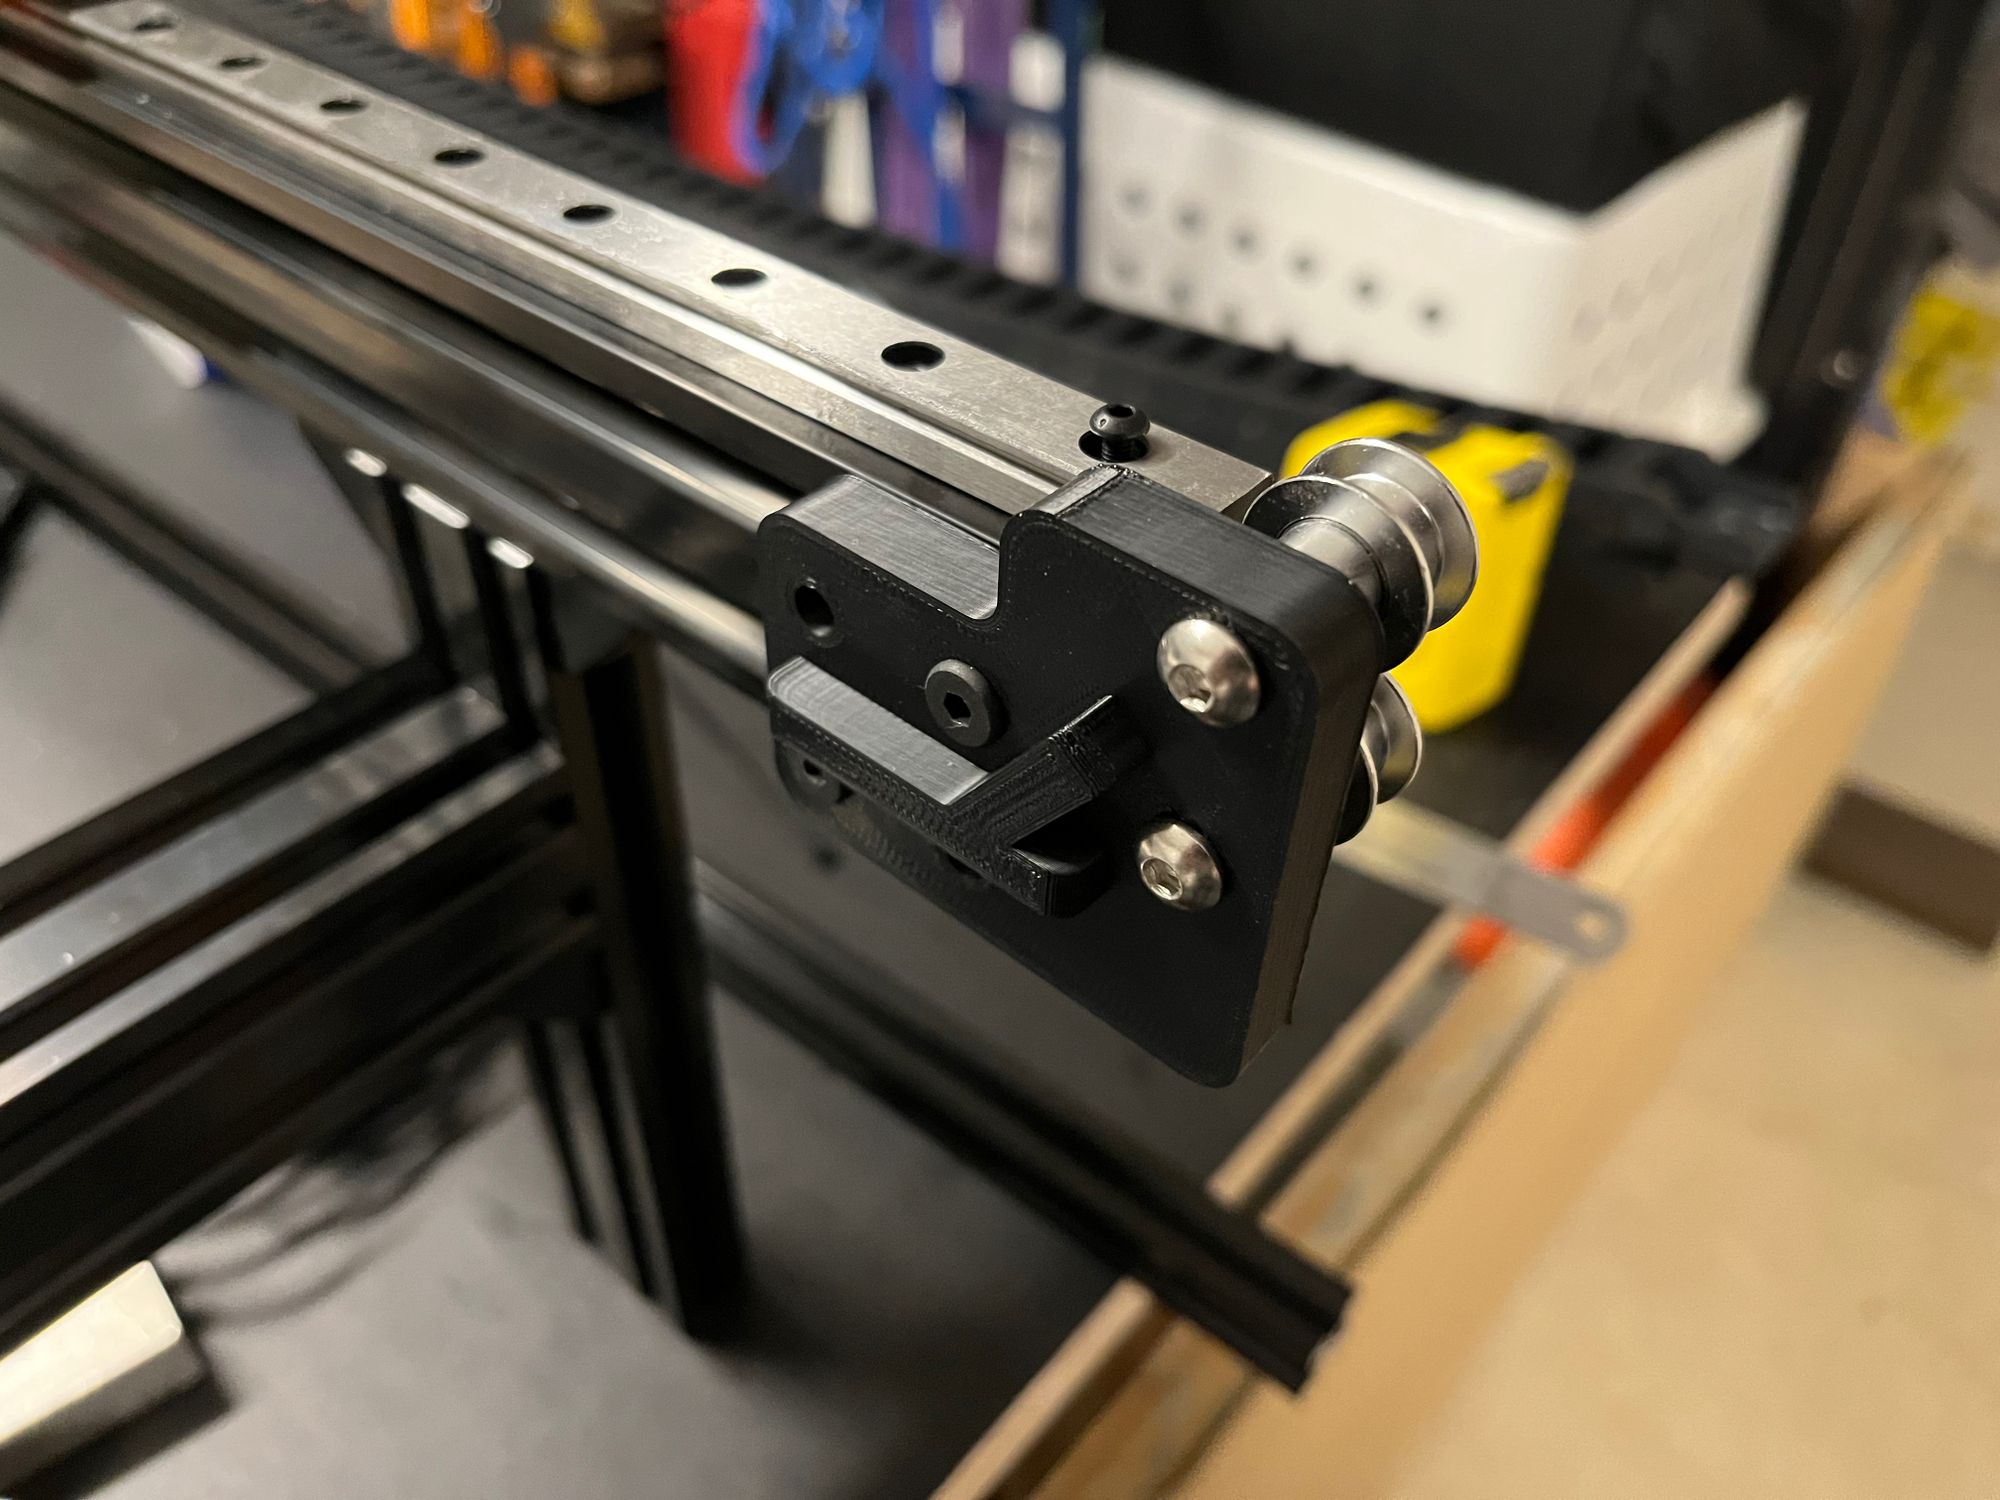
Once the dog had barked for the 100th time at couriers, the final bits were delivered, it came time to put it all together.
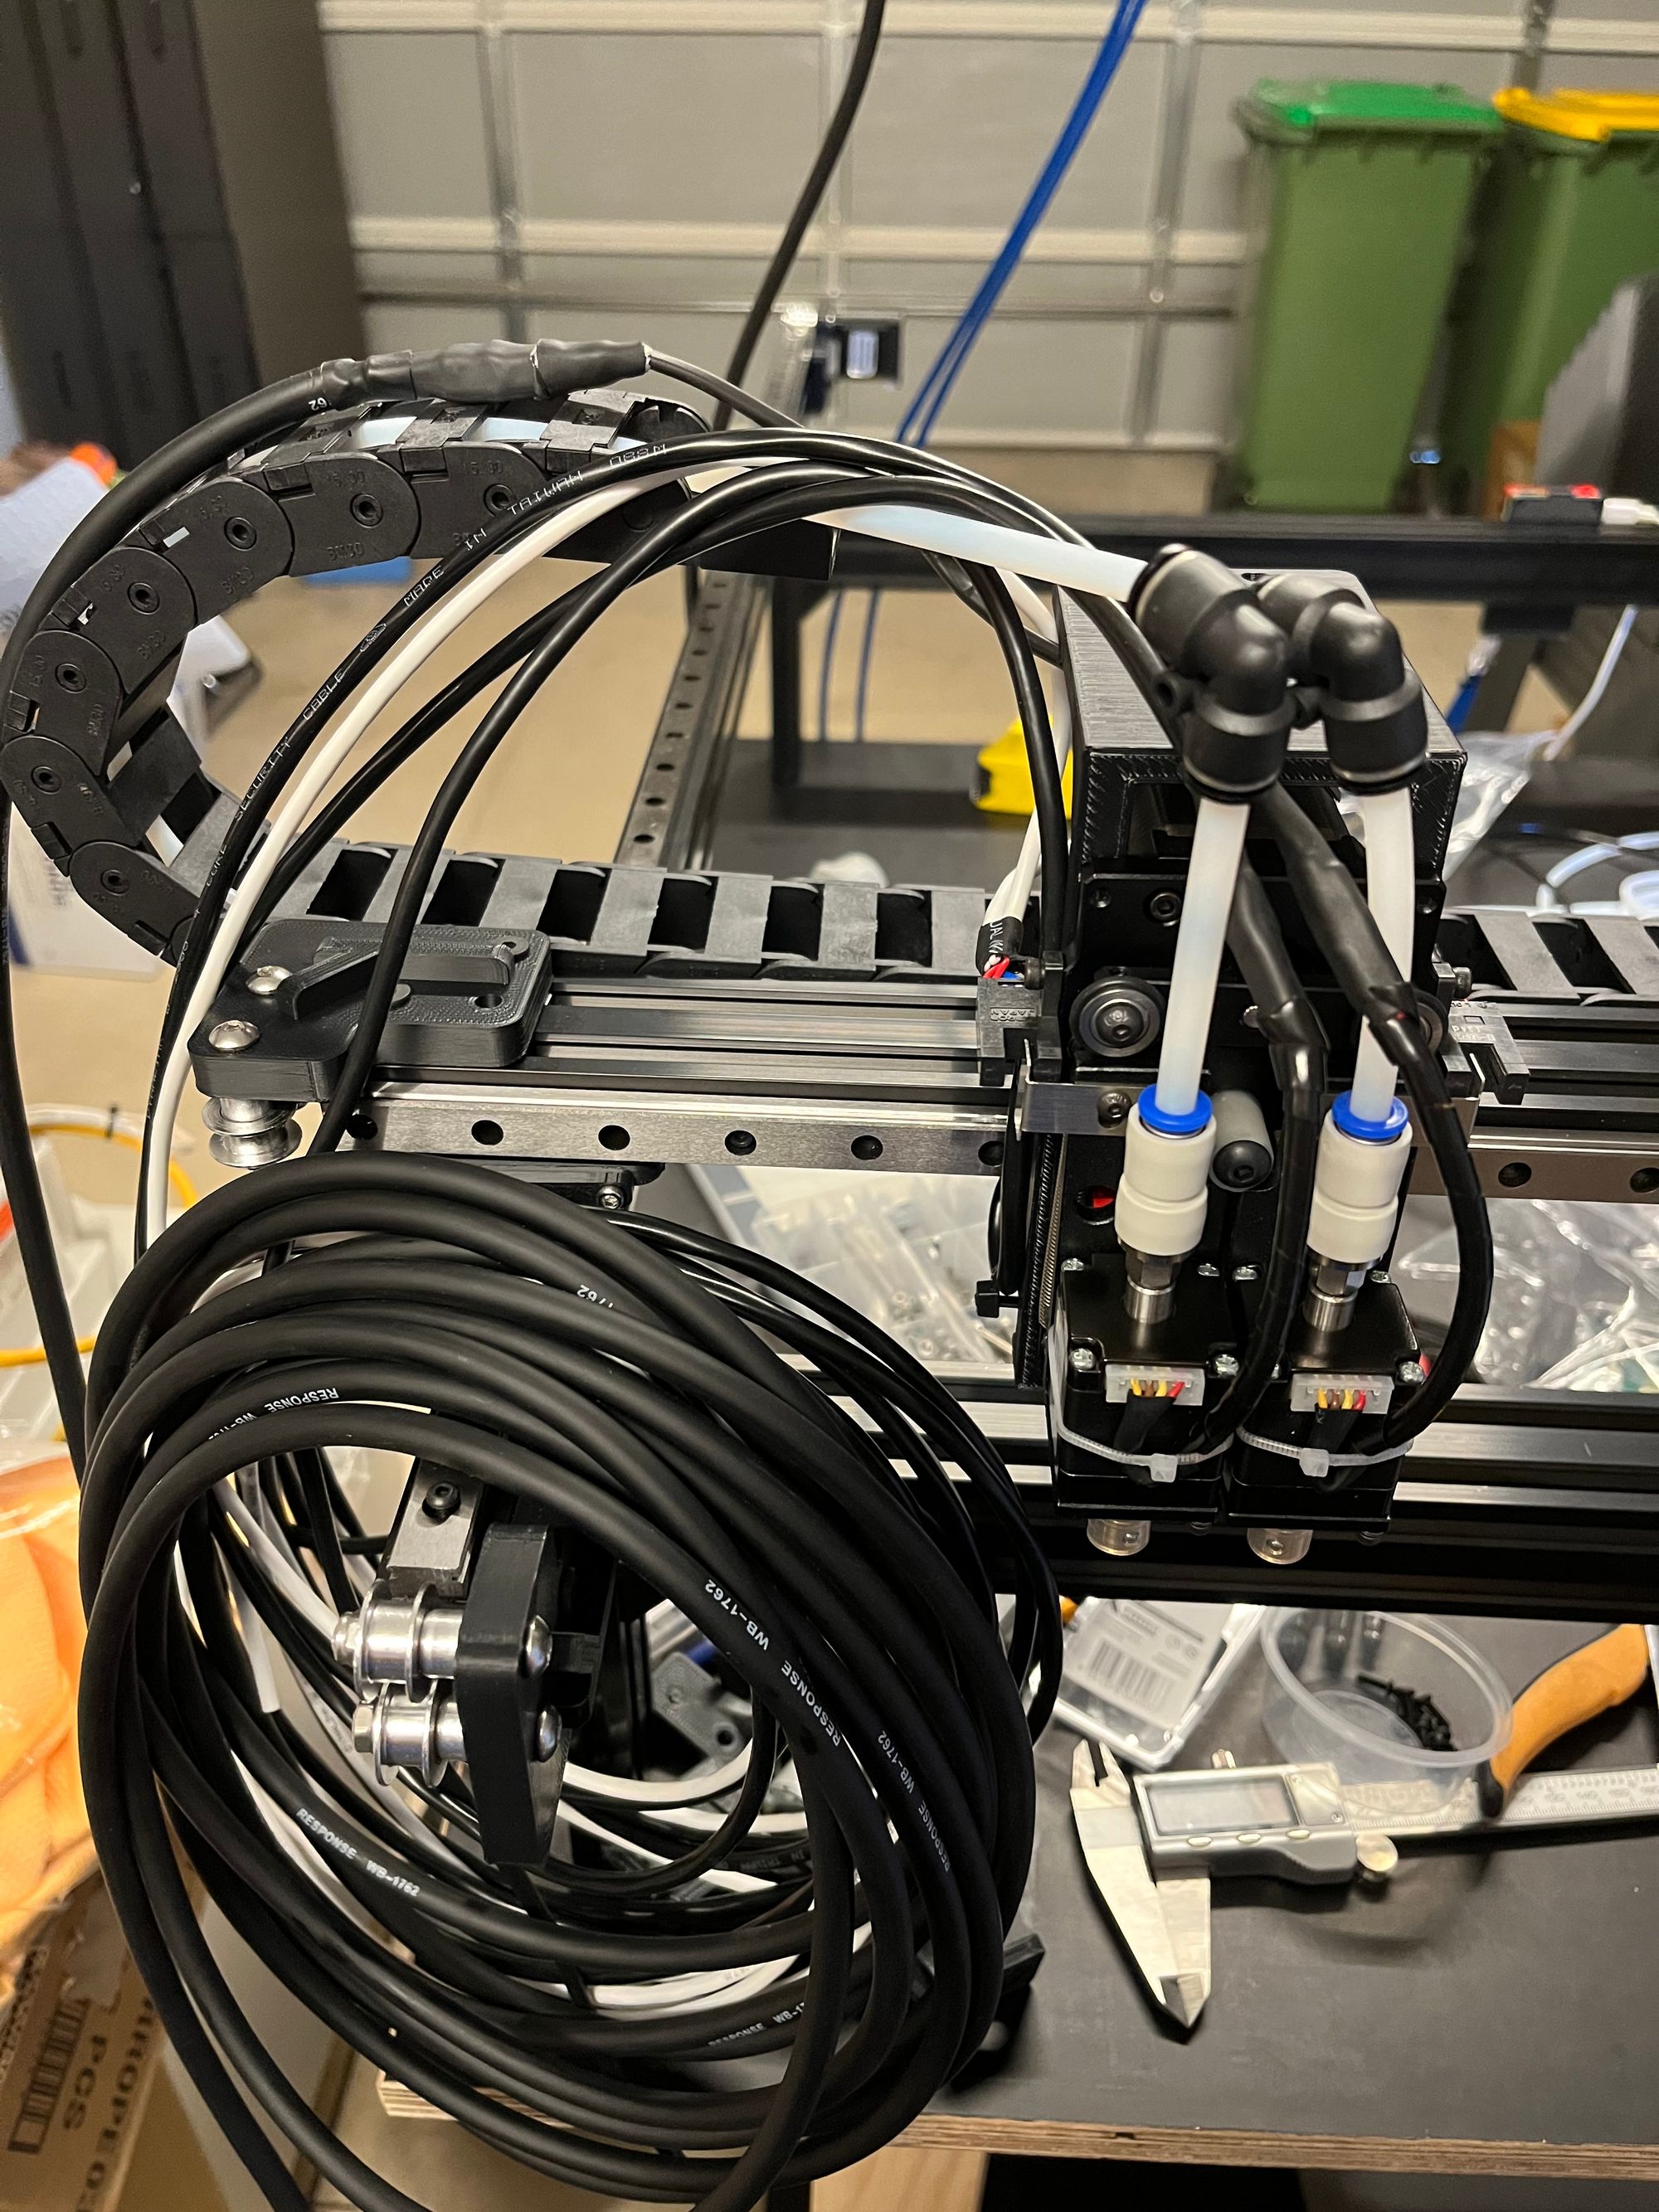
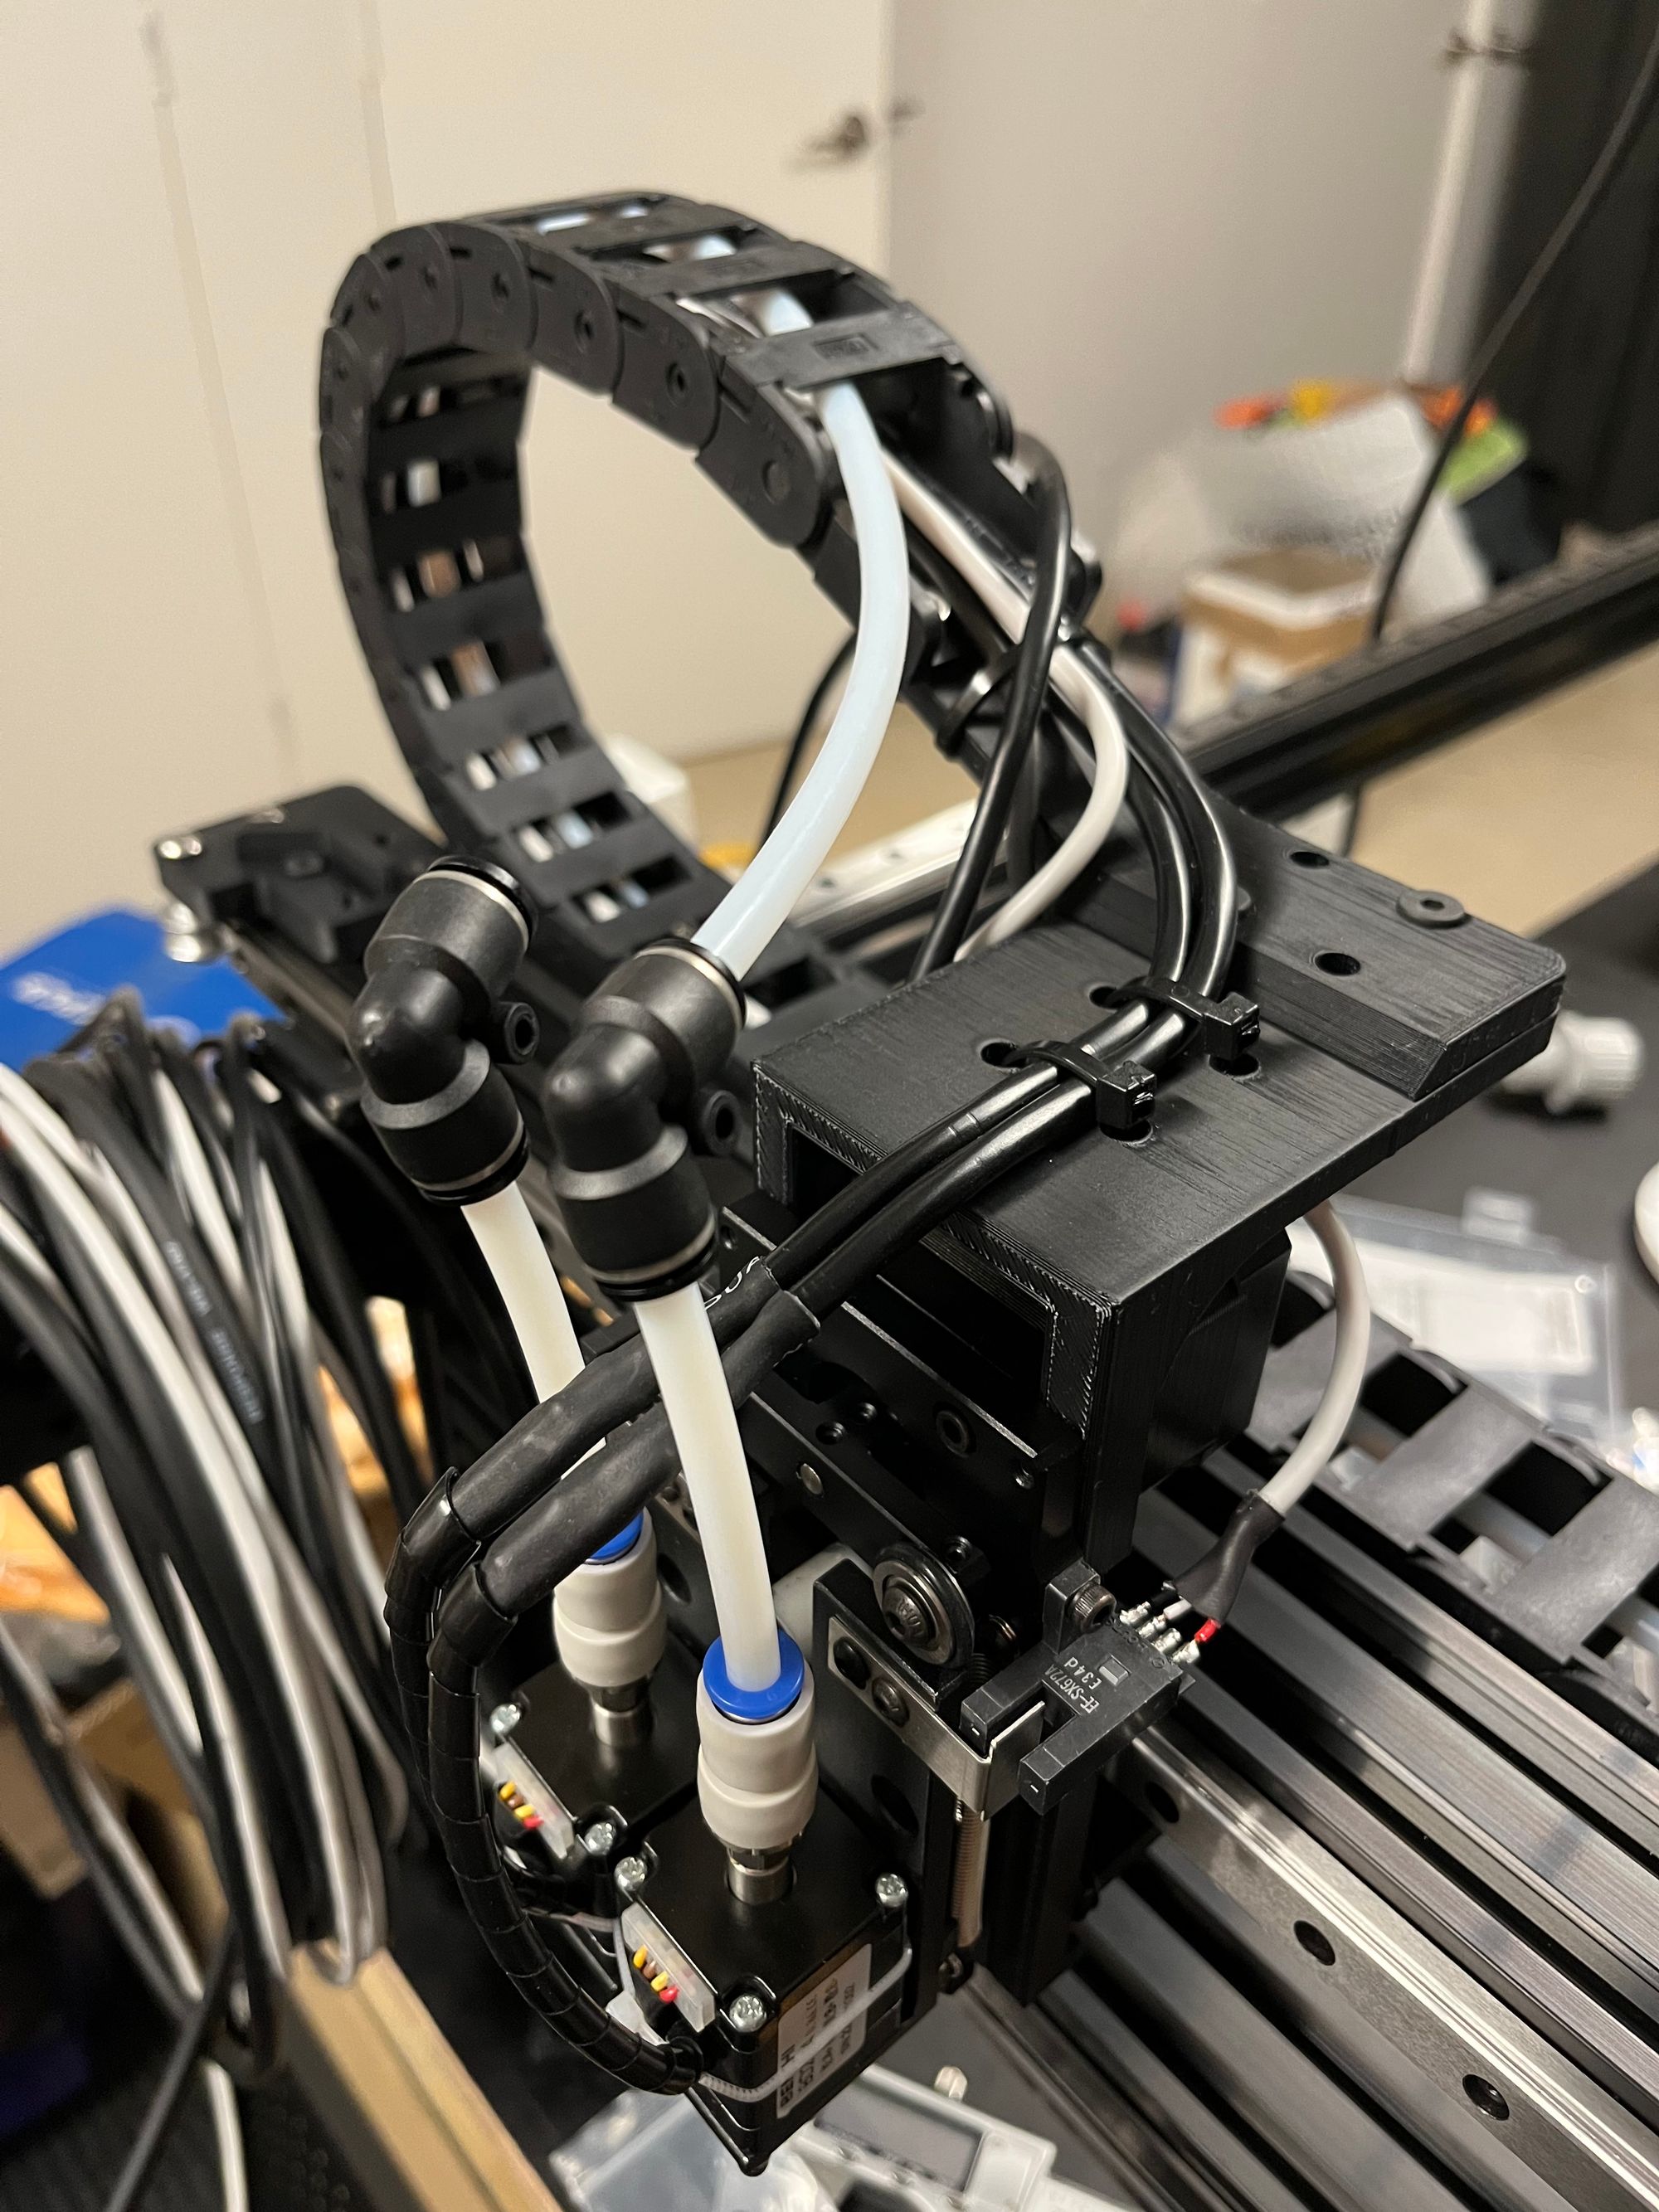
My order from RobotDigg finally arrived and we were away again to assemble the head, limit switches and drag chains.
Step 4 - the electronics
The main electronics will be a Smoothieboard 5xc. Big thanks to Chris from Robosprout for messing about to ship it to Australia via DHL. For someone who can tell good electronics from bad - I reckon it's a great board for computer numerical control (aka CNC) applications. I'm looking forward to the v2 flavours Chris and the Smoothie-team are currently working on - impressive features.
Reliability is something that's close to my heart. There's nothing worse than building something that doesn't work consistently.... It's a bit like owning an old car - it's not only about looks, it needs to start on a cold morning!
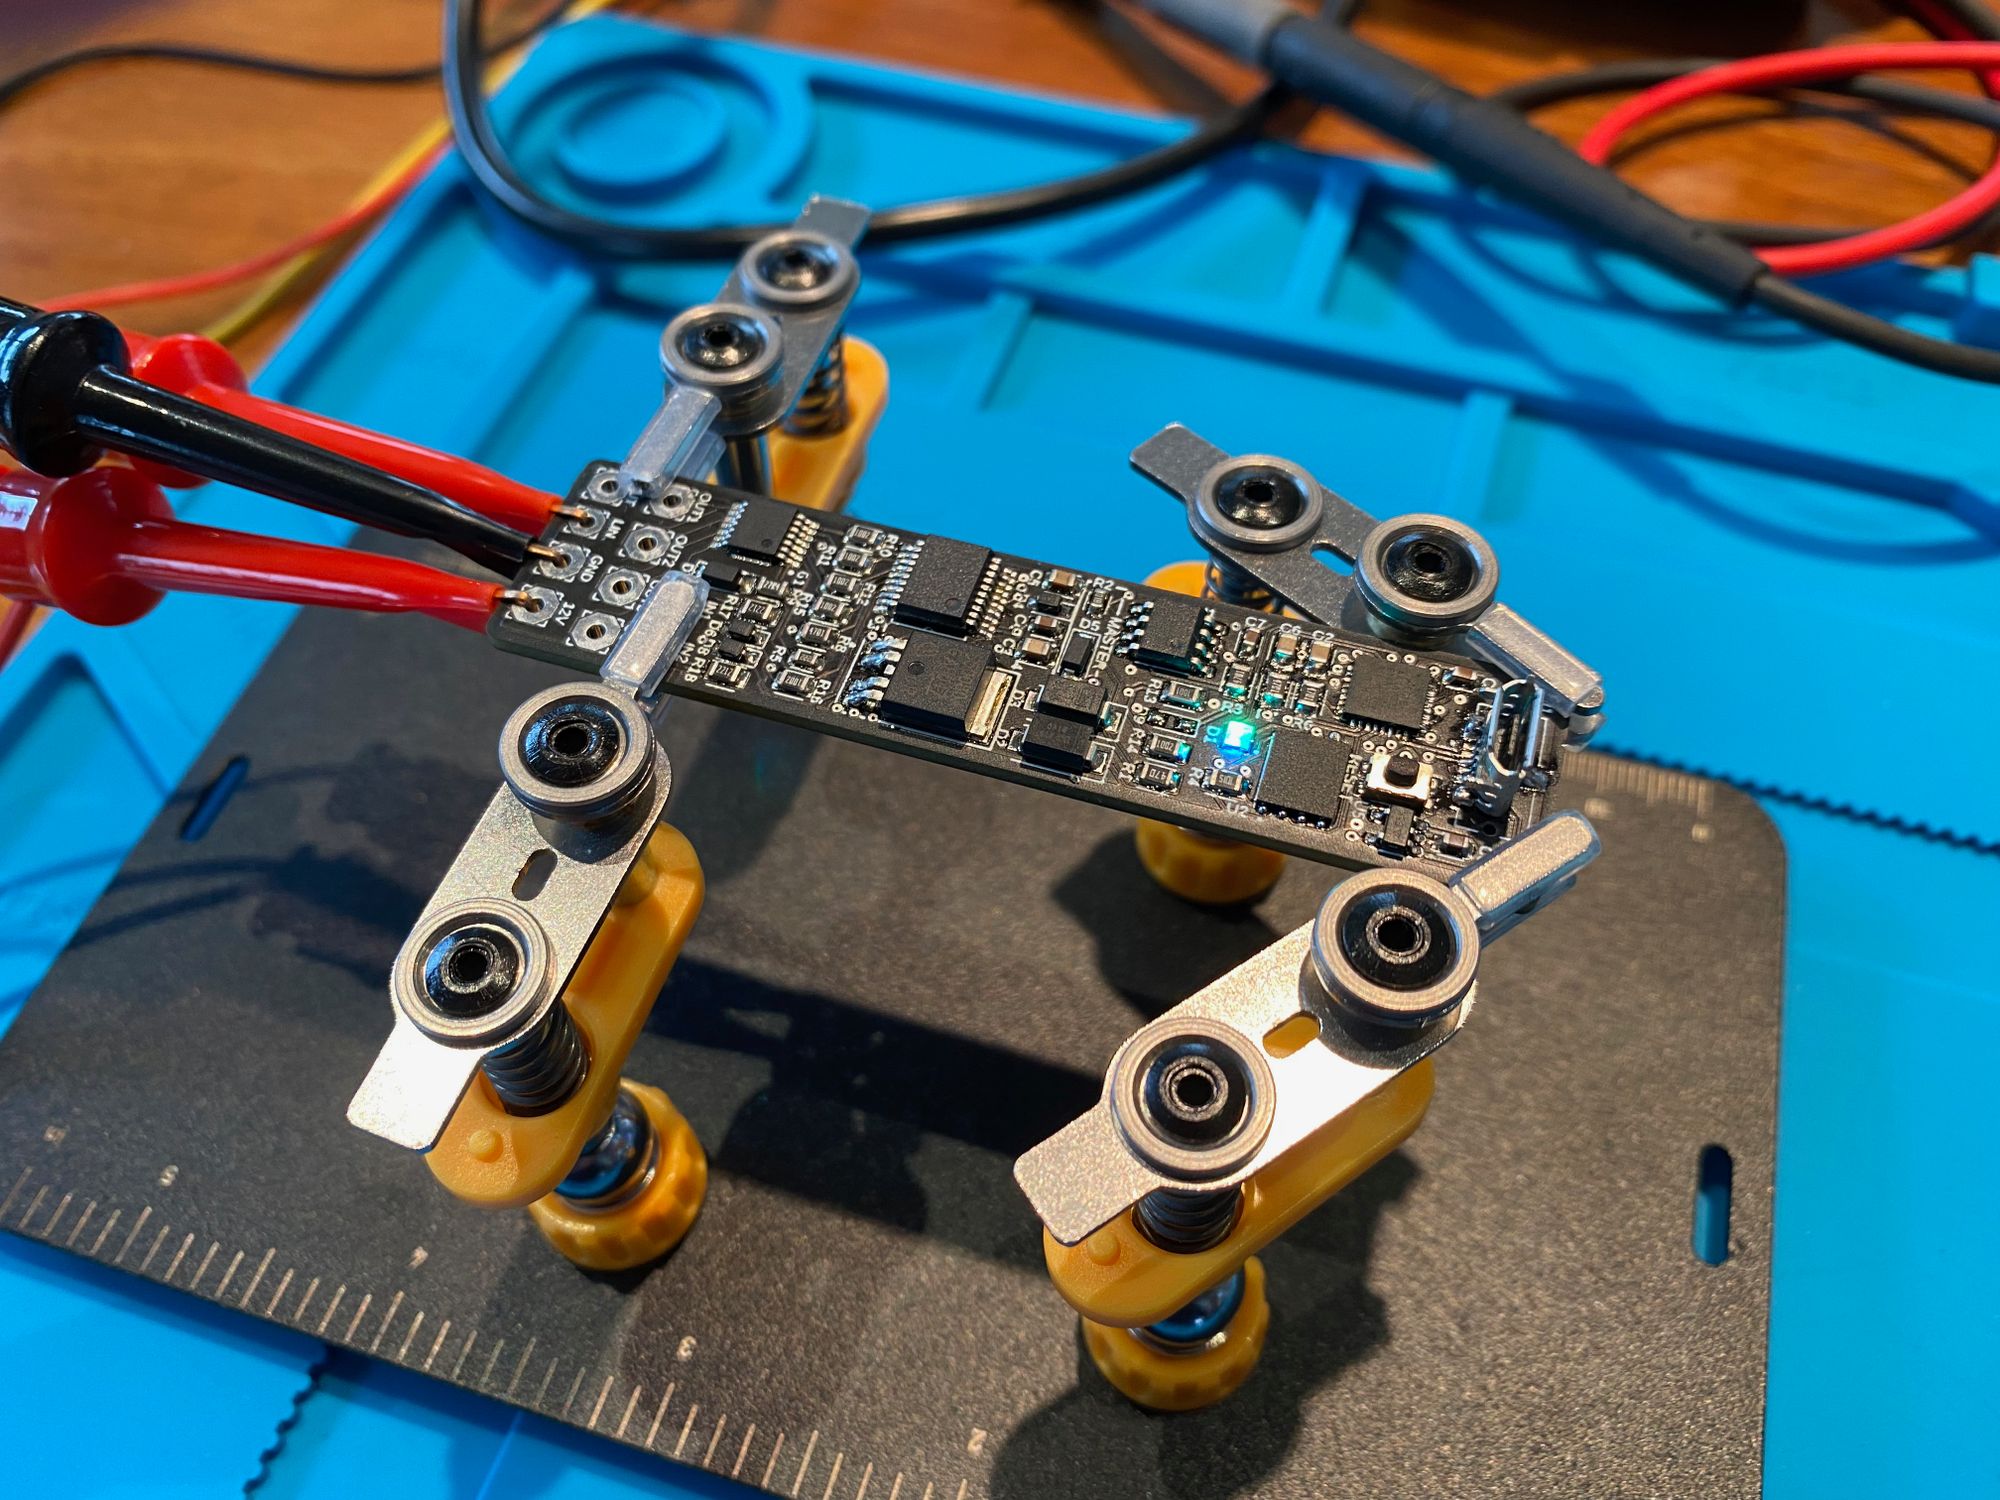
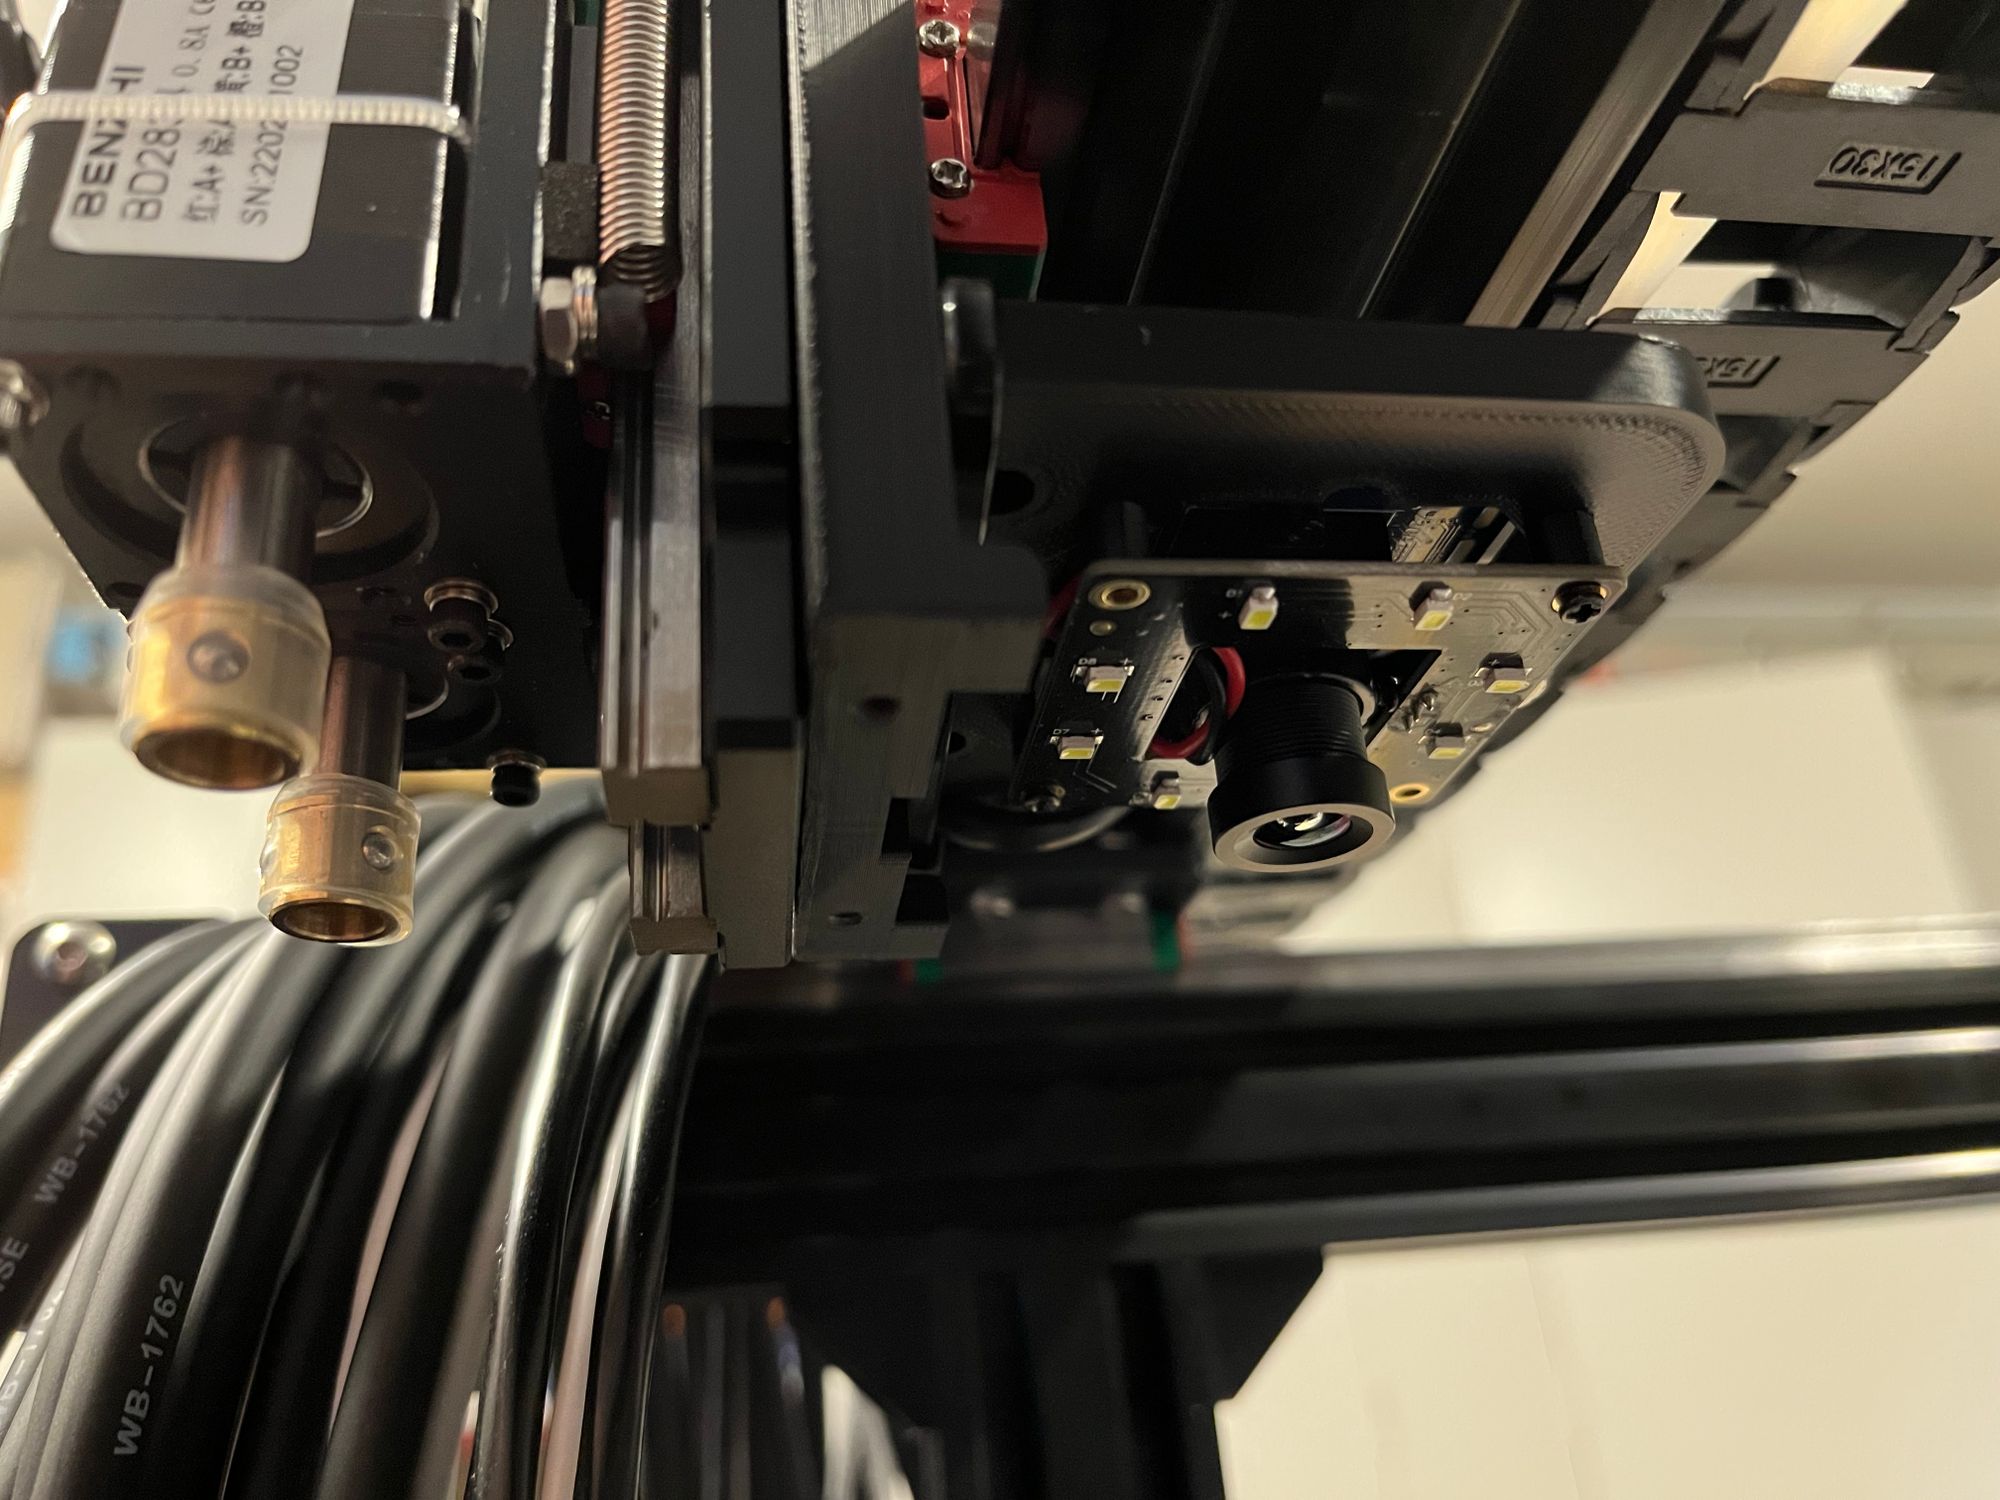
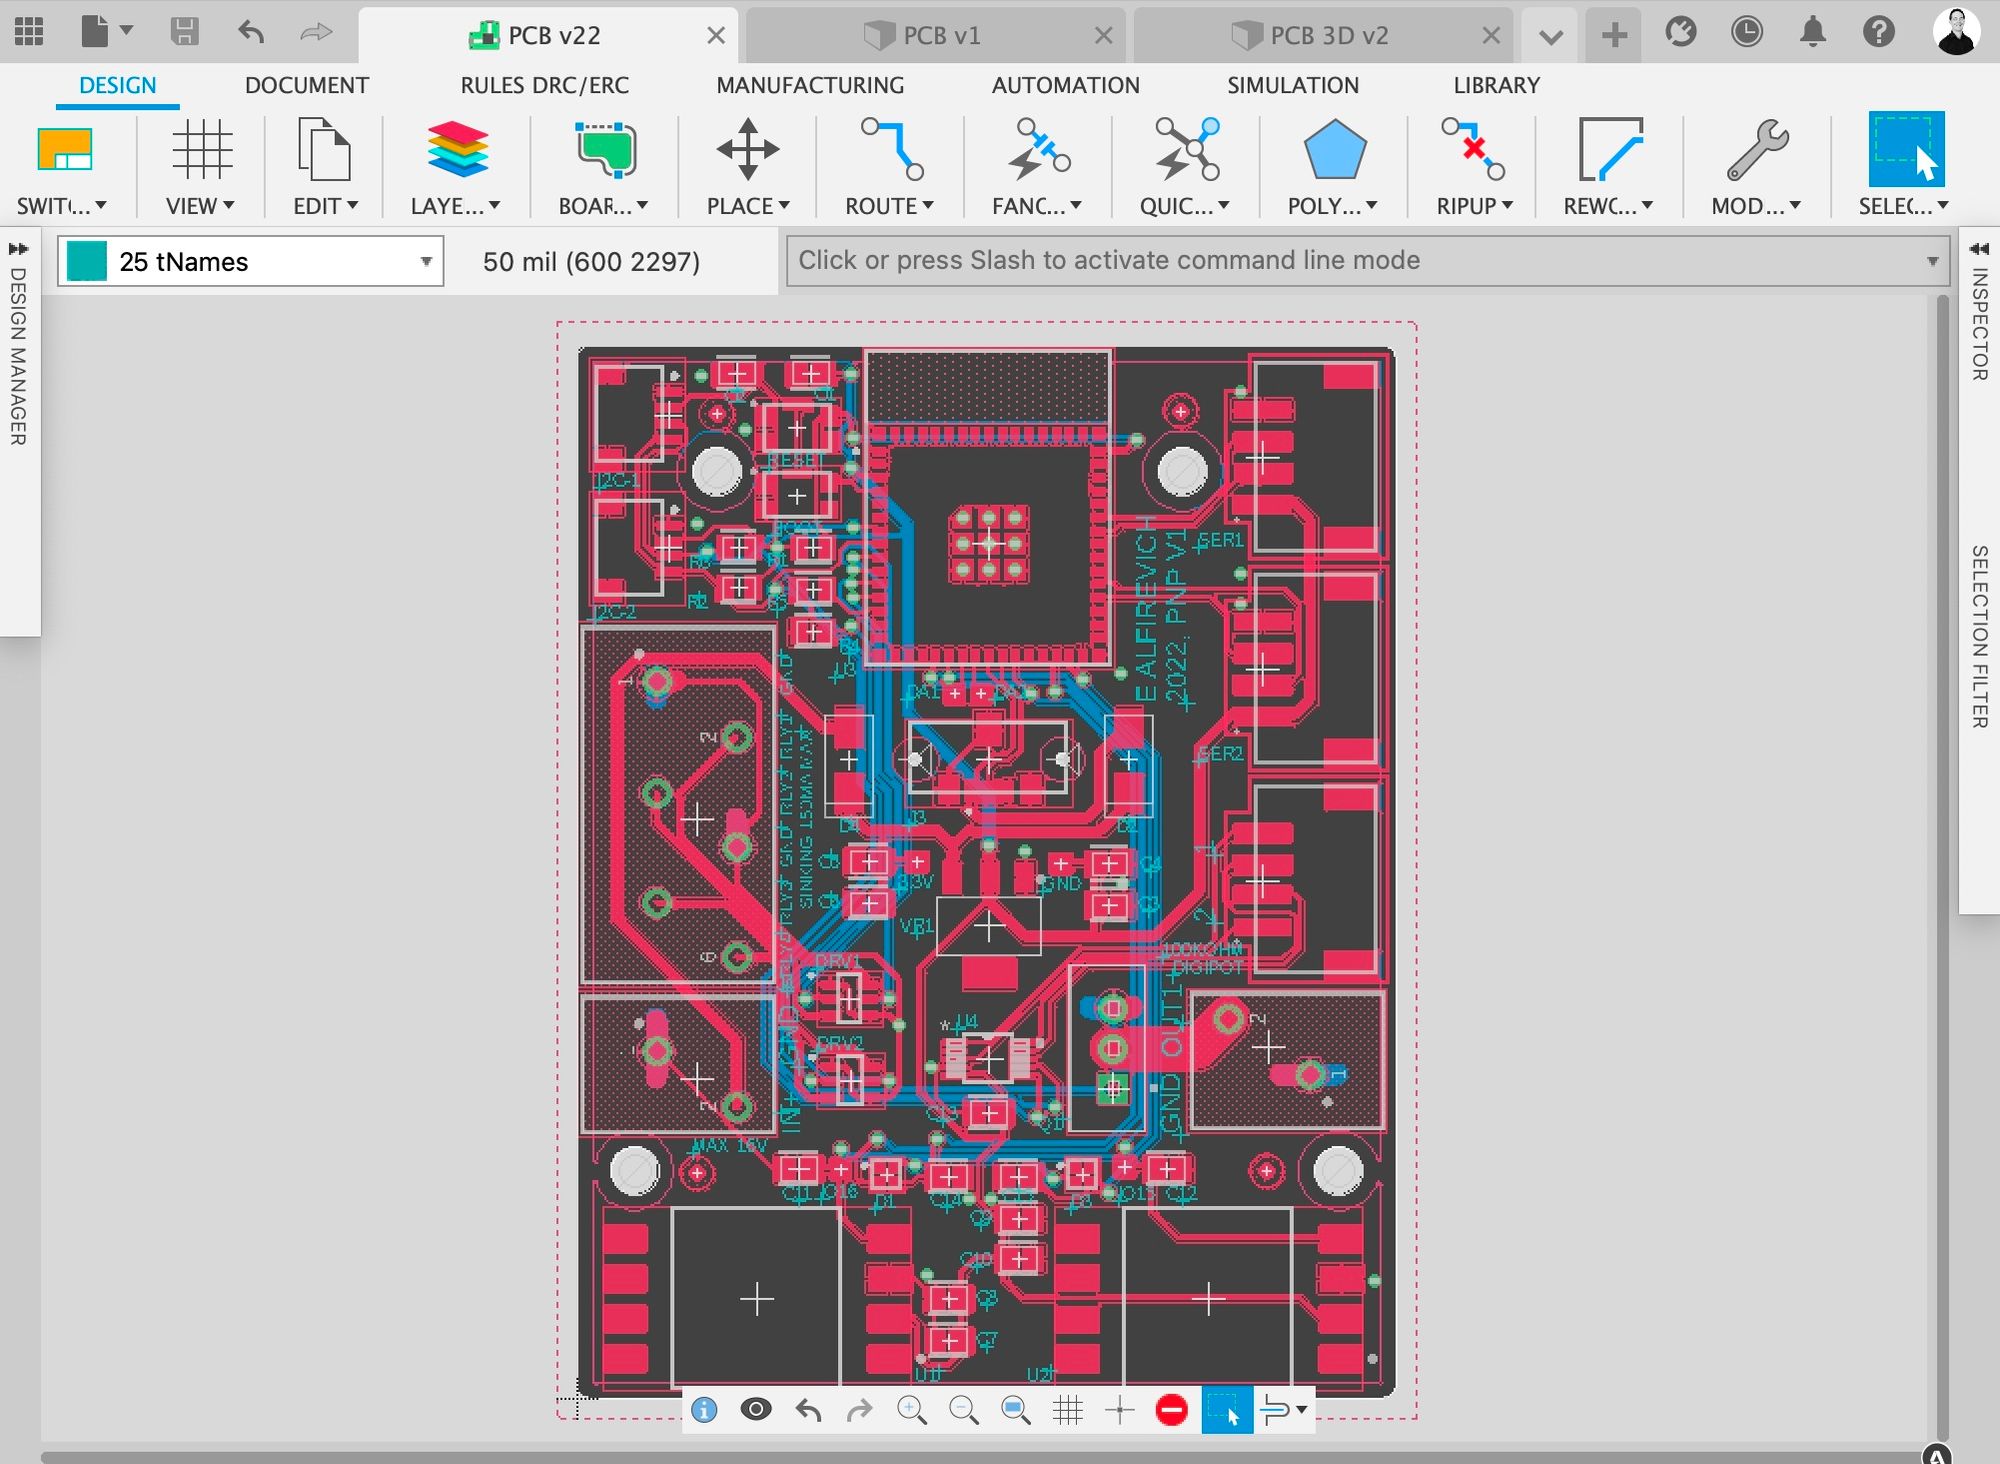
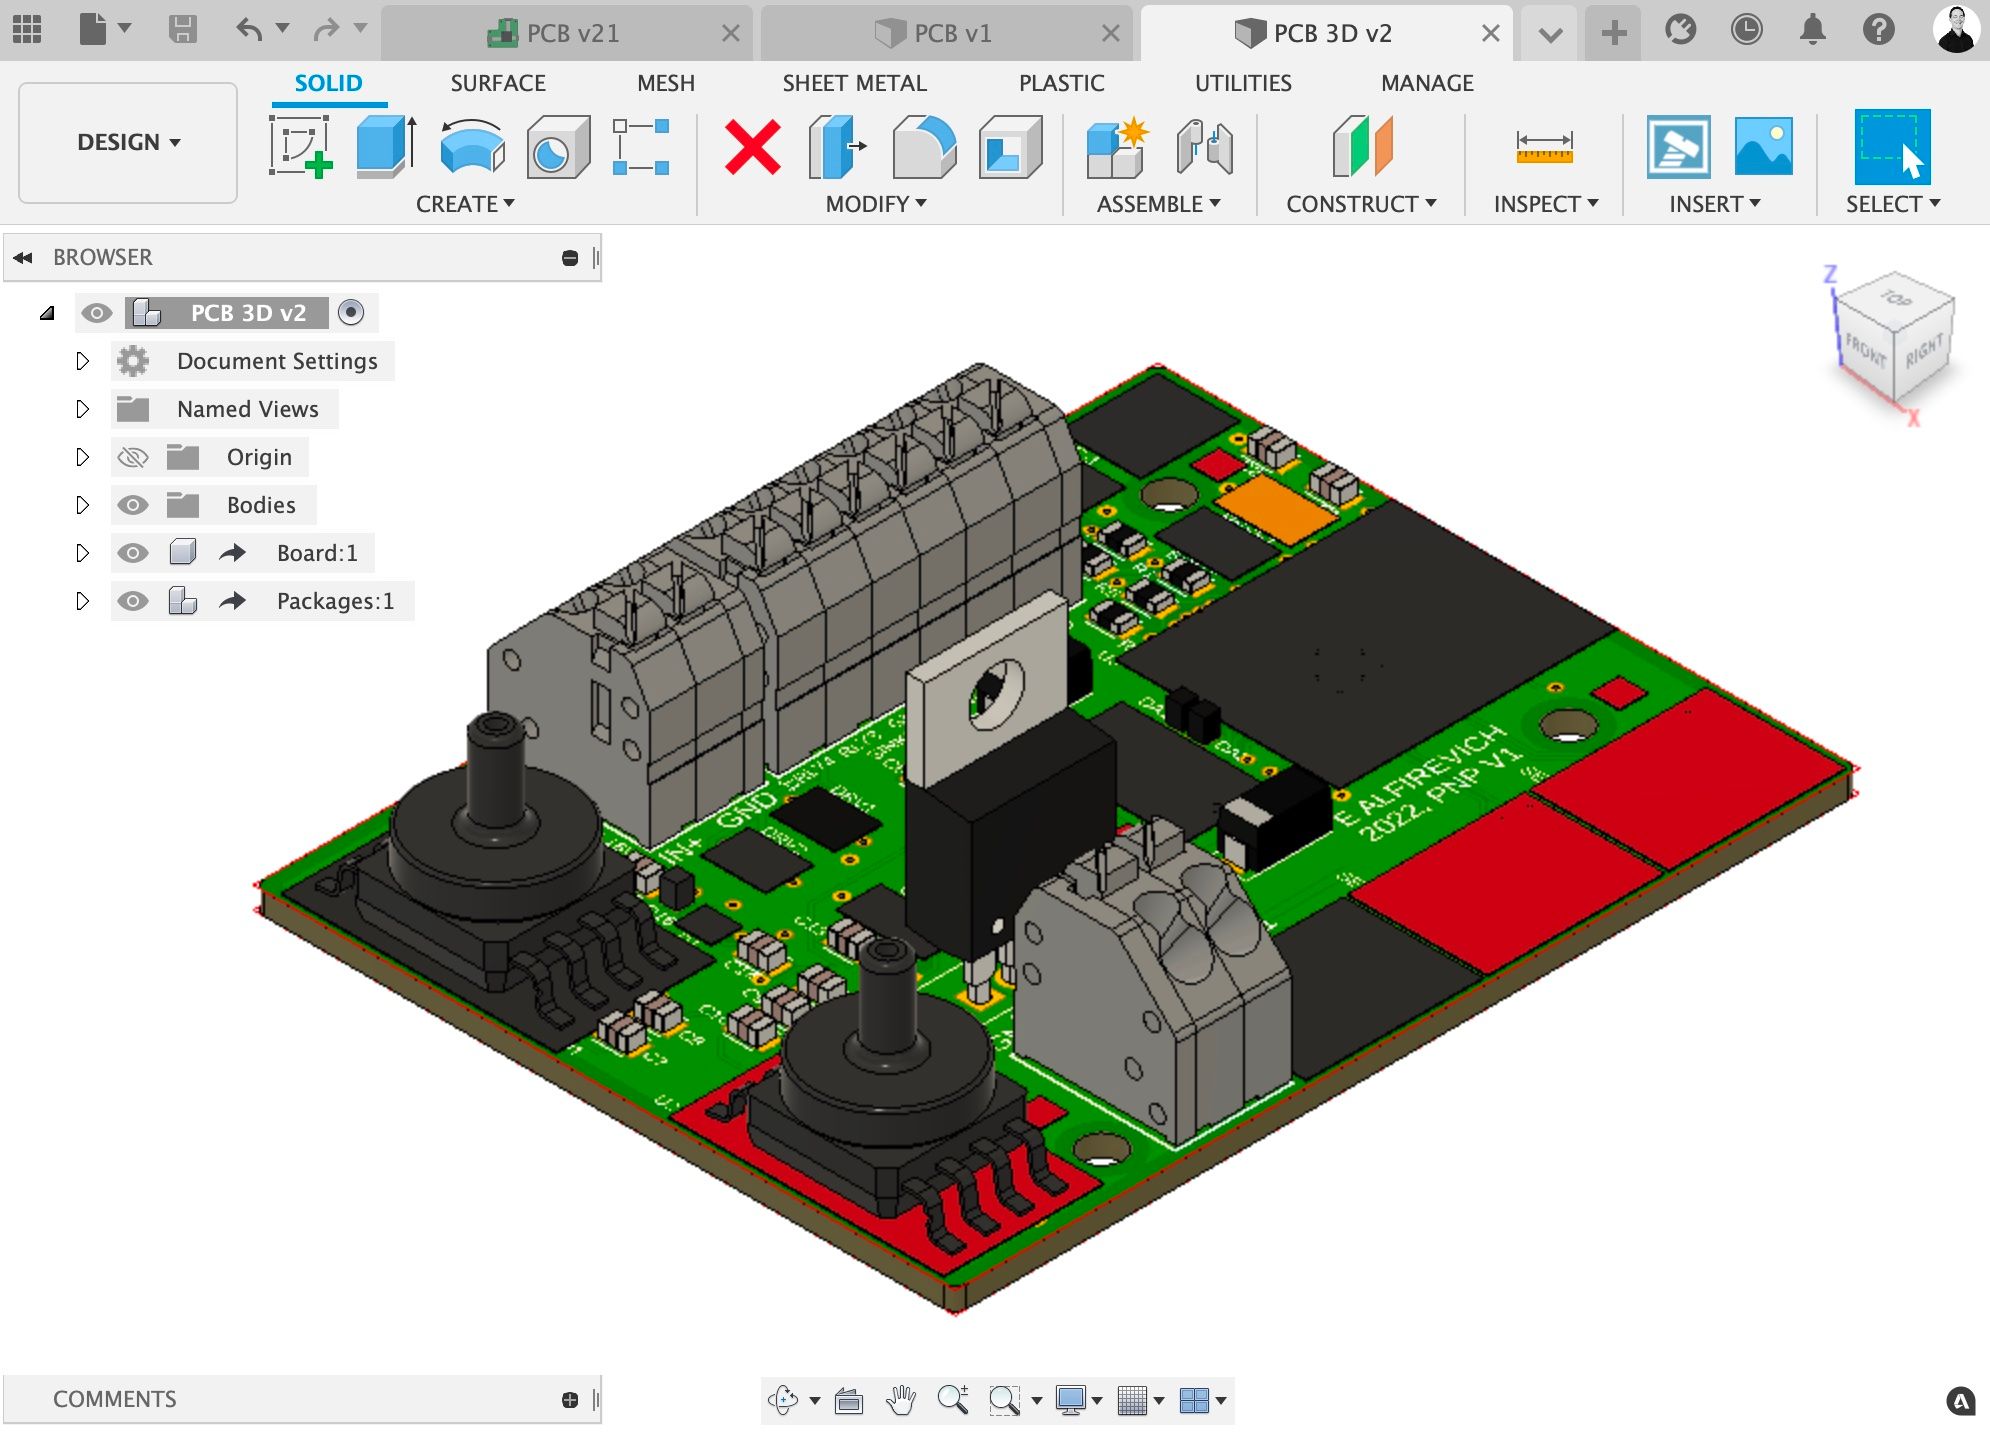
So one of the features I was keen to include is sensors on the vacuum picking head to understand if the vacuum has broken (i.e. part not successfully picked, or fallen off). I'd seen many designs on the internet, but decided to come up with my own instead!
So - I combined 4x air solenoid drivers, 1x vacuum pump controls and 2x vacuum pressure sensors onto a circuit board. Intention is to communicate with the main electronics (Smoothieboard) via digital i/o or serial g-code with the OpenPNP software directly.
More to come as I continue!